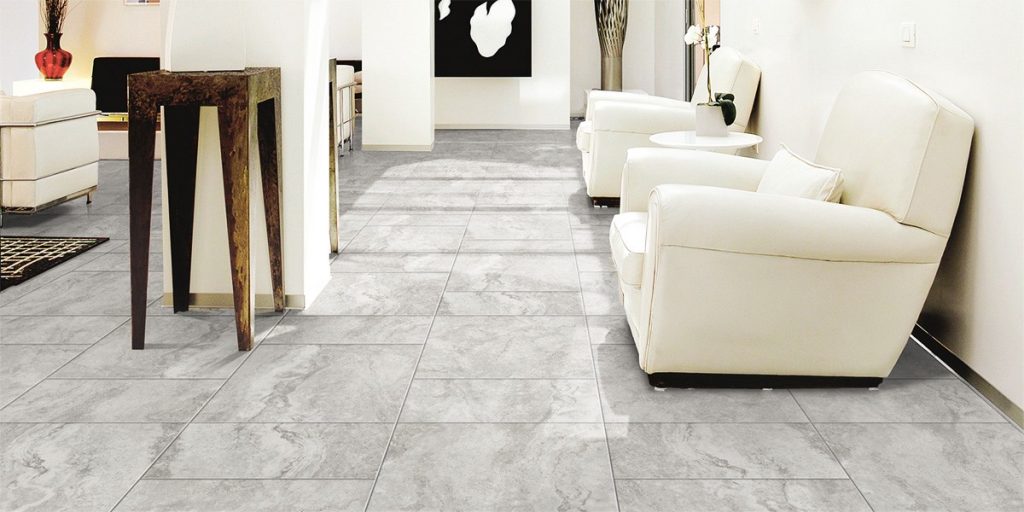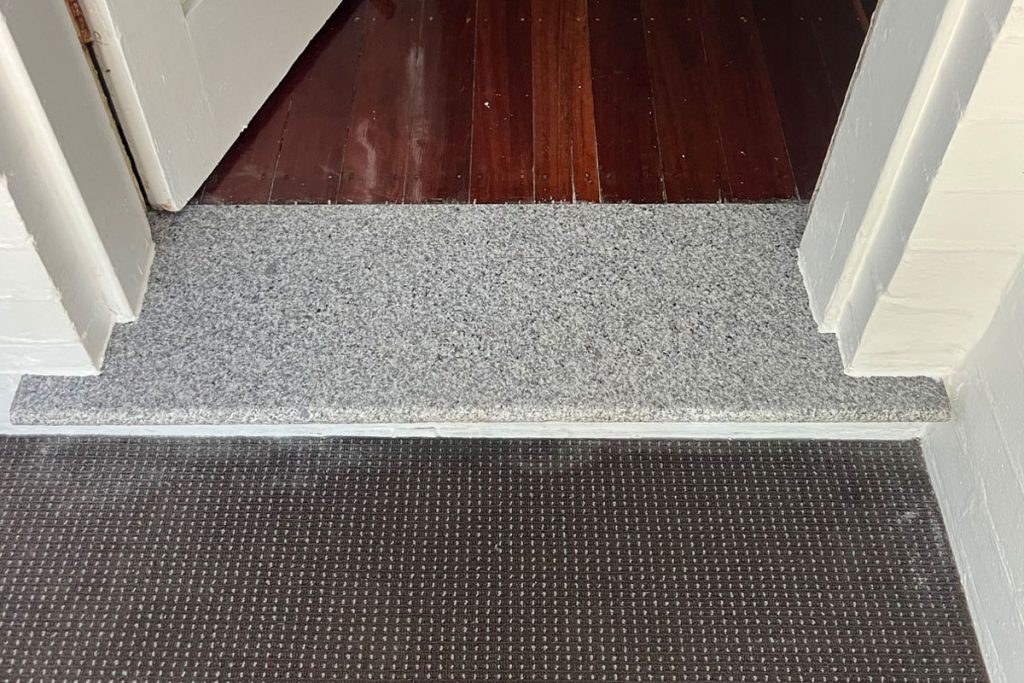
How to install step treads & door thresholds

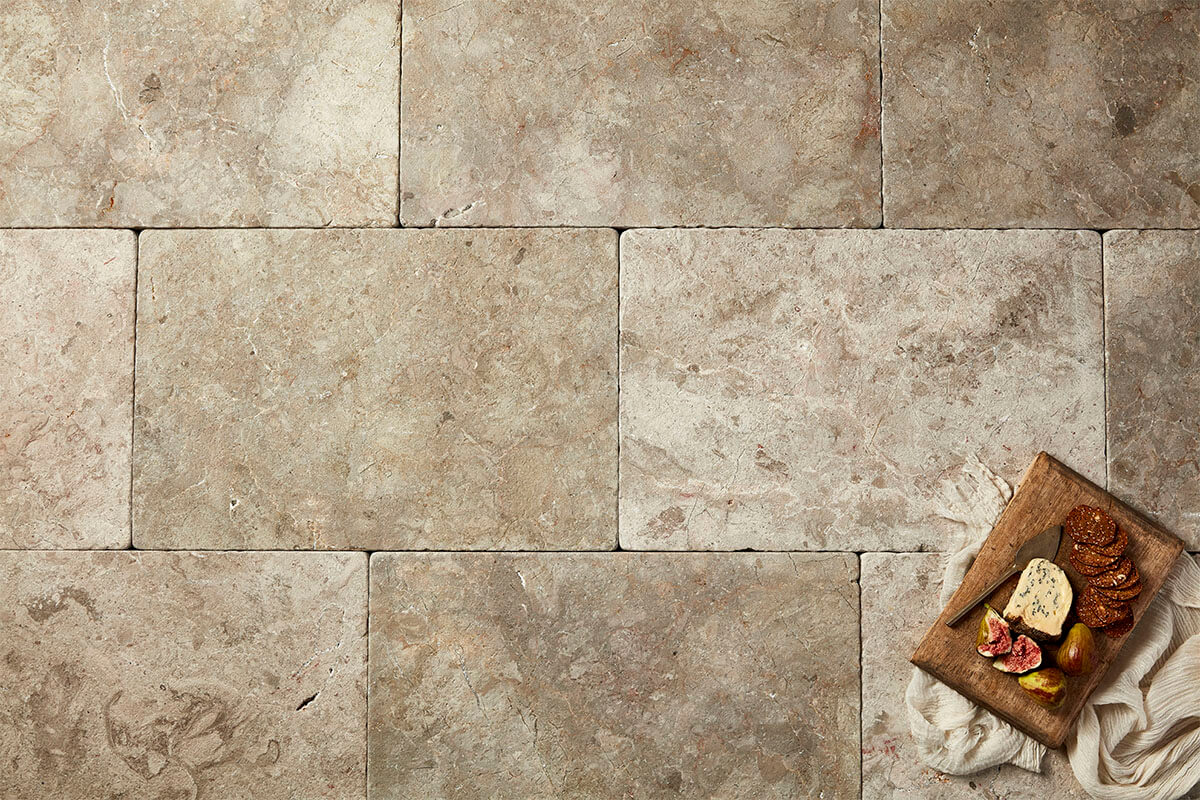
Mistral Step Tread 4

When you think of steps and door thresholds, you probably think:

“Ah… who cares. 

They’re the least of my worries with my renovation or building project.”

Look, you’re probably right.

After all, steps and door thresholds are not the most exciting thing about a home.

However, they are a very important part of it.

You see, stairs, steps and door entrances take on a lot of foot traffic.

People are always coming and going.

In and out, and back in again.

As such, it’s important that these areas are strong enough to take on the consistent pressure that is required of them.

Which is why steps, staircases and door thresholds require just as much attention as any other part of your renovation project.

If done right, they will be a beautiful addition to your home.

And if not, they can become quite a hassle and expense to constantly repair.
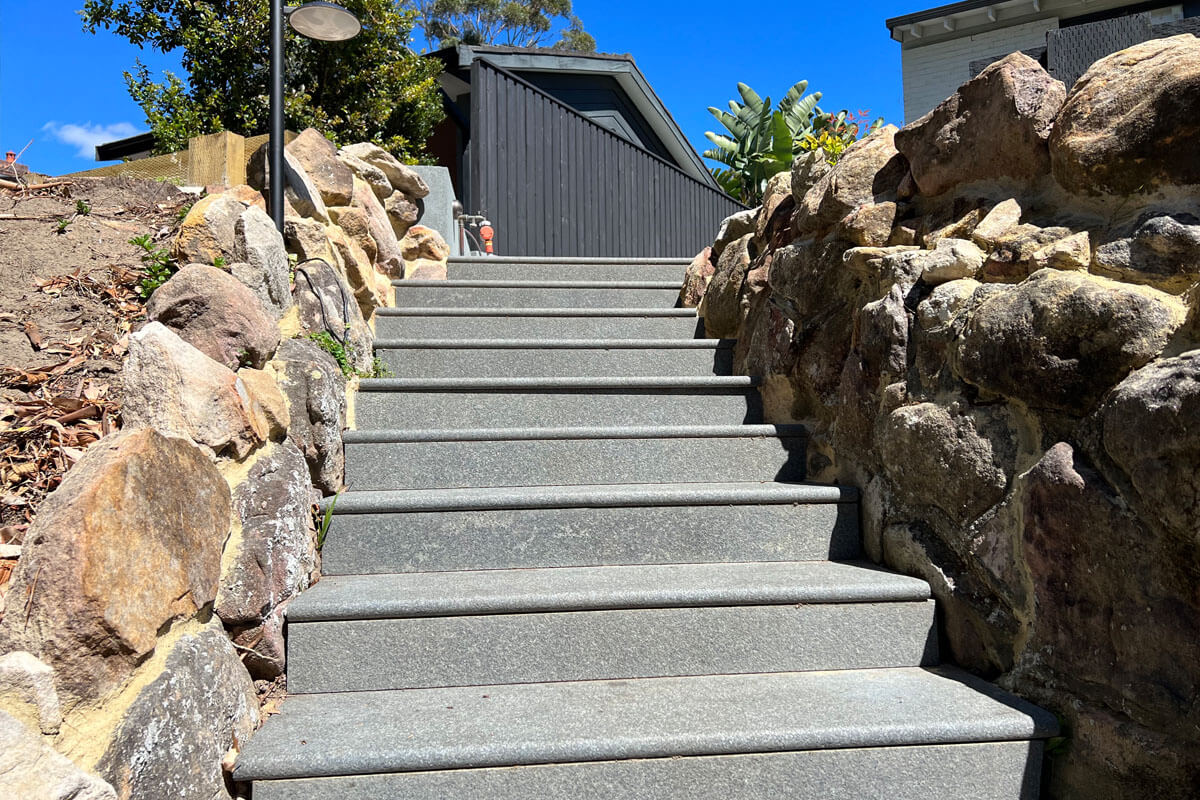
Graphene Steps 3
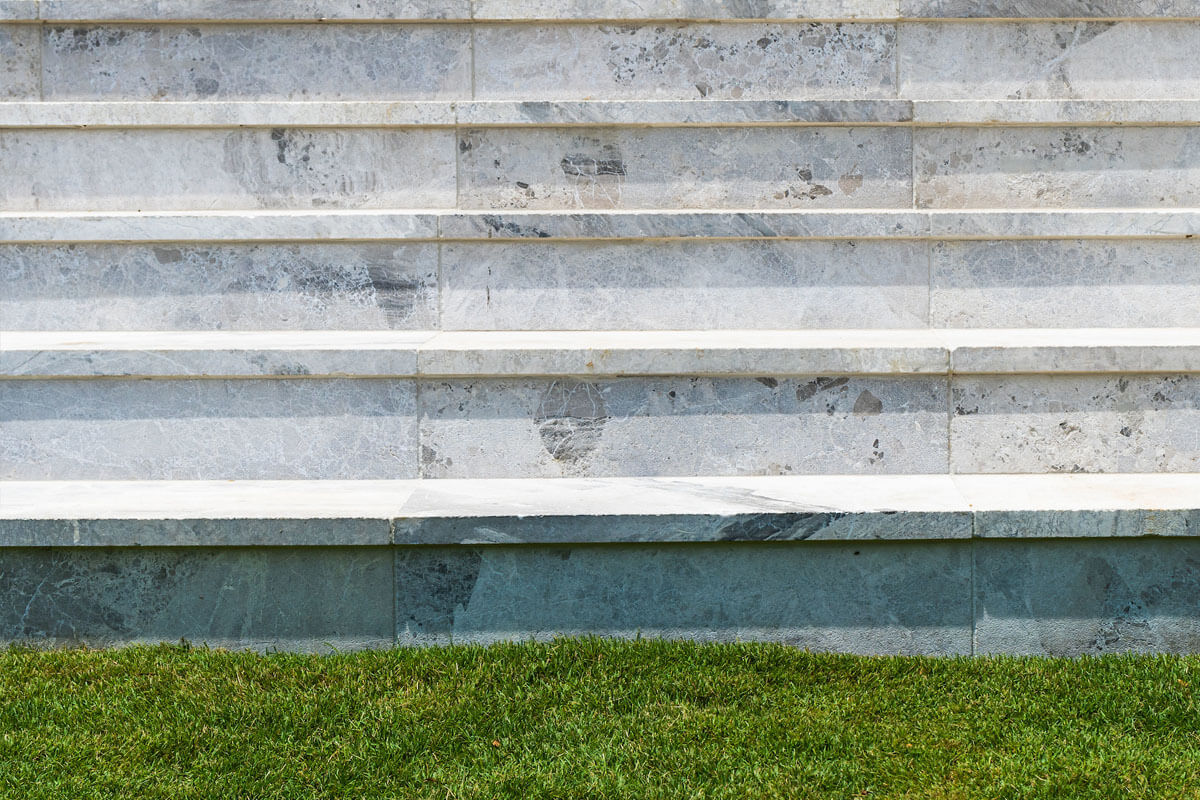
**Graphene Granite Steps Treads in Bullnose edge

So, let’s dive right into today’s blog and look deeper into stone step entrances and all you need to know about them.

First and foremost, …


  1. What are stone step treads?


Stone Step Treads are slabs of natural stone that make up the horizontal part of the staircase or door threshold.

Step treads are essentially where a person walks when using steps.

While step treads can be made of cement, wood or plastic, natural stone is the most versatile and durable material.

Since the most noticeable part of a staircase or door threshold is the horizontal surface, it’s only in your best interest to make it attractive and well-made.

Which brings us to …

  1. Where can you use stone step treads?


One of the most incredible qualities about natural stone step treads is that they are an extremely versatile material.

Step treads and rises exude a sophisticated and elegant finish.

They especially suit modern homes and gardens.

You can use stone step treads for:

  • Outdoor steps
  • Step entrances
  • Front doors
  • To border verandas, path Federation Bungalows and Victorian terraces
  • Separating elevated rooms with indoor steps


If your garden is not flat, outdoor steps serve as a helpful addition to the area so that people can get from one area to the other with ease.

Stone step treads are a better choice than another material like wood or plastic.

Why?

Well, because stone treads are more durable.

They are also less likely to be affected by environmental factors like rain and heat.

Stone steps for front doors are an easy and affordable way to complete your door entranceway.

Everyone will feel welcome.

And they will leave a warm first impression on everyone who enters or leaves your home.

Using step treads as veranda stone borders is a creative way to keep the garden separate and tidy from the path.

Additionally, stone treads as veranda borders add an original look to your home reflecting your home’s historic aesthetic.

Most of the 1950s Federation Homes or Victorian Terraces.

Have tessellated tiles with either slate or marble step borders around the porch or veranda.

We love, and respect, this heritage look.

Why?

Well, it accurately documents Australia’s housing design history.

So, let’s continue to keep Australia’s heritage alive.

If you’re looking to do this by installing stone treads as veranda borders.

We stock the original 1950s Carrara Marble Slabs.

You can check them out here.

All in all, stone step treads serve both functional and decorative purposes.

For more information on how to use step treads, check out this blog we have written earlier https://www.armstone.com.au/blog/stone-treads-create-a-decorative-feature-for-your-home-entrance/.

Now, you may be wondering…


  1. Are stone treads slippery?


That is an extremely important question.

Especially since so many people will be walking often on the stone steps.

And you want to ensure that they don’t slip and fall.

As such, you need to consider that the stone – and specifically it’s finish – has a high slip rating.

And as varied as their purpose, stone step treads are available in flamed, exfoliated, honed, sawn, sandblasted, tumbled or acid-washed finishes.

At Armstone, we stock step treads in all these finishes.

So if you are installing steps that will be exposed to the weather.

It’s paramount to ensure that they have a P4 or P5 finish.

This finish ensures that the steps are non-slip.

If you are installing stone treads in a single-door threshold, it’s not as important that the step is non-slip.

This is because you aren’t stepping from one step to another.

As such, you have the flexibility of choosing a honed smooth finish.

Now, what if you really like the smooth honed stone finish…

But you have more than one step, making it a more slippery choice?

Good question!

Luckily, we have a solution for you.

At Armstone, we fabricate honed steps to ensure that they’re nonslip.

We do this by installing a brass strip on the bullnose edge.

This adds grip strength to your footing and thus makes the step tread nonslip.

It’s a very simple solution to make the smooth honed stone both safe and aesthetically pleasing.

How do we achieve this?

We cut a groove 4mm deep into the stone and in it, we glue a 6mm brass strip.

The protruding 2mm of the sharp brass ensures a good grip when you step on it.

Now, you may know some people who have adhered very unattractive nonslip stickers onto their slippery treads.

These may look new for a short period of time.

Until they wear off and look awful.

And this doesn’t take very long.

This is why we use a brass strip solution instead.

So, you can be assured that our natural stone step treads are a safe choice for all steps, stairs, paths, and door thresholds.

Now that we’ve established that stone step treads are non-slip…


  1. How do you install a stone threshold?


Good question!

Unlike natural stone pavers, stone thresholds, steps and stairs have a completely different technique.

First, you need to cut the stone steps into the relevant length.

This requires special machinery and skills.

We strongly recommend working with a professional stone mason.

Once you’ve cut the stone into the necessary length, it’s time to install it.

Now, we know a picture is worth a thousand words.

But a how-to video, that’s worth even more.

So instead of telling you how to install a stone threshold, stay tuned for a video with Brendan Sweeny from Ecoterior, showing us the process of replacing a step tread. (Coming in 2024)

Now onto the next point…


  1. What size and stone type are door thresholds available in Australia? 


Door thresholds are available in a variety of sizes and stone types.

At Armstone we know that every home, staircase, and door threshold is unique.

Which is why our natural stone step treads and thresholds are available in varying lengths and custom sizes.

Most of the step treads at Armstone are available in the standard size of 1210 x 320 x 30mm, with a Bullnose Edge.

However, we also stock some steps that are  1500mm long and sometimes (but rarely) 2000mm long.

We go a step further and offer to tailor the length of some step treads and thus help minimise grout joints.

We cut these from slabs of stone and make them out to your desired length and width.

So, if you’re looking for a natural stone solution for fireplace hearths.

Stone treads are certainly an option.

Additionally, we supply step treads in a variety of nosing profiles.

What’s a nosing profile? 

It’s the shape of the edge of the step.

At Armstone you will find the following nosing profiles:


  • Bullnose Edge (a semi-circle shape)
  • Beveled Edge (a square edge with a 3mm chamfer at the top and bottom of the corner)
  • Pencil Edge (a 3mm rounded top and bottom of the corner)
  • Half Bullnose, and others

Choosing the best nosing profile depends on where you are installing the door threshold and the style of the surroundings.

For example, a square edge will suit a more modern home design.

While a semi-circle nosing profile will suit a more traditional door threshold.

Now that we’ve sorted out the sizes and types of door thresholds, let’s look at …

  1. What type stones steps are available at Armstone?


Much like the rest of our natural stone paver collection, our step treads are available in a range of quality natural stones.

We stock Bluestone, Slate, Marble, Granite, Sandstone, and Travertine step treads.

So, if you are looking to match your stairs, door entranceways, paths and even patios, you can find all the necessary natural stone materials at Armstone.


And finally…

  1. Do you need to seal stone steps?


When choosing your stone steps, you want to consider that they are well-made and easy to maintain.

To help you maintain your stone steps, we strongly recommending sealing them.

This will ensure that the stone’s integrity remains intact despite wear and tear and the ever-changing environmental conditions.

Here we recommend 2 different sealers:

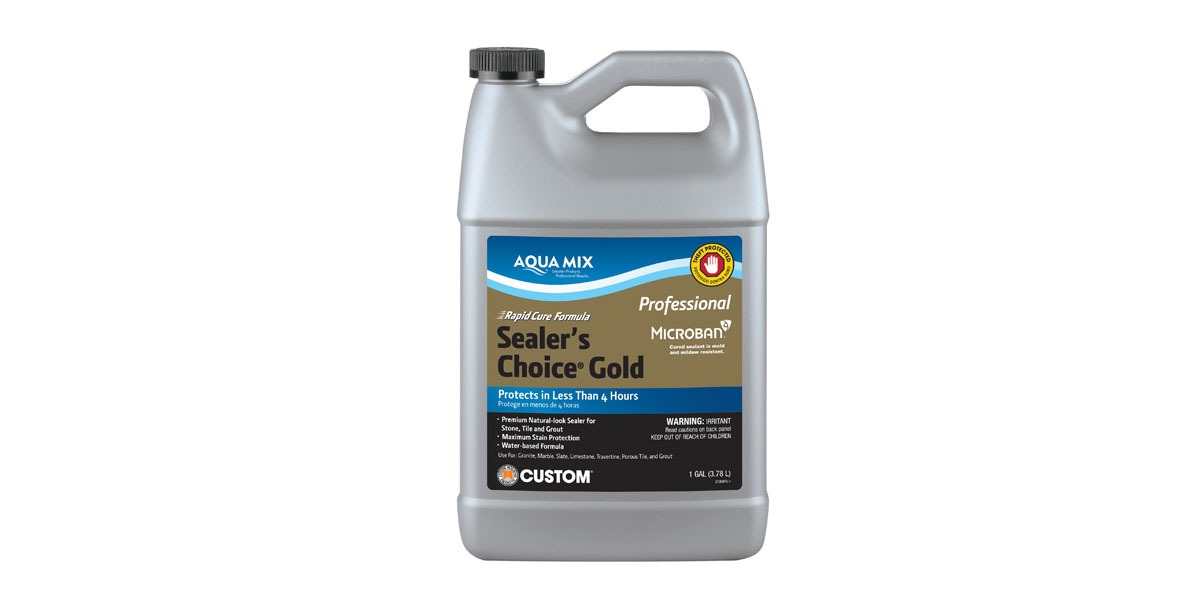
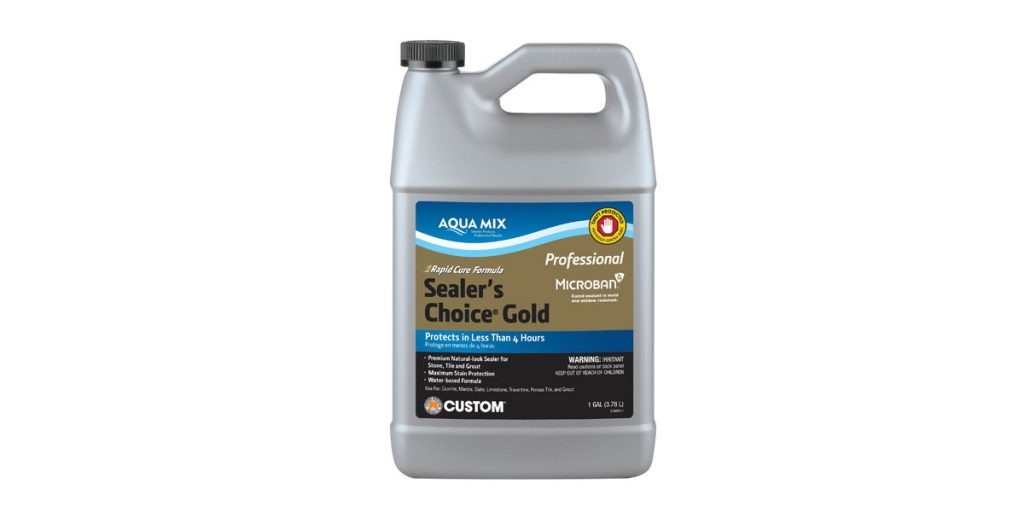
  1. Natural Look Sealer (Sellers Choice Gold) – this doesn’t change the appearance of the stone
  1. Enhancing Sealer (Enrich and Seal) – this will give your steps a permanent wet look without any shine or gloss.

If you are unsure which sealer to choose, consider the surrounding aesthetic and design of your natural stone pavers, home, driveway, and garden.

And if you need any other guidance with choosing natural step treads and door thresholds, we would love to help.

You can reach out to our team of experts online at the contact form below, or by calling 1300 560 560.

If you are more tactile, we have all our step treads, and other natural stone pavers, pool coping, cobblestones, stepping-stones, garden pebbles and pool tiles, on display at our showroom in Glebe, Sydney.

We look forward to seeing you and helping you bring your stairs, door thresholds and paths to life.

If you enjoyed this blog and found it helpful, we would really appreciate your support.

Please share with someone who may also find the information useful.
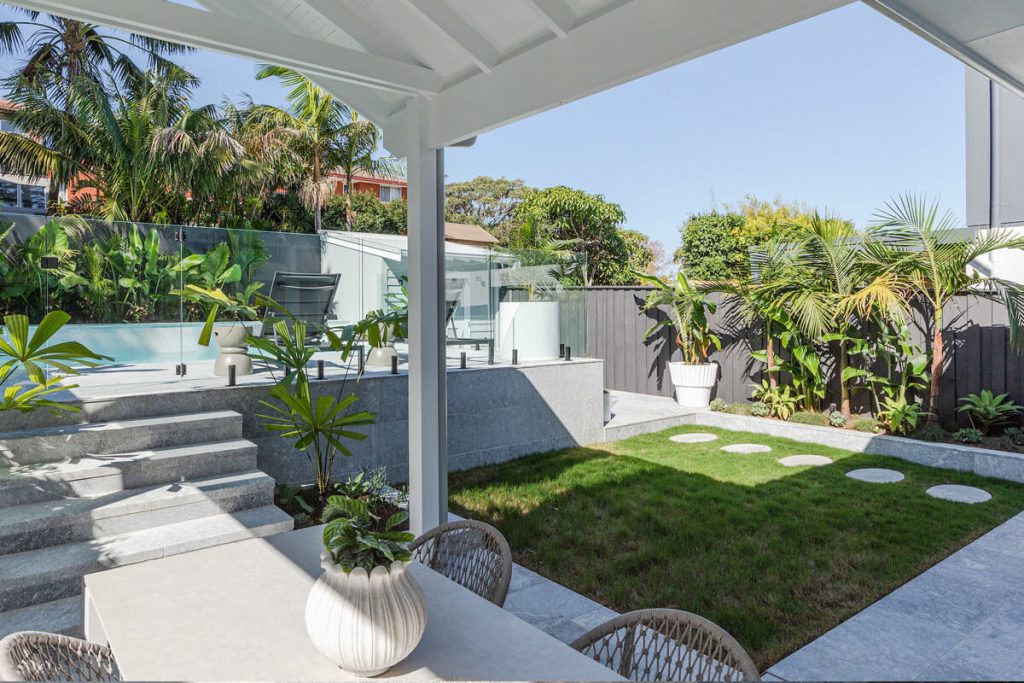
6 Reasons Marble Pavers are Ideal for Pools, Patios & Driveways

Frostine marble pavers 10

When you hear “Marble” what is the first thought that crosses your mind?

Is it:

– Majestic

– Grandiose

– Kitchen benches

– Roman statues

– Expensive

– Durable?

You are on the money if it’s all of the above!

You see, marble is one of the most majestic and durable natural stone pavers in the world.

And with due reason.

Marble is a hard crystalline metamorphic rock created at the Earth’s crust under enormous pressure and heat.

This causes it to recrystallise.

The result?

An incredibly dense stone that is made from an interlocking mosaic of tiny crystals that give marble it’s unique and distinctly majestic look.

If marble makes you think of ancient Greek and Roman civilisations – you’re also correct.

You see, a millennia later, the buildings and monuments are still standing and as strong as ever.

The Taj Mahal is also built from marble.

Do we need to say more to convince you of marble pavers long-lasting glory and durability?

No?

Good.

Now that we have established the beauty, elegance and glory that are marble pavers, let’s look a little deeper into why you want to invest in marble pavers for an outdoor space like a pool, patio and driveway.

Casalli marble pavers
** Casalli Marble Pavers

1. Marble Pavers For Pools

As we mentioned above, marble pavers are extremely durable.

Their ability to stand the test of time and subsequent wear and tear, in a variety of outdoor applications, is profound.

But did you know, they also have a high heat resistance?

Pretty cool, hey? (Yes, irony intended)

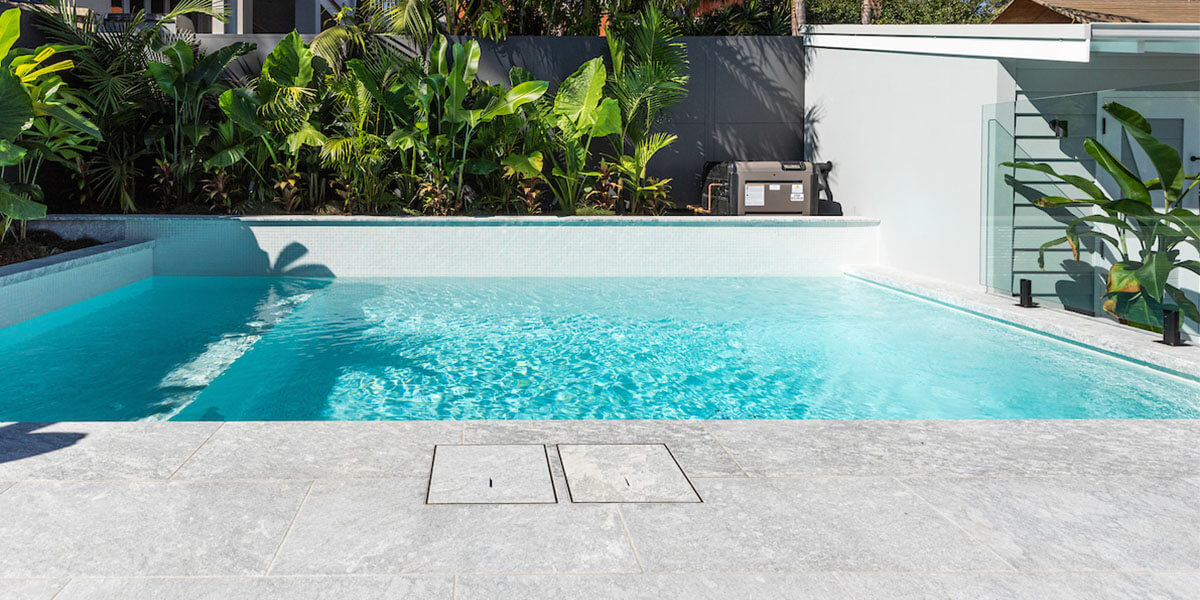
As we are prone to extreme heat in Sydney and Australia, marble pavers are an excellent choice for pool surrounds because when installed, they will stay cool underfoot.

This is a very important consideration when choosing pool pavers.

Not only from the perspective of enjoying the pool surrounds.

But because it’s a safer choice.

Marble tiles are heat resistant, which means that anyone walking around the pool area will keep their feet cool and thus be less likely to injure themselves from the sun’s heat.

This is an exceptionally important consideration if you have children and the elderly living with you.

Siri marble Pavers
**Siri Marble Pavers

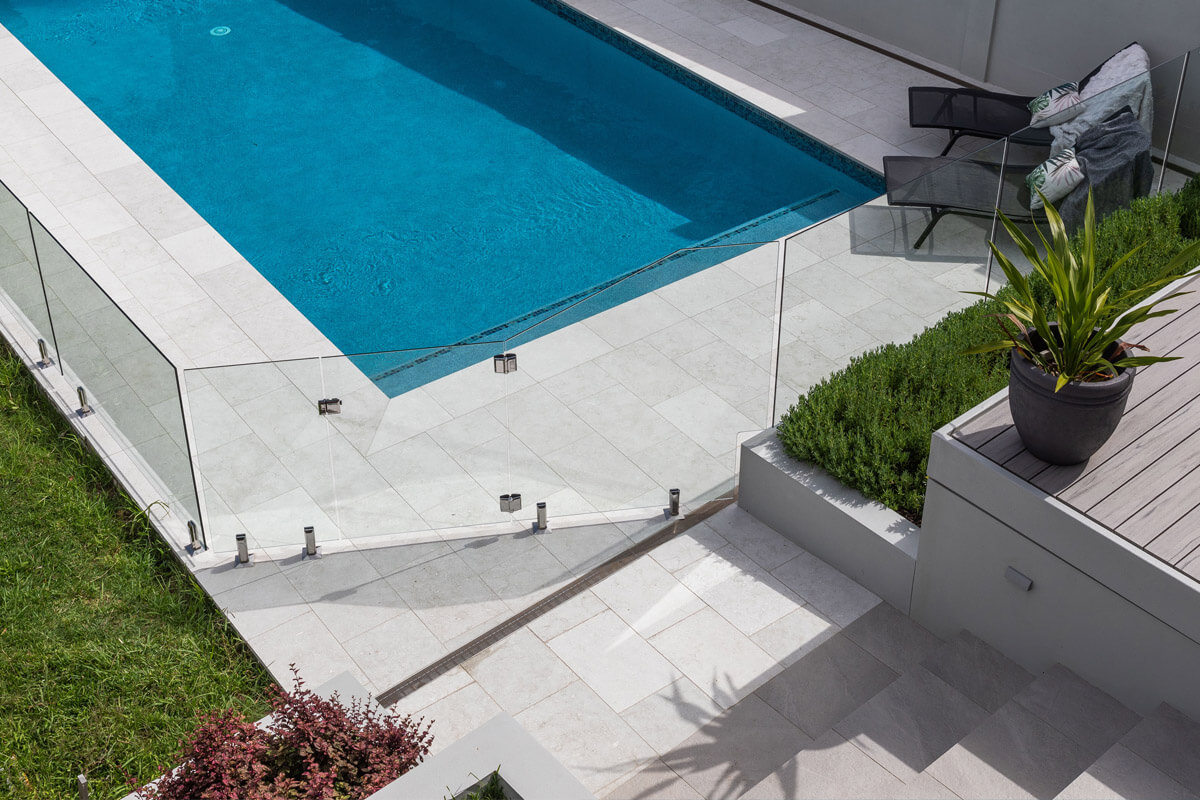
Another important consideration for pool surrounds is ensuring that the exterior marble pavers have a non-slip rating, especially when wet.

At Armstone, we have extensively tested our marble outdoor pavers and can easily recommend which ones will suit your pool surrounds best.

We have everything from antique leather finishes, rugged or bumpy surfaces, rumbled worn and more unique patterns.

What’s more, we also stock matching marble pool coping and stepping stones so that when you complete your pool project, you can enjoy a seamlessly matching design.

Along with the practical benefits of installing marble pavers around the pool, they look beautiful and elegant.

And who wouldn’t want a pool deck that shimmers as majestically as the water itself?

We know you want it.

So, are you set on installing marble pavers around your pool?

Excellent!

Like all other natural stone pavers, marble requires a certain procedure when installing them.

We have written a very technical article that covers the whole process of how to install natural stone pavers.

And if you have any questions, please call our team of experts at 1300 560 560 for more information.

Now let’s look at …

2. Marble Pavers for Patios and Outdoors

Here we can simply rehash everything we said in the section above.

But you already get the picture, so we shall say this.

Patios and outdoor areas like paths and steps, take a big workload from consistent foot traffic and furniture.

As such, considering how often the area will be used and worn over time, is imperative.

See, you wouldn’t want to install something like sandstone (a highly porous natural paver), which won’t be able to handle the prolonged wear and tear and disintegrate over time.


Frostine marble pavers 10
** Frostine Marble Pavers

Marble outdoor pavers will last and last and last.

You install them once, and that’s pretty much it.

No matter how often the patio or steps or staircase is used, your marble tile and paver will be as beautiful and ever.

We do recommend considering the slip rating of the chosen paver, and also sealing it and cleaning it regularly to retain its rich colors.

We have a separate blog that goes into this in more depth.

Learn more about sealing and cleaning your marble pavers here

Now that we’ve established that marble outdoor pavers are an excellent choice for pool surrounds and patios, let’s look at another outdoor area where you may not even have considered marble…

3. Marble Pavers for Driveways

Oh yes…

Driveways!

Now, if you think pool decks, paths and patios get their load-worth in wear and tear, it does not remotely compare with the heavy load driveways have to endure.

Think about it…

Every time your car drives in, and out and in and out again, that’s a heavy load on the pavement.

You compound this over time and the composition of the chosen natural paver begins to disintegrate over time.

Especially if it’s not fit for driveways.

Marble is created under extreme pressure.

As such, it can withstand a lot of pressure.

This makes it a perfect natural stone paver for driveways!

You might be thinking: “But my driveways don’t need to look so lavish and elegant.”

While it’s true that a driveway has more functional than aesthetic purposes, it’s worth considering the upkeep on your driveway.

Cars can leave stains and leaks, and other marks.

Armstone marble pavers are low maintenance, easy to clean and have a level of natural resistance to stains.

Frostine marble pavers 8
**Frostine Marble Pavers

So, it’s really a no-brainer why choosing marble pavers is an ideal option for driveways.

And!

They’re also available in a tumbled finish or sandblasted finish.

These add grip to the stone which helps minimise slips.

And always better grip for your cars tyres.

A critical consideration for driveways.

And our Frostine, Dora or Siri Marble Stone Pavers, with their cool grey-blue colouring will be extremely practical for any driveway.

And lavish as well.

Why not feel like you’re driving into your own castle after a long day’s work?

Surely, it’ll make you feel better, right?

Before we finish, let’s look at some…

Things to think about before buying marble pavers

Marble pavers, when compared to other natural stone pavers, do require a higher initial investment.

In saying this, when installed correctly, they will require minimum attention and maintenance, saving you time (and money) in the long run.

We understand if you’re working on a budget.

And we are also passionate about you getting the job done right once.

(Truthfully, we have seen a lot of horror projects in the past 10 years).

As such, we would love to help you consider marble stone pavers for your pool, patio, outdoors and driveway.

Because you want to do the job right once.

And enjoy it for the rest of your days.

Chilla marble pavers 2
**Chilla Marble Pavers

Why Marble is the Perfect Outdoor Paver

Marble pavers are as practical, durable, and versatile as they are elegant and majestic.

They are a worthy investment for any home pool surrounds, outdoor areas like patios, steps, staircases, and even driveways.

At Armstone we stock a wide variety of marble outdoor pavers suitable for paving, steps, and pool coping.

Our pool coping is available in drop edge coping, pencil edge coping and bullnose edge coping.

So, whether you are looking for cool and modern coloured exterior marble pavers or more traditional and warm coloured ones, at Armstone you’ll find more than 10 best-selling marble pavers to suit any outdoor project.

View our collection online or visit our Sydney showroom in Glebe.

Alternatively, call our team of experts on 1300 560 560.

Or submit an enquiry form online with any questions, concerns or orders.

We look forward to hearing from you.

And helping you bring your outdoor marble paver pool, patio, or driveway to life.

6 Steps to Correctly Installing Fibreglass Pool Coping and Pavers

Calabria 2

Installing a fibreglass pool is both an asset and a luxury for your outdoor space.

So as a homeowner or contractor, it’s crucial that the installation is done correctly.

Because once the fibreglass shell is installed, it is very hard to change.

That’s why choosing the best pool coping material and paving is of paramount importance.


Alongside the above, you also need to consider:

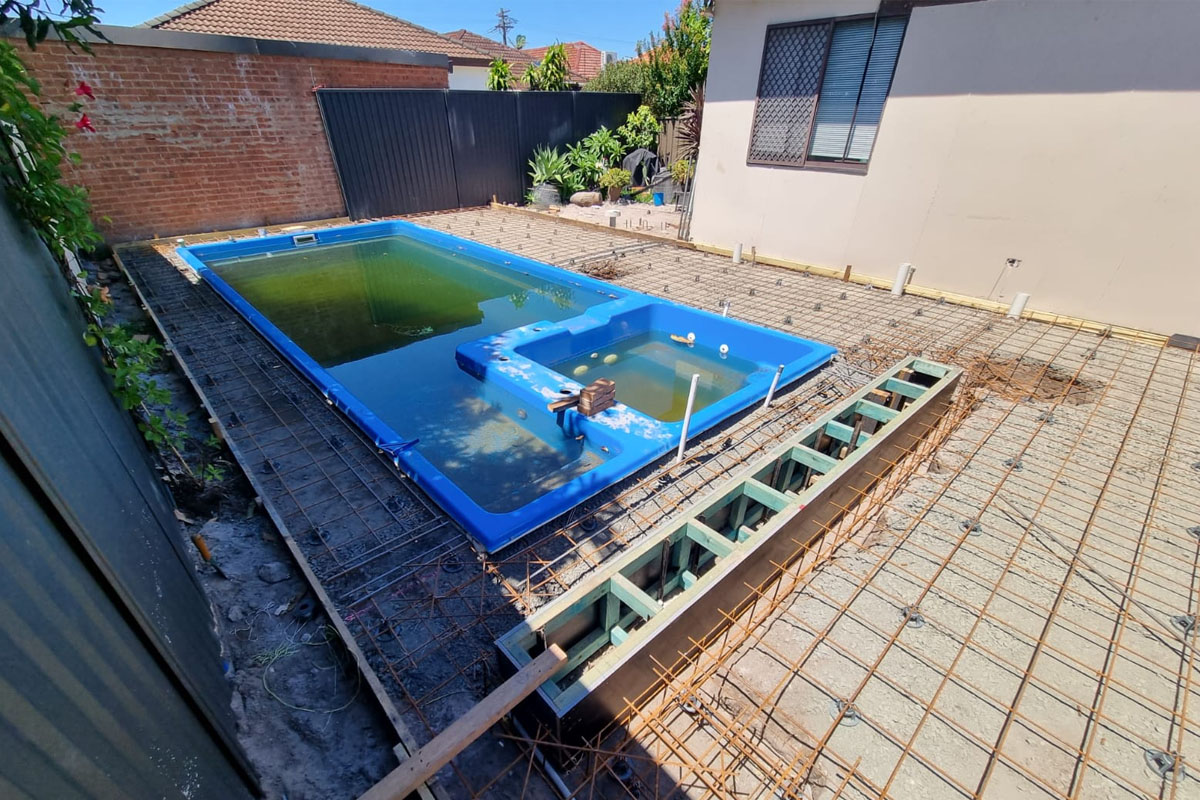
1. The necessary Earthworks and/or Groundworks to be completed for the area

2. Steelwork reinforcement

3. Relevant concreting works

4. Waterproofing the slab prior to installing the coping

5. Choosing the correct pool coping and installation methods, and

6. Sealing the pool, pavers and coping once everything is complete.


In today’s blog we will review each step so your installation of the fibreglass pool is a successful one.

Let’s begin – here’s how to install a fibreglass pool correctly.

Calabria Limestone 9
** Calabria Limestone Pool Pavers

1. Earthworks or Groundworks

Before installing the fibreglass swimming pool shell or starting any excavation or concrete work, you (or a contractor) needs to assess the existing ground cover and soil. You need to assess if the existing soil is:

● Clay-based

● Sandy

● Rock or sandstone, or

● Backfill and rubble


This is important because you want to ensure that any concrete footing installed in and around the pool will stand the test of time against the elements.

Knowing the soil you’re working with, will determine the correct method of installation.

You also want to ensure that your concrete foundation holds the weight of the fibreglass shell, pavers, coping and water.

This is why it’s important that you install a compacted road base or subbase footing under the concrete footing.

This type of foundation is non-permeable.

This means that once compacted it’s:

● Self-draining

● Holds the structural weights

● Reduces any shrinkage of the concrete after installation.


2. Steelwork

Before starting the concreting, you need to install the correct reinforcements.

These reinforcements are typically in the form of steelworks.

These need to be identified by a structural engineer.

For example, you might need to use SL82 reinforced concrete mesh for the coping bean and to bond the surrounds.

You may also need N12 rolled galvanised bars at appropriate spacings in the bond beam footing to hold the structure together.

This step is very important, so be sure to hire a licensed professional structural engineer.

Steel work for Concrete

3. Concrete Works

It’s crucial that your fibreglass pool has concrete footings and surrounds.

Here you want the bond bean and surrounding footings to be no less than 120mm thick.

(Of course, these can be thicker if required for design or structural reasons).

Additionally, it would help if you had 32mpa of concrete.

When the concrete footing and steelwork are correctly installed, they’ll hold the structural unit of the pool and surrounding areas very well.

For maximum structural strength, allow the concrete to cure for a minimum of 14 – 28 days before installing the fibreglass shell.

Like many materials, concrete expands with heat and contracts when cool.

Add saw-cut joints every 4-5 metres to counter this and minimise cracking.

You need to follow through with these saw-cut joints to the finished tile and paver surface with a silicon joint. You can use the same colour silicon for these expansion joints as the grout. Ardex has a wide range of coloured grouts that match the exact colour of the silicon Ardex ST  Silicon.

Finally, your structure engineer may have indicated additional steelwork in the plans or guidelines supplied.

It’s important to note these and add additional reinforcements.

Concrete works

4. Waterproofing

Your fibreglass pool should now have a solid concrete and steel foundation and cured.

This leads us to the third step in the installation process:

Waterproofing.

A pool by nature is prone to high moisture.

This is why a waterproof membrane is essential prior to installing the pool coping and paving.

You want to ensure that the natural stone pavers or porcelain pavers remain as dry as possible.

Here we recommend using Ardex WPM002 for non-moisture-sensitive tiles and all areas that are subjected to constant moisture.

This Ardex waterproofing creates a polyurethane layer on top of the reinforced concreting.

Subsequently stops any efflorescence and moisture arising through to the surface after installation.

And now that you’ve waterproofed everything You need to choose the coping and paving you wish to install

Waterproofing

5. Coping and Paving Installation

The last stage in bringing your fibreglass pool to life is installing the correct pool coping and pavers.

Here you can consider either natural stone pavers or structural porcelain pavers for the pool area.

Regardless of what you choose, it’s critical that the coping and surrounds are installed correctly.

And are structurally sound.

If you need any tips on how to choose the best pool pavers and coping, we have prepared a blog earlier. Read more here.


Now, let’s look at pool coping (edge of the pool)

Believe it or not, pool coping is available in a variety of finishes.

These include:

● Drop Edge Coping

● Bullnose Coping

● Pencil Edge Coping

● Mitred Drop Edge Coping (not recommended for fibreglass pools)


So which of the above pool coping options is best for fibreglass pools?

Great question!

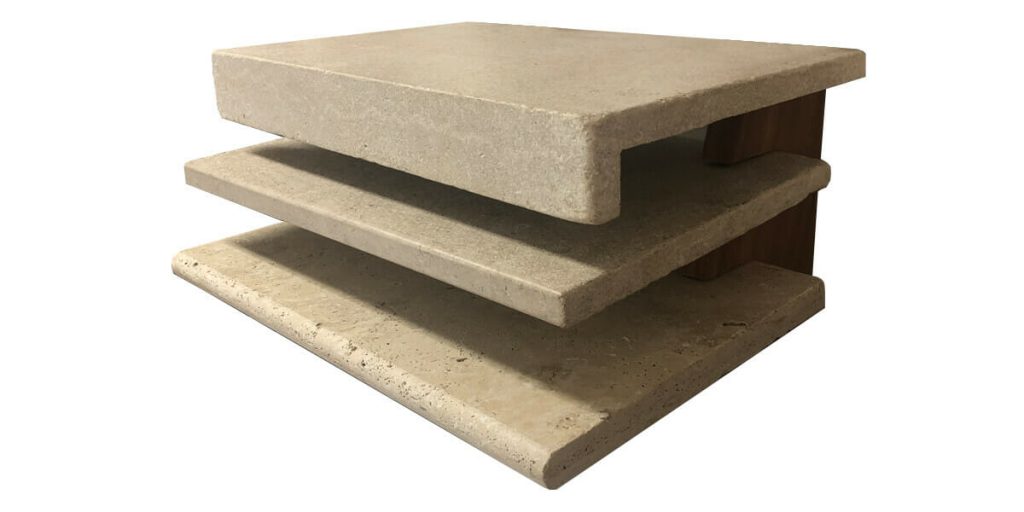
Melba Limestone Coping Profiles
** Melba Limestone Coping Profiles


We answer it in more detail in a blog we wrote earlier. Read the blog on the Best Fibreglass Pool Coping options here.

As we mentioned at the start, a fibreglass pool is both an asset and a luxury.

You want it to stand the test of time.


You need to consider things like:

● Is the pool coping appropriate ?

● Is the pool coping stone suitable for salt water, chlorinated, mineral or magnesium pools?

● Is the pool coping have the correct thickness?

● Is the pool coping appropriate for the entirety of the pool?


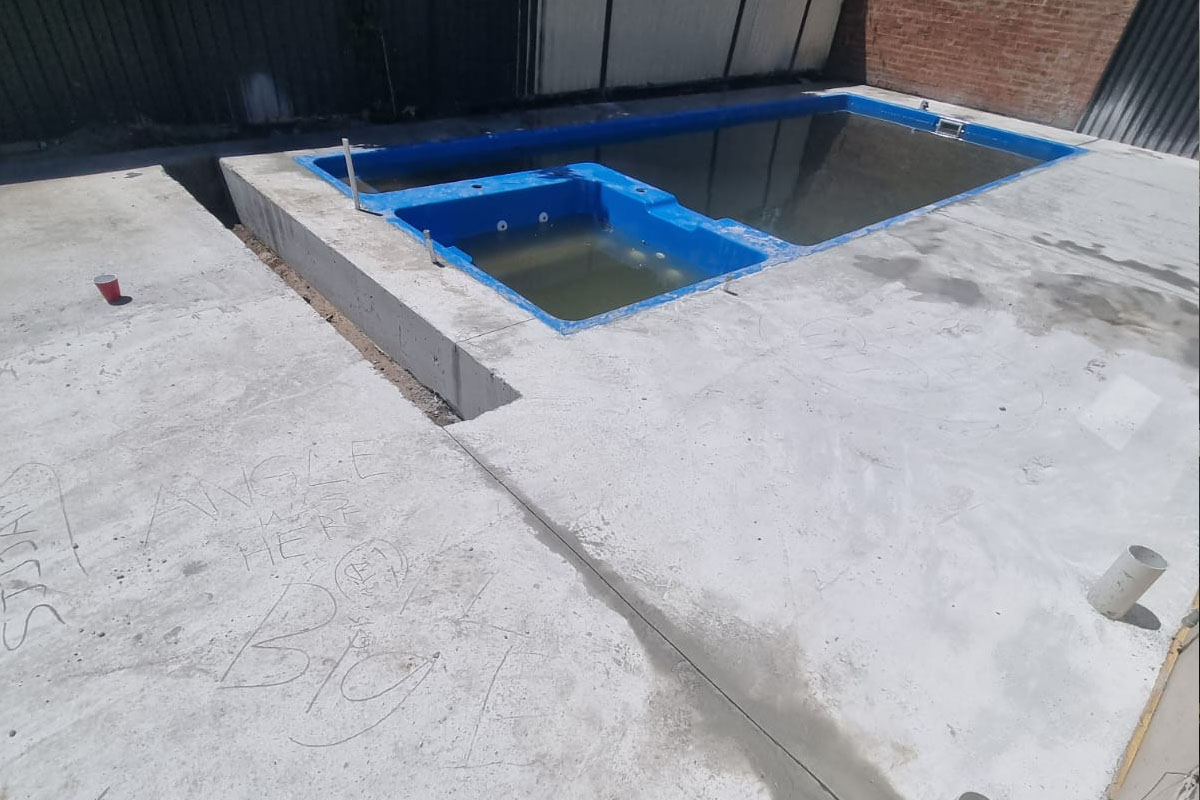
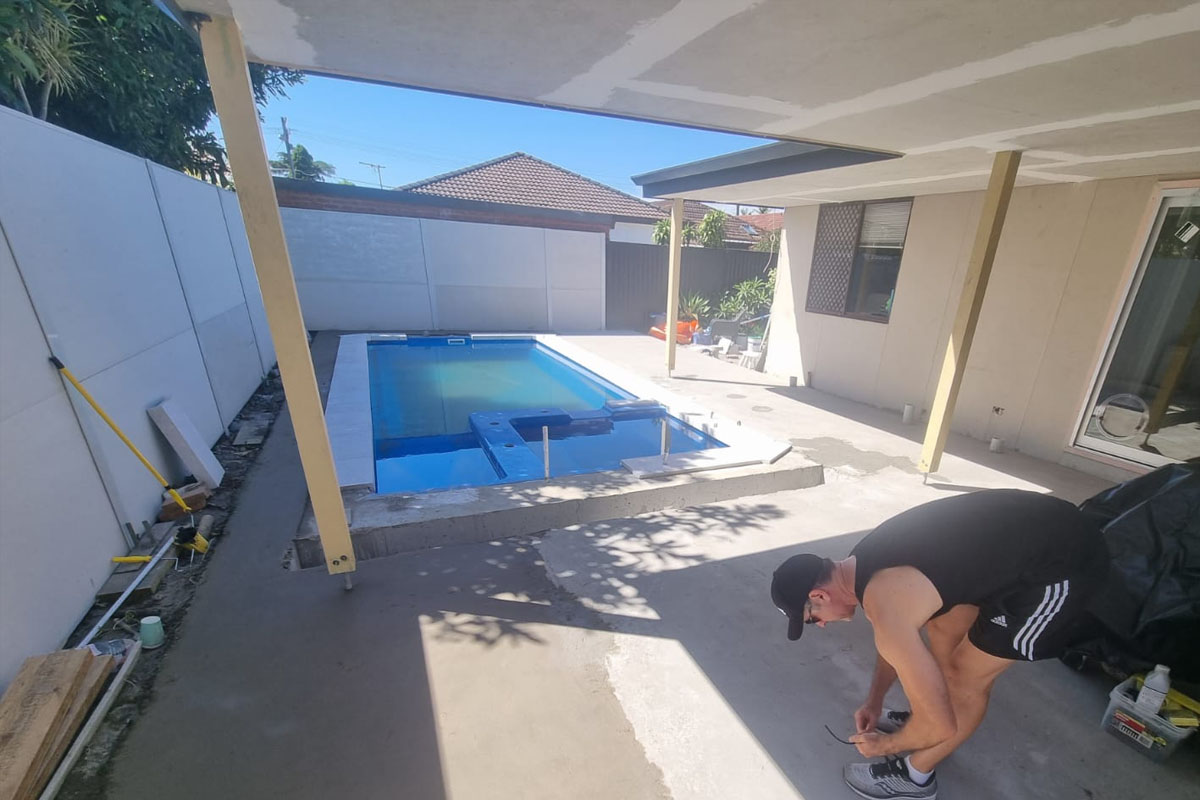
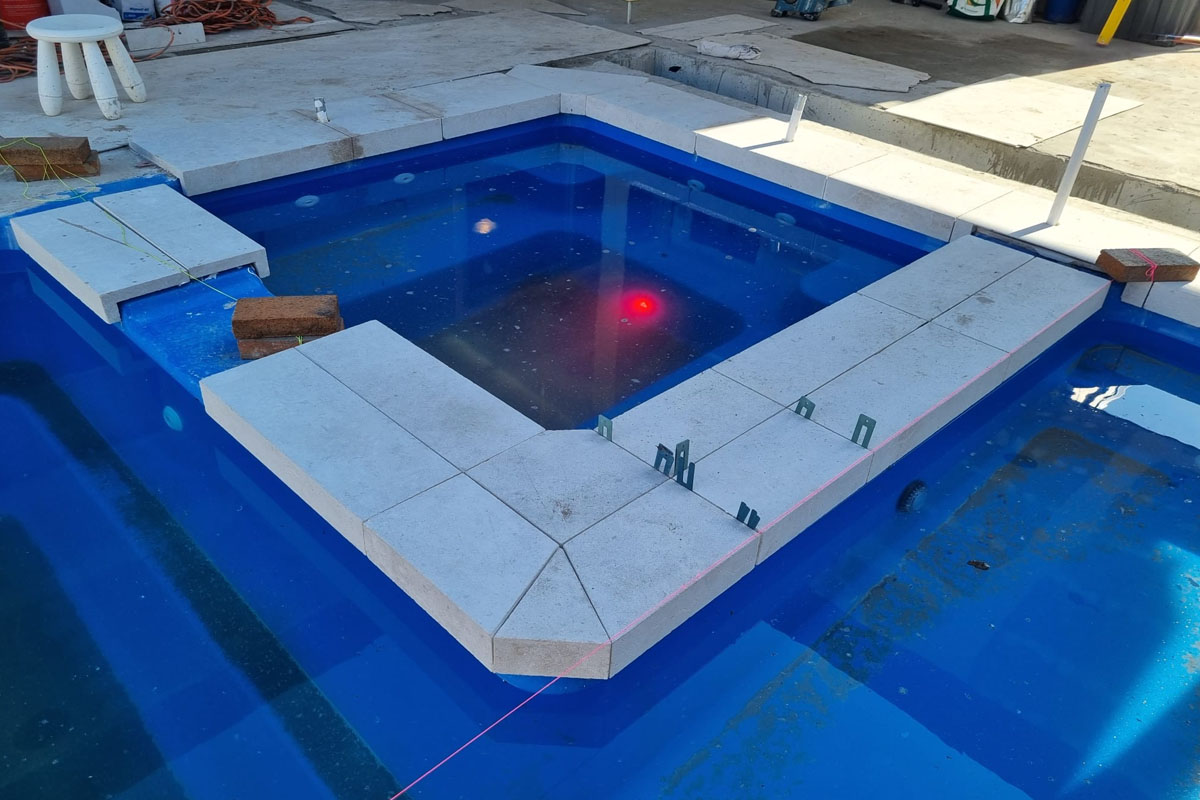
Fibreglass coping corners and spa corner

Installing the wrong pool coping pavers is a costly exercise.

Make sure you avoid that contact our team of experts for further information.

Use the contact form.

Or call us at 1300 560 560.


Now let’s talk about what you need to hold the pool coping together. So …


What is the best Fibreglass pool coping adhesive?

Ardex is our go-to fibreglass pool coping adhesives brand.

Many fibreglass pool copings fail due to incorrect installation methods.

These can include using sand and cement mortar for adhesion to the fibreglass.

Or even using tile adhesives.

Neither of these are appropriate for fibreglass pools because they will debond over time and cause structural movement and issues.

Instead, the best adhesives for pool coping to fibreglass pools are:


Ardex CA20P construction adhesive – use this to bond the stone to your fibreglass pool. Apply directly to the fibreglass portion.

Ardex x18 tile adhesive mixed with Ardex E90 fibre reinforcement liquid – apply this to the concrete substrate.


POOL COPING ADHESIVE FOR FIBREGLASS POOLS

6. Sealing

Once you have completed the other five steps, you want to ensure that the pavers and coping are sealed correctly.

Why?

Well, you want them to stand the test of time, right?

And sealing pool coping tiles protects the paver’s surface from wear and tear.

Environmental conditions, foot traffic, chlorine, salt, and many other factors contribute to basic wear and tear.

Sealing also reduces any minerals from penetrating into the stone from the substrate and surface.

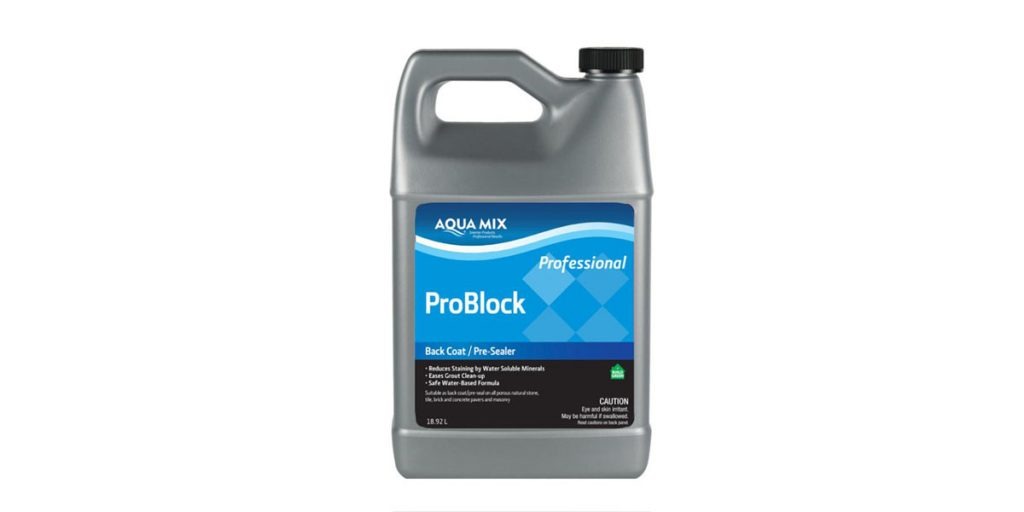
We strongly recommend pre-sealing the natural stone pavers or tiles on all 6 sides prior to installation. Aquamix-ProBlock is our go-to sealer, especially for salt and chlorine pools.


We also recommend:

AquaMix – Sealers Choice Gold as a top sealer to be applied onto the stone’s surface after grouting.

Aqua Mix – Enrich and Seal to protect and (in some cases) enhance the stone’s surface appearance.

The sealer should be applied in two coats.

Sealers-Choice-Gold
Sealers-Choice-Gold

Leave it in so it penetrates the stone and grout.

This will shield it from moisture penetrating the exposed stone surface.

It will also hold a barrier to repel any leaf and stain damage.

And there you have it!

Silver Travertine Pavers

6 critical considerations for installing pool coping and pavers for fibreglass pools.

And if you need any additional help with selecting pool pavers for your fibreglass pool that will match your lifestyle needs call us on 1300 560 560 or visit our beautiful showroom in Glebe, Sydney.

We pride ourselves on listening to your unique needs and sharing industry best practices to help you find the most suitable, ethical, and tailored solution for your home project.


If you’re looking for the best installer to complete your fibreglass pool project, we send you to  RBG Landscapes with high recommendations.

Rhys Galvin is one of the best in the industry. You can contact him at 0415 874 416   Image 2 3 23 at 11.57 am

Cobblestones For Driveways and Landscaping

Mistral Granite Cobblestones

Cobblestone pavers have a way of taking you back in time, to old European cities where horses and carts ventured through windy, narrow, and uneven roads.

Maybe you’ve even strolled through these European laneways, lined with cafes and restaurants in France or Zurich, or stumbled across the cobbles while shopping in Italy, or even enjoyed exploring old castles with cobbled courtyards.

Whether you have travelled to Europe and explored these cobblestone streets, or you’ve only seen them in movies, you’d agree that cobble stones add a beautiful, magical, and romantic touch wherever they’re installed.

But why cobblestone pavers?

Well, cobblestones earned their popularity in Europe because they were easy to find, economical to source and simple to install. These rounded stones, collected from riverbeds, had many helpful qualities for roads. As they formed from years of erosion through fast-racing rivers, they were excellent for traction and reducing muck and mud on roads.

Fast forward a few hundred years, and you’ll see that cobblestone pavers are installed in many modern and contemporary homes. In fact, they’re an extremely popular choice amongst builders, landscapers, architects, and homeowners, and with due reason too!

Firstly – as evidenced with the cobble streets in Europe – they are strong and durable stones that can stand the test of time. Neither political turmoil, nor environmental changes, nor heavy traffic can ruin them.

Secondly, their versatile nature makes them an ideal natural paver for driveways, patios, pathways, and many other places.

Thirdly, they are ideal for installation in more challenging areas like curved or gradient surfaces, where installing larger and rectangular natural stone pavers is a difficult and cumbersome task.

Now, in today’s article we explore why cobblestone flooring is the ideal solution for driveways and landscaping in contemporary and modern homes, the types of cobblestones you can choose and where they’re best suited, as well as the product specifications to consider for the installation purposes of mesh cobblestones.

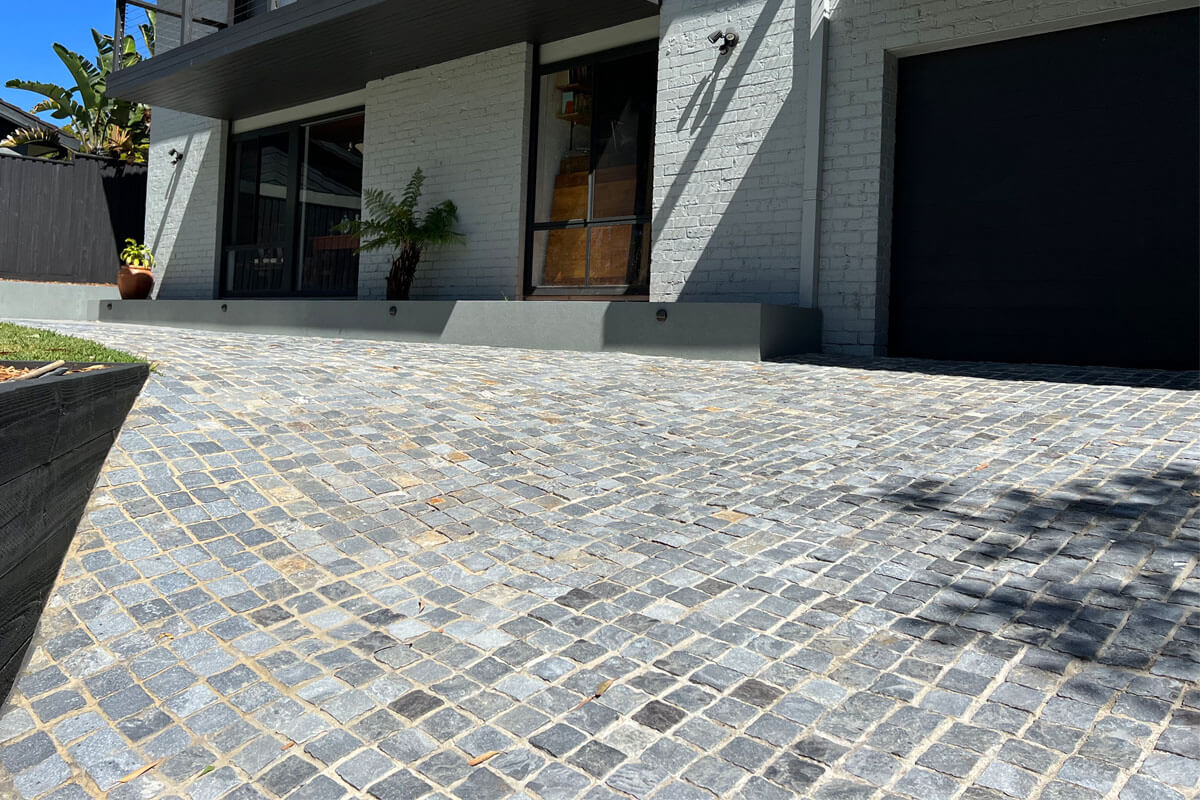
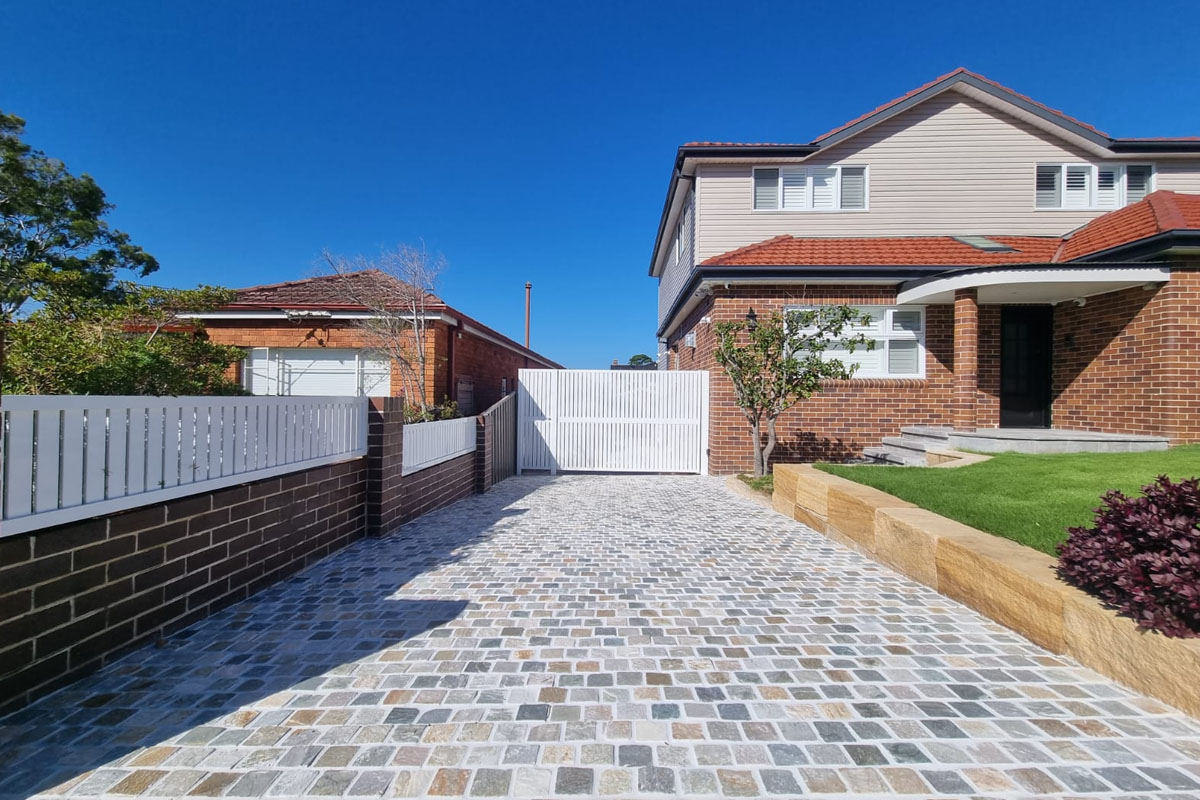
Raven Granite CobblestonesRaven Granite Cobblestones create a grand and practical entrance to this house.

Best Uses For Cobblestones

As mentioned above, cobblestones are strong, versatile, and extremely durable. This makes them an ideal solution for high traffic areas that are more susceptible to wear and tear, like driveways and pathways. In saying this, you might also consider adding cobblestone flooring – with their old-world appeal – to your patio or general outdoor landscaping around your home.

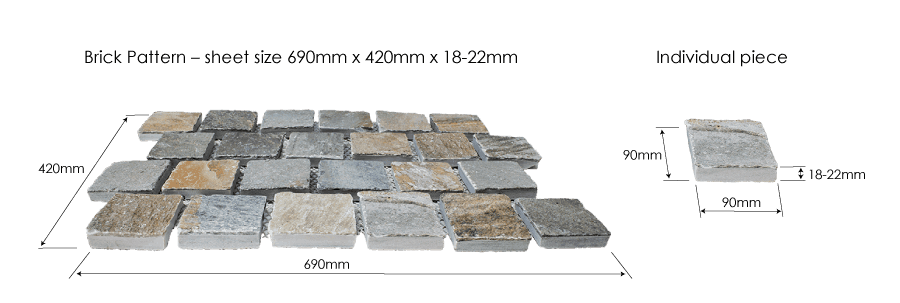
If you’re wondering what paver is best suited for driveways, we strongly recommend cobblestones for driveways for a few reasons. While compared to other natural stone pavers, cobbles are much smaller stones – roughly 100x100mm and 30-60mm in thickness – they are slip-resistant and can hold a lot of weight. So, if your garage holds several cars and people are using your driveway several times a day, cobblestone pavers will support the traffic load without bearing much damage. In fact, if you invest in granite cobblestones, porphyry cobblestones or bluestone cobblestones, the stones will even help mask tyre marks and assist with traction – especially if your driveway is on a slope.

Secondly, since cobblestone pavers are small and available in different patterns – like brick, herringbone, and stagger-set – they are a much more versatile material to work with. As such, choosing cobblestones for driveways means you don’t have to fuss around with large pavers that can be awkward to install on gradient slopes and curved areas – both of which are quite prominent in driveways. In this sense, cobbles are much easier to install in difficult areas. Additionally, Armstone cobblestone pavers are made overseas to resemble the original European cobblestones as closely as possible. This means they’re available in modern colours such as grey, dark-navy and blue-greys which means you can easily match them to the design of your modern/contemporary driveway and home.

Audrey Cobblestones on mesh

**Audrey Cobblestones on mesh are perfect for busy driveways.

Cobblestones are also a wonderful choice for outdoor landscaping, gardening, and flooring like pathways, bordering around trees and flower beds, patios, as well as edging around a fountain and other water features.

Whether you have a modern or more traditional outdoor design and aesthetic, we stock cobble stones that will suit either exterior. The darker, mysterious and cooler tones of granite, porphyry, regetta, and bluestone cobblestone pavers are ideal for modern decors, while quartz and travertine cobblestones, with their creams and off-white tones, add warmth to a more traditional outdoor aesthetic.

If you want to create a unique pathway that resembles an old English cottage vibe or the paving of ancient Roman streets, install cobblestone pavers in a rectangular pattern. You can choose from a herringbone, filetti or brick-bond design. For a flat and consistent surface, we recommend a herringbone pattern as it’s easier to walk on. This is ideal for homes with kids, pets and elderly members who might otherwise trip at the uneven surface created by installing irregularly shaped brick or narrow cobble pieces to achieve the filetti or brick bond looks. And if you’re looking to add a unique touch to your landscaping and maybe define certain focal points, cobblestones make exquisite borders around larger pavers.

Regardless of which cobblestone paver design you choose, you’re guaranteed to create a timeless landscape, along with a durable and slip-resistant flooring solution that will last generations to come.

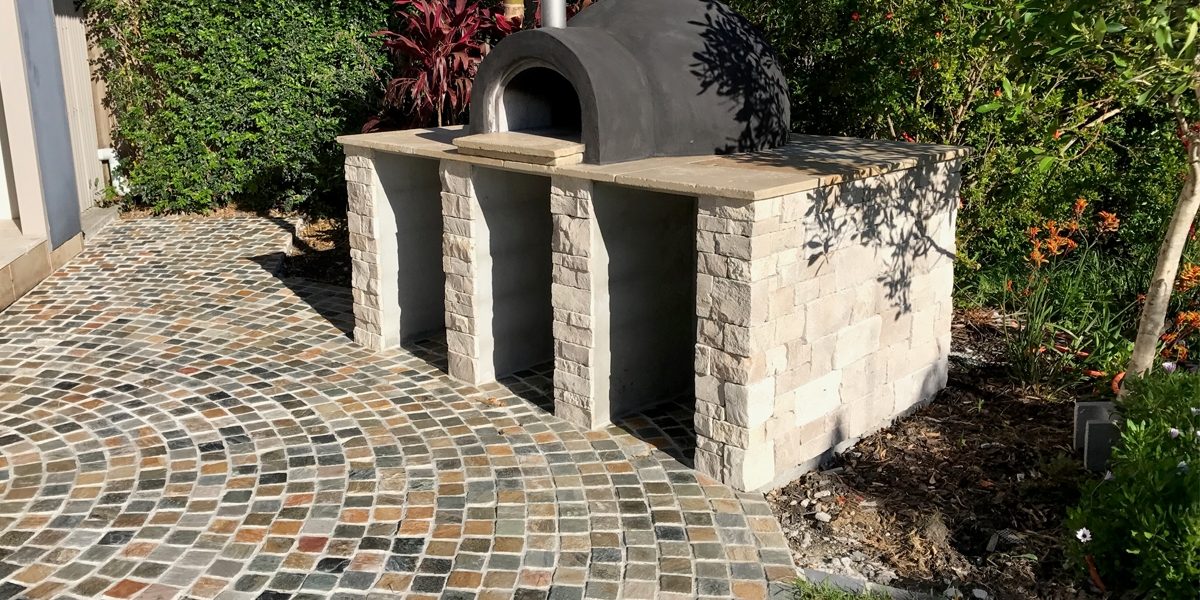
Bonza Quartz CobblestonesBonza Quartz Cobblestones create a beautiful circular artwork in this outdoor patio.

Types of Cobblestones

Now that you’re more familiar with the history of cobblestones and their best uses, let’s look at the types of cobble stone flooring available and the best uses for each variety.

Basically, cobblestones are available in three types of finishes: split-face, tumble/rumbled, and flamed/exfoliated.

So how to choose which finish is the best one for your project?

Well, this truly depends on the type of aesthetic you’re trying to achieve. For example, if you want a natural, uneven, and old-European laneway cobblestone look, split-face is ideal because the cobbles have been split from a much larger stone and have a rough look, as though you’ve just found them at the riverbank.

Alternatively, if you’re looking for a smoother, uniform, and consistent finish, the tumbled/rumbled look is ideal. Tumbled cobbles have been processed by joining smaller stones together. Though they still look like cobblestones, they have softer edges and are a good option for pathways.

Finally, if you want a textured, natural, slip and moisture-resistant surface, then the exfoliated/flamed finish is the best choice for you. Here the cobblestones have been heated with a high intensity flame making the stone’s surface rough and faded. This means the cobbles have better grip and have a more natural aesthetic.

Reggetta Cuboid Cobblestone Pavers 2

Regetta Cobblestones add a stylish touch to your home.

Once you’ve decided which finish best suits your project, it’s time to choose from the following three installation options that we stock at Armstone:

  • Mesh cobblestones (see adhesion method at the end of this article)
  • Cuboid cobblestones
  • Split-loose cobblestones

Much like choosing the type of cobblestone depends on the general use and aesthetic for your cobblestone driveway or landscape project, choosing the best installation method factors in your budget and the type of finish you desire.

So let’s look into them in a bit more detail.

  1. Mesh Cobblestones

Like the name suggests – instead of using them individually – we glue cobblestone pavers on mesh. The mesh backing offers an easier and more efficient installation process. So instead of fussing around and going through the time-consuming task of installing the cobblestones one piece at a time, you can achieve the natural cobble stone aesthetic at half the cost of installation.

Additionally, since these cobble stone pavers are made from off cuts of different stones, if you’re looking to create an outdoor floor with an un-uniformed style that closely resembles cobblestone flooring found in older European cities, mesh cobblestones are the ideal solution. Their variety of colours and shades adds character and texture to any space.

BONZA QUARTZ COBBLESTONES

On the other hand, if you prefer a more uniform shape, size, and colour for your cobblestone flooring, we recommend Granite Cobblestone pavers. These pavers are available on mesh backing in either a flamed or exfoliated finish. The granite has a high non-slip rating of P5, achieved by using high heat to fracture and spall the mineral inclusions. This makes the cobblestones flat and consistent, ideal for pathways and driveways with high traffic. If you’re looking for a consistent finish, Raven Granite Cobblestones and Gris Granite Cobblestones are ideal choices.

If you’re set on installing cobblestone pavers on mesh, learn more about how to do this yourself by reading our article here.

Bonza cobbles 1

  1. Cuboid Cobblestones

Cuboid cobblestones are comprised of loose pieces of bluestone, limestone, marble, and travertine cobblestones. We call them ‘invariable’ because of their invariable and constant sizing. They typically have rumbled edges and a non-slip texture. Invariable cobblestones are ideal for areas where you prefer to have uniform flooring such as high traffic pathways that will be accessed by children and the elderly.

  1. Split-Loose Cobblestones

Split-Loose Cobblestones are the last option available at Armstone. These individual stones are split all around, giving the cobbles a traditionally vintage and natural cobblestone look. We recommend installing these cobblestones for exteriors with a more vintage aesthetic. As they provide excellent grip for tyres, split-loose cobblestones are especially ideal for steep driveways.

Being loose individual stones, split-loose cobblestones allow more versatility for installation. For example, you can lay them in either a fan, straight set or brick pattern. Additionally, if you have curved spaces or wish to create a circular design, split-loose cobblestones are the ideal stone paver because they offer you the flexibility to be able to work around otherwise challenging spaces.

Our split cobblestones are generally 100x100mm in length, with a thickness that varies from 30-60mm. Since the stones are split on all 6 sides, it’s very hard to get a consistent thickness throughout. Compared to invariable cobblestones and mesh cobblestones, split-loose cobblestones are also more challenging to install. Thus, it’s best to install them on a mortar bed where you can tap down each individual cobble to make the surface as consistently flat as possible. While the surface will have deviations throughout, it will be reasonably level. If you have any questions regarding the installation process, we recommend reaching out to an experienced professional who understands how to install them so that they are adhered correctly. This way they will provide a solid and durable floor that will stand the test of time.


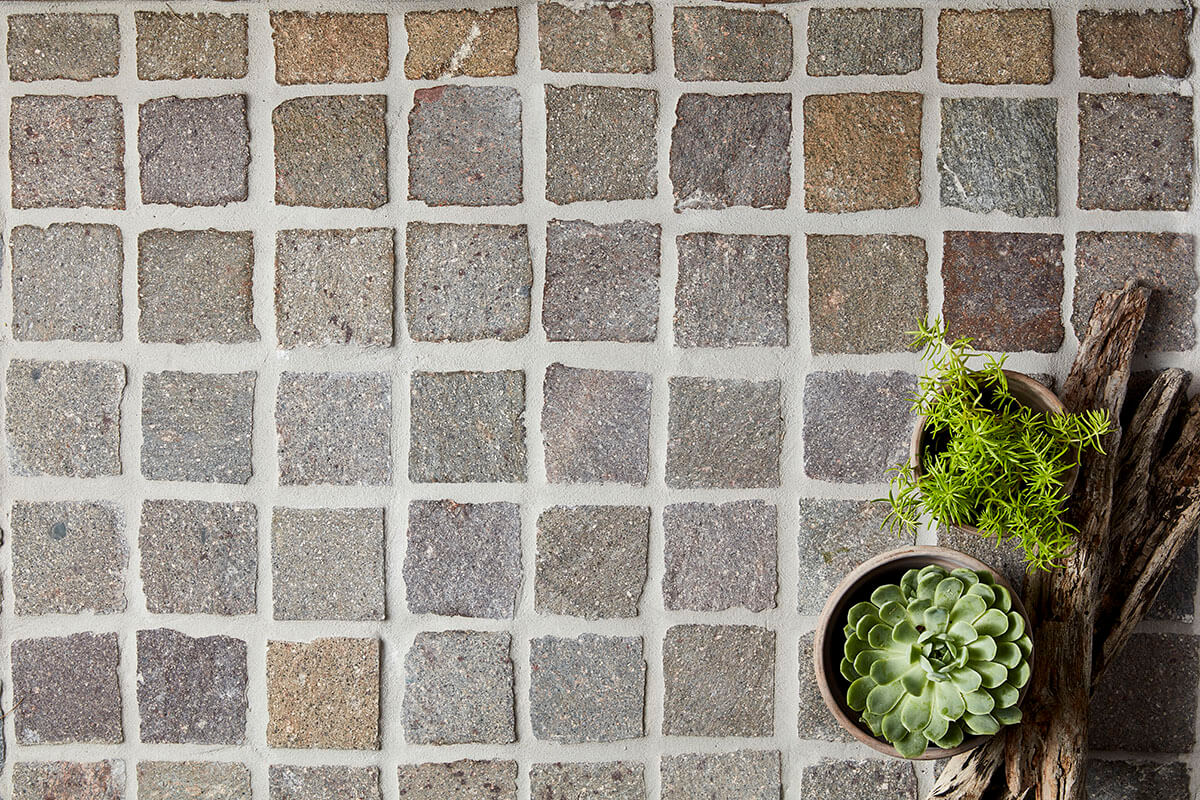
Porfido Porphyry Split Loose Cobblestones
**Porfido Porphyry Split Loose Cobblestones

Adhesion Method for Cobblestones Pavers on Mesh

As we have mentioned above, installing cobblestone pavers on mesh is both faster and more economical than installing other cobblestone pavers like invariable or split-loose cobbles.

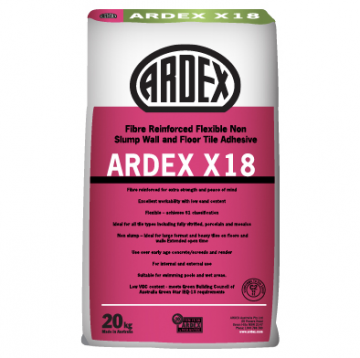
Mesh cobblestones can be adhered directly onto the chosen surface using the appropriate adhesive such as the Ardex X18 with an Ardex E90 latex additive.

Prior to adhering to the mesh cobblestones, you need to create the mix and then fix them into place.

  1. Mixing

Creating a two-part adhesive requires mixing the adhesive with either an additive or an additive with water. As with most mixes, we recommend carefully reading and following the manufacturer’s instructions. They will advise the best ratios for powder, additive, and water for each product. Follow these closely to create the best mixture.

Pour the advised proportion of additive into a clean mixing container. If you’re adding water, use clean and cool water to the additive and mix until blended. Gradually add the required amount of powder to the additive / diluted additive solution and slowly mix the combination. We recommend using a low-speed mixer to create a smooth and creamy consistency.

Once you’ve achieved the desired mixture, let it stand for 1-2 minutes. Then re-stir the mixture prior to using it to adhere the mesh cobblestones.

  1. Fixing

Now that the mixture is ready, it’s time to glue the mesh cobblestones onto your chosen surface. Much like working with any other pavers, first and foremost make sure that your chosen substrate is clean, solid and free of any particles like dust, oil and grease. Make sure your mesh cobblestones are also clean and free from contaminants and dust.

Once everything is clean, follow these steps to install the mesh cobblestones.

  1. First and foremost, ensure that the substrate has been cured. Curing ensures that the chosen surface (whether it’s a waterproofing membrane, concrete base, or a screed bed) is of the ideal moisture and temperature for installation purposes. Again, follow the manufacturer’s instructions so that you’re laying the mesh cobblestones on the best base.
  2. Next, work/key in the adhesive into the substrate using a 15mm notch trowel. Then ‘back butter’ the mesh side of the cobblestones, covering the entire surface so that each cobble firmly sticks to the substrate. “Back buttering” is when you spread a thin layer of the adhesive onto a paver prior to adhering it to the desired surface.
  3. Once well buttered, firmly press the cobblestone sheet onto the freshly notched adhesive. The base of each individual cobblestone needs to be covered by the adhesive bed. Additionally, the adhesive needs to rise 5-10mm into the joint. Use a rubber mallet to move any cobblestones into their desired positions.
  4. To achieve consistent joint spacing for the grout, use joint spacers or wedges between the interlocking sheets. Remove these spacers/wedges once the adhesive sets but is not full cured.
  5. Work in controlled spaces with consideration for adhesive open time (pot life).
  6. Use a spirit level to ensure the installed mesh cobblestones are the desired flatness/consistency.
  7. Ensure that there are no voids beneath the cobblestones by lifting a random sheet from time to time to check.
  8. Finally, before the adhesive sets, ensure that any surplus mixture is removed from the surface of the cobblestones and joints.

Ardex X18

There you have it!

A step-by-step guide on installing mesh cobblestones.

As usual, if you have any questions, we strongly recommend consulting or working with a professional installer.

In summary, whether you’re decorating the borders around your water feature, or looking to install a timeless and rustic pathway that reminds you of your European adventure, or you want a natural stone paver that can endure the heavy load of your busy driveway, cobblestones pavers are strong and versatile, and an excellent choice for any outdoor exterior.

At Armstone we stock a wide range of cobblestone flooring to suit both traditional and modern home aesthetics including Granite Cobblestones, Porphyry Cobblestones like Porfido, Quartz Cobblestones like Lorax, Marble Cobblestones like Lokki and Limestone Cobblestones like Aria.

Hopefully, this article helped you see why cobblestones are an ideal solution for your driveway and landscaping project. If you need any help, feel free to reach out to our natural stone experts online, over the phone at 1300 560 560 or at our Sydney showroom in Glebe.

We love this stuff and would love to help you bring your cobblestone project to life.

Below video will help you understand why is it important that your trusted stone suppler works closely with Installer.


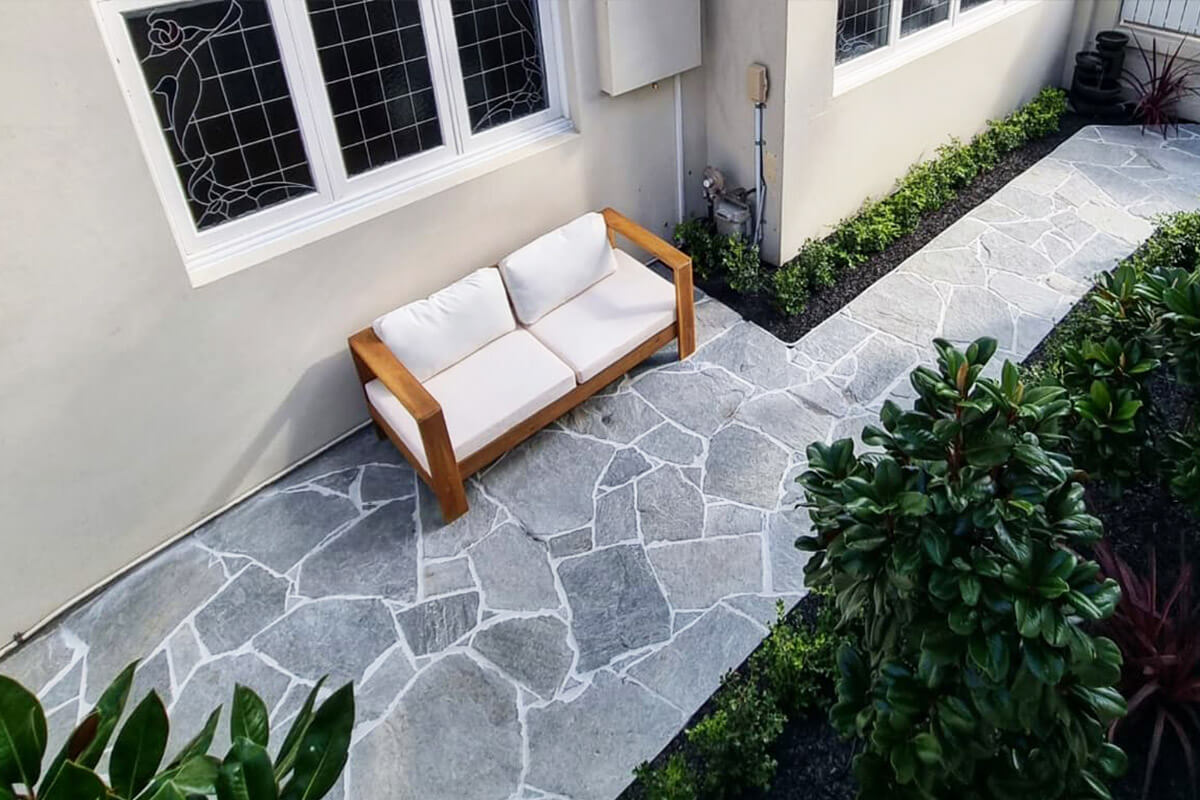
Ultimate Guide for Crazy Paving and Flagstones

Pazzo crazy 3

Stone Crazy Paving (also known as Flagstones) is a type of natural stone paving that originated in Ancient Rome.

This is where they used chipped stones to create roads and pavements.

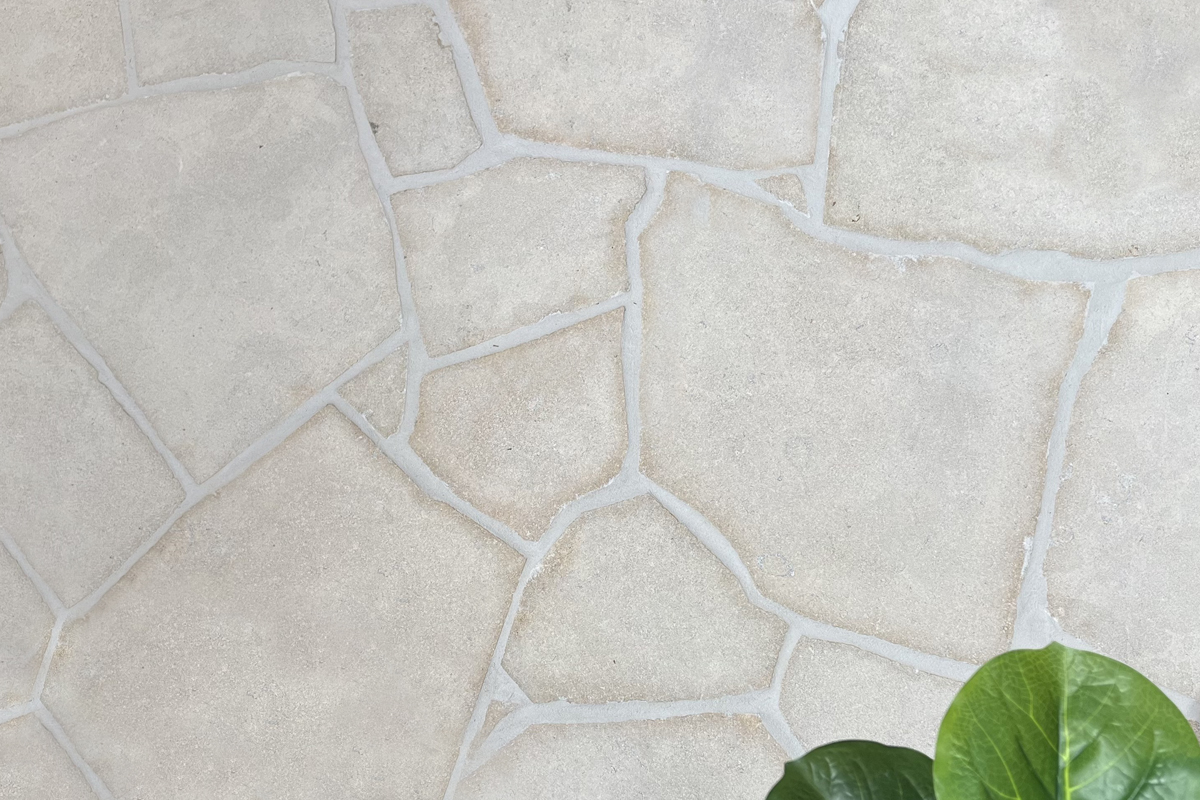
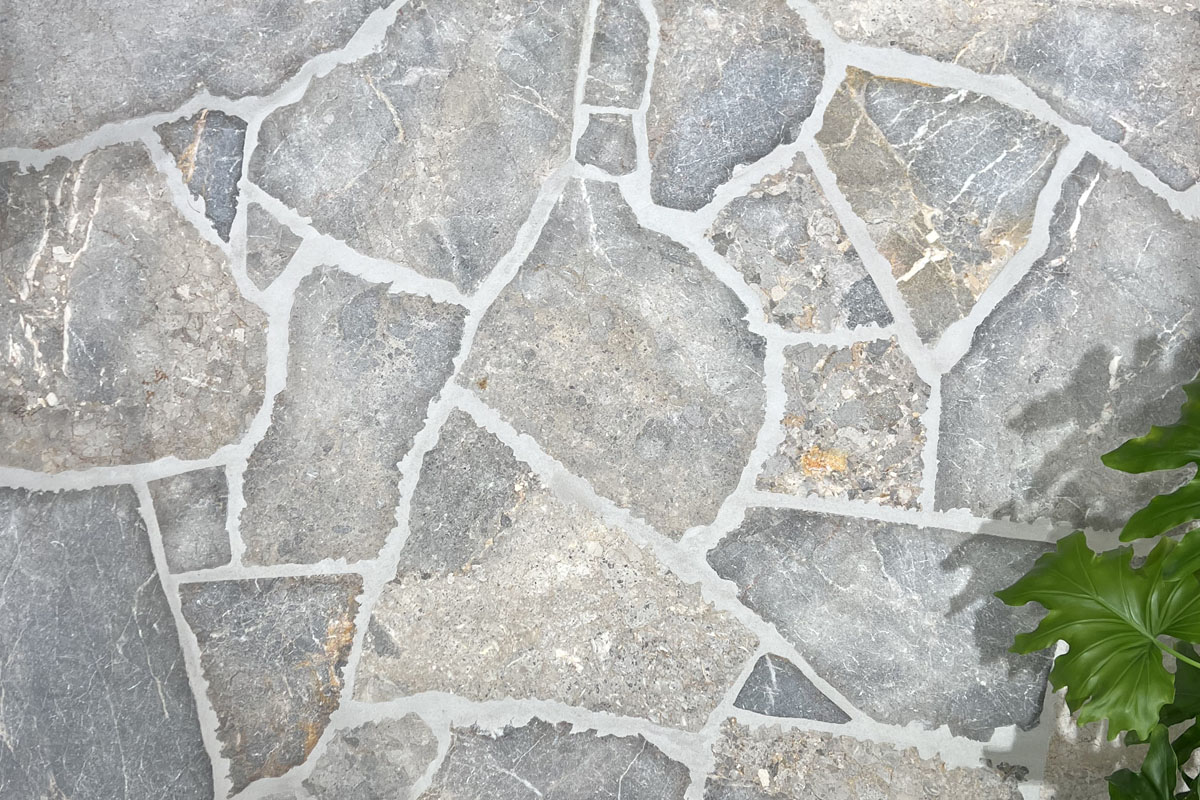
This type of stone paving resembles a mosaic.

Except instead of glass, it’s loose, irregularly shaped, and sized stones that are laid in a haphazard manner.

With grouting poured between the gaps.

Unlike most stone paving where the pavers are laid in a geometric grid style.

A crazy paving design uses naturally broken stones.

And it has no clear geometric grid or pattern.

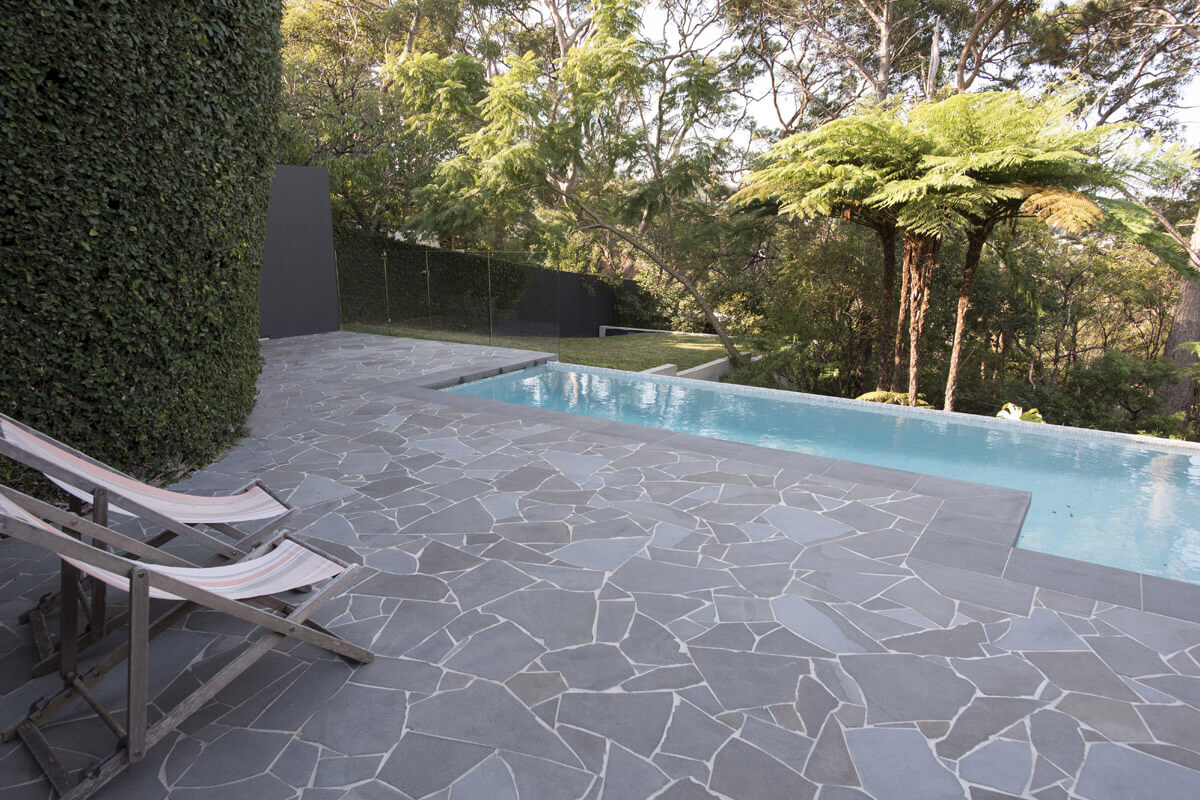
This design is predominantly used in driveways, garden paths, courtyards, pool-side pavers.

And many other locations where you want a more natural or Avant Garde look.

Apart from being popular in Ancient Rome, crazy paving made its debut in Australia in the 1970s.

This was when more homes started to embrace the modern aesthetic and design in their architecture.

Nowadays, due to their more naturally flowing aesthetic, crazy pavers are an excellent choice for many curved areas in your front or back yard.


Pazzo crazy 4

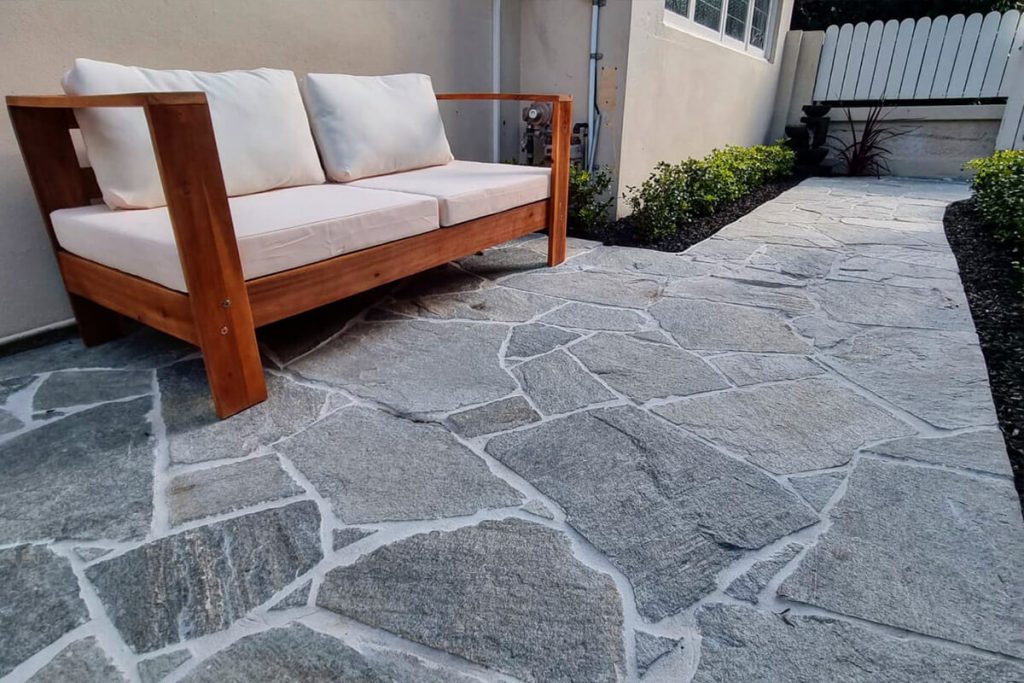
**Pazzo Slate Crazy Paving

Armstone’s Crazy Pavers are both dense and durable.

And available in a variety of natural colours.

They are also consistent in size and thickness.

So that when you lay them down, they create a smooth walking surface.

Our range of crazy paving stones include Bluestone crazy paving, Porphyry, Limestone, Slate and Travertine.

If you want to use your crazy pavers indoors (as well as outdoors).

And directly apply them to a concrete slab using glue.

We have 20mm calibrated crazy pavers with a tolerance of 2mm +/-.

These calibrated pieces have a consistently flatter thickness which allows more ease for installation.

Along with a flatter and smoother surface.

There you have it: a summarised guide on crazy pavers and flagstones.

Where they’re used and the best suited home aesthetic.

Now that we’ve covered that and you’re more familiar with these natural stone pavers.

Let’s dive a bit deeper and address a few questions we are often asked about the installation process.

To do this, we have created a video with Rhys from RBG Landscapes.

In our conversation, he shares the best mortar and grouting technique for installing these types of pavers, which we also summarise in the blog below.

Pianura Bluestone Crazy Pavers 1
** Pianura Bluestone Crazy Pavers 

Best Practice for Installing Crazy Paving and Flagstones

Prior to installing crazy paving or flagstones.

It’s important to determine the type of stone you’re working with and the texture of the ground you will be laying it on.

For example, it’s better to install Pazzo Crazy Pavers onto a mortar bed.

Why?

Because they have a naturally occurring split from top and bottom.

This gives you a 10mm minimum give and take in its thickness and variation.

When laid on a mortar foundation.

This tolerance in thickness gives you the chance to tap down the crazy pavers to create a smooth and even surface.

In the video below.

Rhys from RBG Landscapes takes two square metres worth of crazy pavers from the palettes.

And places them across four square metres of flooring.

He advises that it’s important to see the stone’s shapes and colours clearly.

So that you know what you’re working with before actually adhering the stone to the floor’s surface.

Since the slab they’re using is very rough.

Rhys uses mortar instead of glue, to stick the crazy pavers onto its surface.

If you do not have a slab to work with.

Rhys suggests adding a 120mm compacted road base as the foundation for the paving.

Grampian crazy
**Trello Limestone Crazy Pavers

The Magic Mix

If you’re planning on installing your own crazy paving and flagstone paving.

Here are Rhys’s recommendations for creating all the mixes for crazy paving floors.

The Foundation Mix

Due to the irregular thickness of most flagstones/crazy paving is generally installed on a traditional wet (mortar) bed.

To create the perfect blend, we use a traditional bricklayers mix which consists of:

  • 12 shovels of white / yellow bricklayer’s sand
  • 1 bag of white cement
  • 10L of water mixed with 100ml of Efflock to reduce any efflorescence
  • 50ml of Bycol to keep the mix fluffy and workable.

So that your mix is consist, we recommend using a cement mixer and following these steps:

  • Turn on the cement mixer
  • Add the Efflock water into mixer
  • Add 6 shovels of bricklayer’s sand and allow the Efflock and sand to mix.
    Once you achieve some consistency, add the next 6 shovels of bricklayers sand
  • Review the mixture and if required, add more Efflock to the mixer so that the sand has a good moisture level
  • Once you’ve achieved a nice creamy consistency.
    Add the bag of white cement, and let everything mix quite thoroughly
  • Continue adding Efflock to maintain the moisture levels
  • Let the mixer spin until the consistency of all the ingredients are fluffy with no visible signs of sand or cement
  • To finish, add a capful of Bycol to keep this mix workable
Norse crazy
**Norse Marble crazy Pavers

The Pre-Sealer

Prior to grouting crazy paving.

We always apply a pre-sealer to the surface.

Why?

Basically, applying a good pre-sealer (we recommend Aquamix Pro Block).

Prior grouting the pavers.

Makes the cleaning process easier.

It also minimises any residual grout that is left on the surface after sponging.

Problock-Gallery

Leveling

Unlike other paving alternatives which use a straight and geometrical pattern and format.

Crazy paving means that the installation will be exactly how it sounds: crazy and unformatted.

Additionally, there is also the possibility that the surface will be different depending on the type of product used.

As such, whether you’re installing crazy paving for a patio, pool area, or courtyard.

It’s very important to set reference points while installing crazy paving.

This is so that you can clearly track the starting level and the finished level.

And ensure that everything is (more or less) consistent.

So how do we do this?

First, we install string lines in a grid pattern to establish a set of reference points.

Since crazy pavers can vary in surface structure and thickness.

The stringlines help us gauge how much mortar to use.

And reduce our room for errors when laying the pavers.

Once you have the gridlines established.

Spread the mortar onto the surface and ensure that the pavers sit about 1/2mm under the stringline.

If they protrude, tap the pavers to level the surface and achieve the desired level and gradient.

The Grout

After you’ve installed the crazy pavers and you’re happy with the levelling.

It’s time to add the grout.

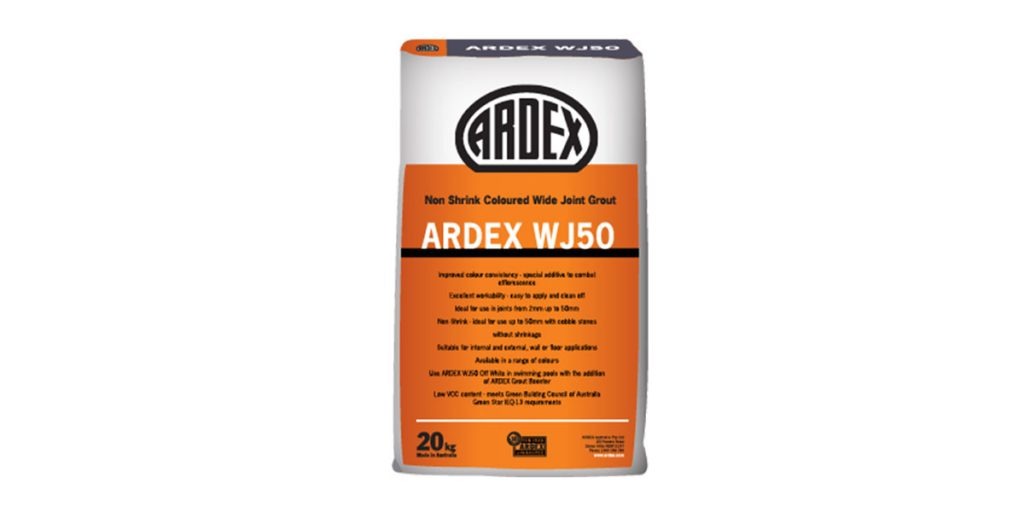
At RBG Landscapes, we grout crazy pavers using a wide joint sand-based grout supplied by Ardex.

The produce we recommend is the Ardex WJ50, for a variety of reasons.

ARDEX-WJ50

Firstly, it’s available in a variety of colours which means you can pick one that will match your pavers.

Secondly, it’s sand based with a pre-mixed back and a maximum joint width of 50mm.

This combination guarantees that the grout won’t shrink or crack.

Two important factors to consider when choosing grout for crazy paving.

Now, onto making the grout and its application.

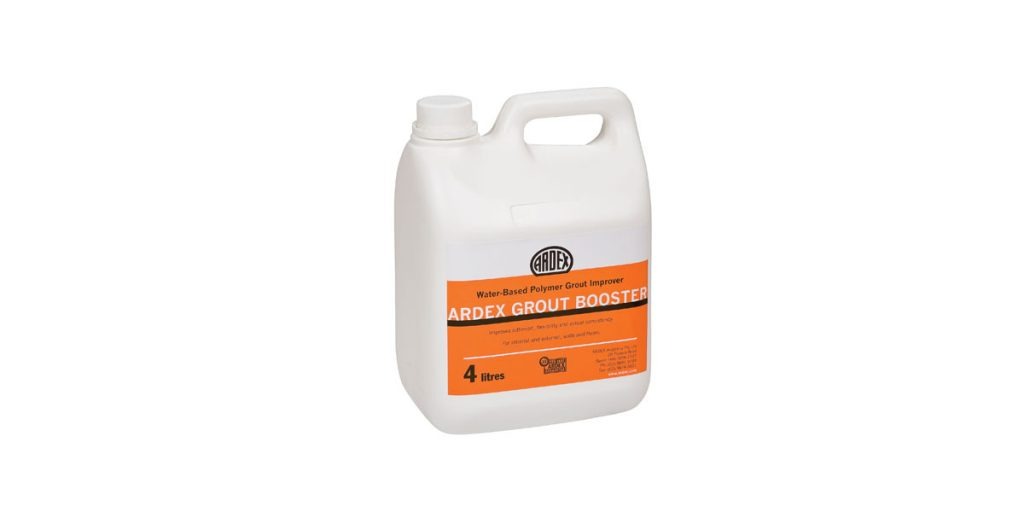
Mix a 20kg bag of grout with 2L of Ardex grout booster.

To achieve the desired consistency, we recommend mixing the grout using an electric drill with a paddle.

ARDEX-Grout-Booster

Once you have the mix.

Apply the grout into the joints using a squige tool.

Ensure that all the joints are sufficiently full and levelled with the surface of the pavers.

Scrape away any excess.

And wipe the grout from the stone’s surface using a tiling sponge so that there is no residue grout left.

The trick here is to always use clean water so that the stones and joints remain clean.

Repeat this process until all the joints are filled with grout and you’re satisfied with the result.

Top Sealer

After finishing the grouting.

The final step in the crazy paving process is adding the top sealer.

Prior to applying the top sealer.

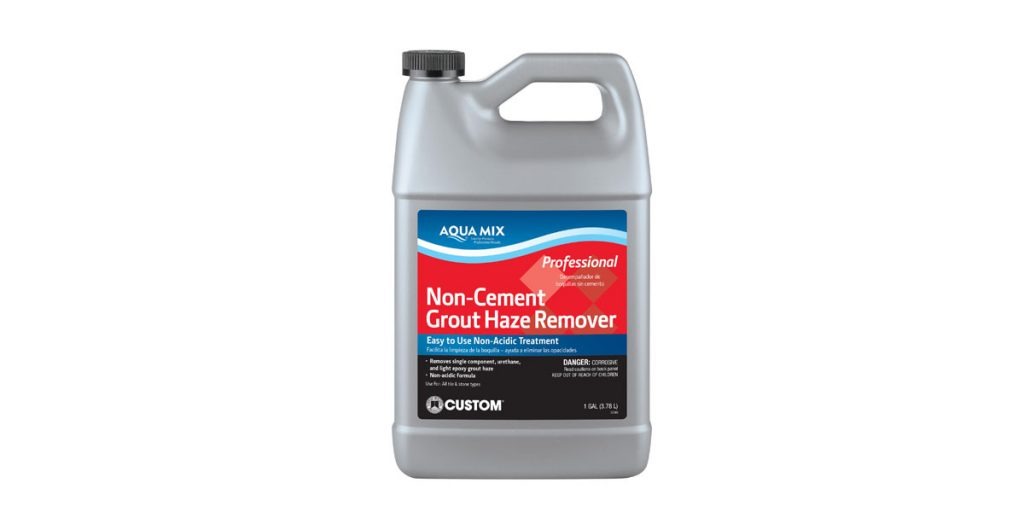
We suggest removing any residual grout or grout haze film from the surface.

You can do this with a stiff broom and the cement grout haze product by Aquamix or with a pressure clean.

Non-Cement-Grout-Haze-Remover

Once the surface is clean and completely dry.

Apply the Aquamix Sealers Choice Gold as a top sealer.

Use a lamb wool applicator and be generous with the amount.

So that both the stone and grout are protected from the elements.

And stand the test of time.

You want the sealer to penetrate through the stone and grout.

Sealers-Choice-Gold

And there you have it!

Everything you need to know about crazy paving and flagstone pavers.

Along with where and how to install them.

Check out the video below.

And if you have any questions, reach out to our team of experts at Armstone online or by calling 1300 560 560.

We can help point you in the right direction with choosing the specific crazy stone paver for your project.

If you’re looking for help with installing your crazy pavers.

Reach out to Rhys from RBG Landscapes for guidance and advice at ​​0415 874 416.

If you like our content, help more people find it by giving it a thumbs up and sharing it with someone who might find it helpful.

Feel free to subscribe to our updates on YouTube and find us on Instagram for more stone related content.

Why is it important that your Trusted Stone Supplier works closely with an Installer

Arman and Rhys

So, you’re about to embark on the exciting adventure of renovating your home or building a new one.

Firstly, congratulations!

Secondly, we understand that this can also be quite a stressful time with everything involved from researching the right materials all the way to installing them. All of this can get quite taxing on you, your family and even your finances.

Which is why – no matter how big or small your project – we highly recommend making sure that your trusted stone supplied works closely with an installer.

Now, you might be thinking: “But why? Surely, I can hire a professional installer who isn’t associated with my trusted natural stone supplier?”

Of course, you can! However, you can potentially encounter various roadblocks and issues that can be easily avoided.

How do we know?

Well, we have had many customers think the same, only to realise that they made a huge mistake and paid the price for it years down the track.

So, in today’s article, we will review two reasons why you want your trusted stone supplier to work closely with an installer.

Ready?

Let’s dig in!

Dutoit Limestone Pavers 7
**Dutoit Limestone Pavers 

1. Expert knowledge of products and good communication

One of the reasons you want to your trusted stone supplier to have a long-standing relationship with an installer is that they will understand the products inside and out and pass this information on to them. Also, the closer they work together, the smoother your project will progress because the two professionals will synchronise their knowledge and thus reduce any blame games that can (very often) result in the construction phase.

Additionally, when your stone supplier has a close relationship with your installer, they provide them with the most recommended materials for the installation. This means that the completed job is done correctly and according to best practices for your chosen materials. Over time, the installer will use the same materials on every job and develop a very good understanding of what each item is used for and why. Since each type of stone flooring or walling requires a slightly different installation process, it’s important that your installer understands these unique requirements so that they can deliver maximum results. Naturally, it’s easier to understand the materials by working directly with the stone supplier.

For example, at Armstone we have partnered with Rhys from RBG Landscapes as our recommended certified and professional installers. Our relationship works for many reasons, namely because we have similar values for high standards and a passion for helping you (our customer) create unique designs and inspiring renovations with the world’s best materials and exceptional quality of build. Much like our team at Armstone, Rhys and his team at RBG Landscapes are very good at communicating with customers, providing detailed quotes, and understanding the nuances of various installation methods so that you know why they have chosen a particular method (even if someone else has told you otherwise).

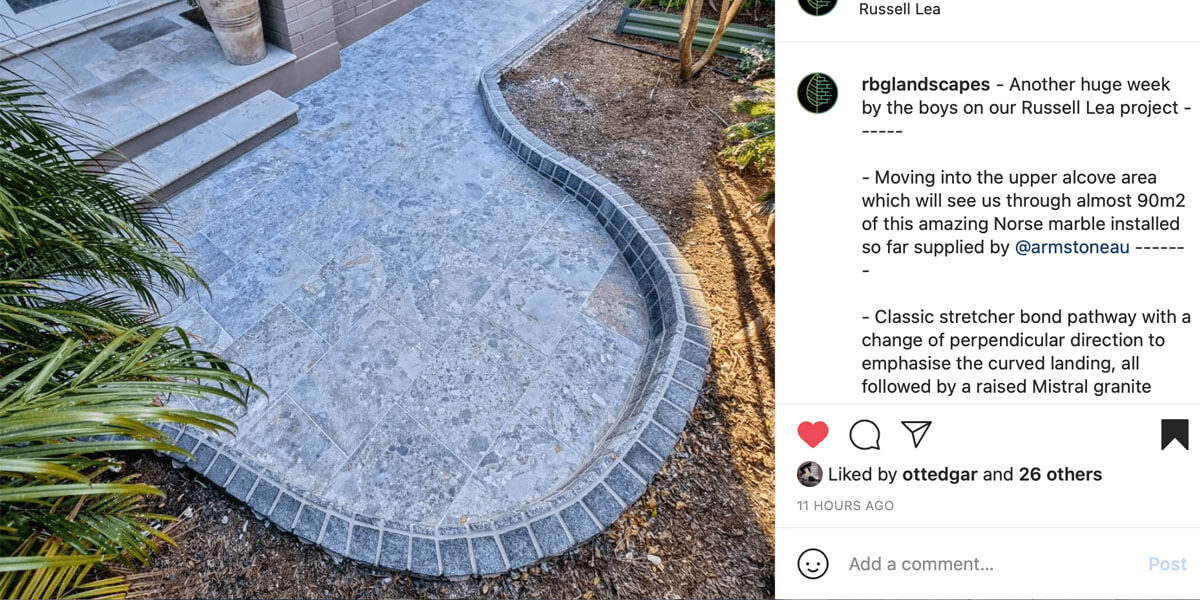
RBG-Insta-post

2. Invest now so you don’t pay a higher price later

Next, it’s important that your trusted stone supplier works closely with an installer so that the installation is completed correctly from the get-go. This way, you invest once now instead of paying a higher price later for someone to fix a poor-quality job or incorrect installation method.

For example, when working with Rhys from RBG Landscapes, Rhys trusts that the team at Armstone have helped you choose the right stone and colour for the project and then recommended the best installation supplies. This makes it easier for RBG landscapes to bring everything to life through the design and construction process with limited hiccups and interruptions.

The reason for this is when an Armstone expert speaks to you about your project’s requirements, they listen carefully and ensure that they also see your project from an installer’s perspective. This way (before you even start working with an installer) your stone supplier has considered many important requirements for your project so that when they hand over the project to an installer, the installer has everything they need to complete the build. This also reduces any surprise costs and delays that can spring up on you through the process.

Pazzo crazy 4
**Pazzo Slate Crazy Pavers

Finally, it’s important that your trusted stone supplier has a close relationship with an installer so that if (or when) problems arise, they can be fixed efficiently. For instance, some natural stones are more prone to efflorescence and a stone supplier would know this information. They can then communicate it to the installer who will apply the best installation method to avoid this problem for your project. On the other hand, if your trusted stone supplier doesn’t have a close relationship with an installer, the installer may install the materials you’ve provided with limited information about the best practices. As a result, years down the track, you will encounter various problems like mould or efflorescence which, if left untreated, can cause more damage to your stones and home. Also, neither of the above looks very attractive. And correcting this problem will be an additional expense that is much more economical to avoid in the first place, wouldn’t you agree?

There you have it!

The two reasons why it’s important that your trusted stone supplier has a close relationship with an installer.

At the end of the day, as with everything in life, it’s your choice if you heed this advice. However, if you want your build to be of a higher quality and save you both time and money, we strongly recommend this.

If you want to know any more information, reach out to the natural stone experts at Armstone online or 1300 560 560. We would love to help guide you in the right direction, answer any questions about your renovation or connect you with RBG Landscapes as a potential installer for your home project.

And if you’d like to hear directly from Arman and Rhys, watch this video.

Swimming Safety Checklist for Your Kid-Friendly Pool

Grampian Limestone Pavers

The heat is rising and summer is around the corner.

Which means pool season is almost open and if you’d ask kids what activity they love most in summer, swimming will likely be one of their top answers.

After all, who doesn’t love to swim and cool off on a hot day?

Though many will agree that swimming is a delight, the fact remains that it can be dangerous, especially for those who don’t know how to swim. For example, one of the leading causes of unintentional death in Australian children is drowning.

While this is alarming, you can definitely take precautions so that your entire family can enjoy the summer by the water. For example, instead of starting to teach your children how to swim at the beach or public pools, you can give yourself some peace of mind by building a kid-friendly pool at home.

In today’s article we review various universal precautions you can apply to promote swimming safety in your backyard pool.
What to Consider When Building a Kid-Friendly Pool?

While you can customise your pool to suit your requirements in lifestyle and style, if you are a parent or guardian or you like to entertain friends who have kids, your first priority is to build a pool area that promotes safety.
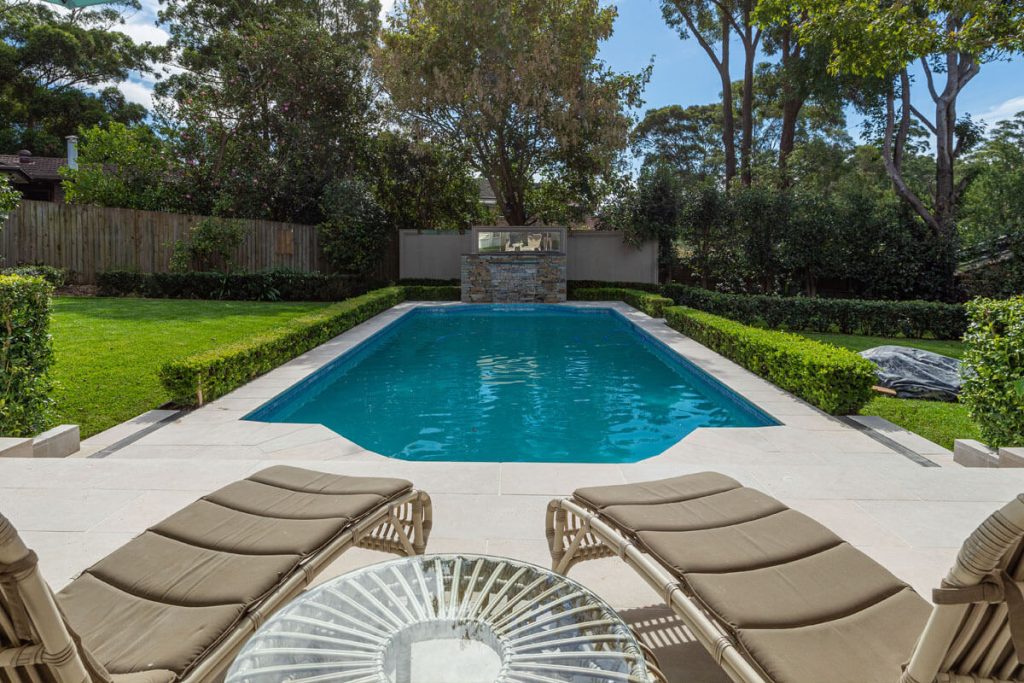
To do this, you need to consider five important factors when designing and building your kid-friendly pool.

Let’s dive in!


Frostine Marble Pavers

**Frostine Marble Pavers

1. Pool Depth

First and foremost, consider the purpose of your pool. For example, if you intend to use it for recreation and family fun, we recommend building a single depth pool. Why? Well, deep ends take up space and increase the risk of drowning for kids or non-swimmers. On the flipside, installing a pool that has both shallow and deep ends is a helpful alternative. If you choose to combine a deep and shallow end, make sure that the shallow end has a considerable amount of space so that enough kids can play and swim together. Additionally, if your kids have taken swimming lessons for a considerable time and passed various levels, you can relax a little knowing that your children can swim in both sections of the pool. However, this doesn’t mean that you need to leave them unsupervised as accidents can still happen, especially if there is a group of children playing together.

2. Pool Steps

Adding steps to your backyard pool has many advantages. Firstly, some children are scared of water and steps allow you to slowly and gently walk them in. Secondly, it’s an additional shallow end where kids can sit or use them to assist climbing out of the pool. Parents and guardians can also use the steps as a foothold to assist teaching the kids how to float. Finally, pool steps give kids the chance to gradually get used to the water instead of being instantly dropped into the pool.

3. Paving

You might be asking, “What does the pool paving have to do with building a kid-friendly pool?” In one word: everything! You see, choosing the right type of paving will affect the whole family’s pool experience and safety. For example, some natural stone pavers can be very slippery when wet and must be avoided. Meanwhile, darker pavers can get hot underfoot and burn the feet, which can also lead to injuries and accidents. This is why it’s important to choose stone pavers that have a high slip rating, soft/safe pool coping profile edge and remain cool underfoot.

4. Safety Fence and Gate

One of the easiest ways you can protect children from accidentally drowning in your backyard swimming pool is by installing a fence. As well as preventing kids from getting into the pool unsupervised or accidentally falling into the pool while playing catch, it is a legal requirement in some parts of Australia. If you plan to adhere to best practice, the ideal height for the fence is over 1.2 metres with slats that are approximately 10 cm apart. If you want to go all out, you can consider installing a gate alarm for maximum security measures. This will warn anyone who’s inside if someone tries to get into the pool.

5. Slides, Diving Boards, and Other Add-Ons

Finally, add some fun things like slides, diving boards and other bits and pieces! These extra pool features will definitely spark excitement in the kids. In saying that, be sure to install these correctly and only add them if your pool meets advised requirements. For example, a diving board (depending on its height) can only be installed if the deep end of the pool is the right depth. Also, before adding a slide, you should consider factors like the material it’s made from, its weight requirements, and the safety standards of your pool. Fountains, waterfalls, or deck jets backlit with coloured LED lights, are some other pool features you might want to consider for your kid-friendly pool.

Water Safety Checklist

Once you’ve considered the five factors for building your kid-friendly pool and have your pool installed and ready to go, it can be exciting to dive right in!

But before you do, it’s imperative to consider this water safety checklist to ensure that everyone’s safety is accounted for.

1. Swimming Pool Fence

  • Check that all the fence panels are securely attached and in the right place.
  • Make sure that there are no rusted, loose, or missing screws.
  • Ensure that any gaps and holes and the distance between the bottom rail and ground are less than four inches (10 cm).

2. Swimming Pool Gate

  • Secure the gate in such a way that a child will not be able to open it easily.
  • Ensure that once opened, the pool gate swings (and snaps) closed right away.
  • Check that the gap between the gate and the fence is less than four inches (10 cm).

3. Pumps, Grates, and Suction

  • Check that the pool’s suction fittings, and plumbing grates, are both secured in place and in good condition.
  • Ensure that all adults know where and how to switch the electrical pump system on and off.
  • Check that the pool drain has a large surface area with small openings.
  • For guaranteed safety, inform swimmers to tie their hair and not wear any jewellery when swimming.

4. Around the Yard

  • Remove any objects from the pool area that will entice kids to jump, climb, or try any dangerous horseplay.
  • Keep pool toys in a secured area.
  • Trim trees and shrubs low to discourage climbing.

5. Emergency Preparedness

  • Prepare and stock a first aid kit, as well as flotation devices like rope, near the pool at all times.
  • Ensure that any supervising adults know how to swim and perform cardiopulmonary resuscitation (CPR) procedures. Post a CPR flyer near the pool.
  • Keep a phone nearby with emergency numbers easy to access. Add these phone numbers to the CPR flyer.

6. Pool

  • Put up a flyer with pool safety rules around the pool and remind everyone why it’s important to follow them.
  • Check the pool regularly for any sharp objects or broken tiles or timber splinters and tend to them urgently.
  • Follow the directions and instructions carefully and correctly when installing pool slides, ladders, diving boards, and all other features. Check that they are in good and fully functioning condition.
  • When not in use, empty the swimming pool and store the add-ons in a secure space.

Ready to Build a Kid-Friendly Pool at Home?

And there you have it!

Five important factors to consider when building your kid-friendly pool in your backyard and the water safety checklist that will ensure you have a wonderfully warm and wet summer.

A home pool is a blessing and can provide the family and friends with hours of entertainment and fun. So if you’re considering building (or upgrading) your backyard pool, and have questions about the best depth and materials to use, reach out to us at Armstone. We would love to guide you to make the right decisions with everything from choosing the right pavers, coping and tiles to make your pool kid-friendly and safe. Find us online, call 1300 560 560 or visit our Sydney showroom in Glebe.

8 Advantages for Installing a Pedestal Paving System for Your Home

Pedestal clip PP3 1

Whether you are building a new home or renovating one.

There is a high likelihood that you will come across areas in the front or backyard that are uneven.

Alternatively, whether it’s because you need wheelchair access, or have a young family or elderly visitor.

You might want to create an even pathway between your home and the yard without unnecessary footholds or steps.

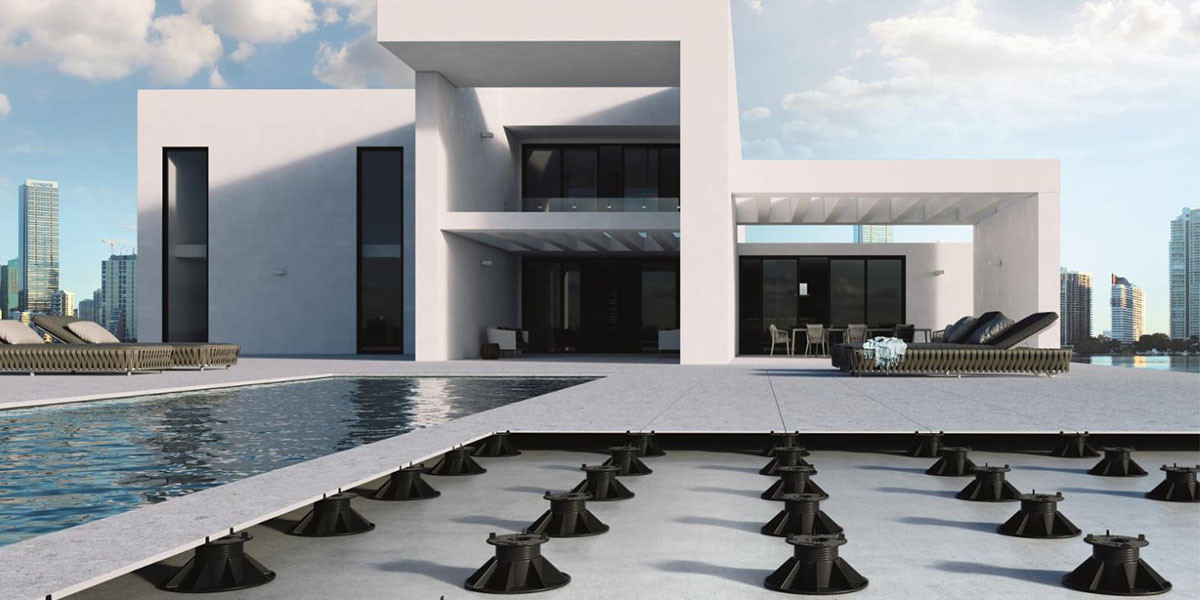
In either event, using paver pedestals for paver support is the ideal solution to your home improvement challenge.

In todays blog, we will list the advantages of installing a pedestal system for paving slabs.

And which pavers are best suited for this type of project.

But first, let’s take a closer look at pedestal paving, what it is and why industry professionals highly recommend it.

Ready?

Let’s dive in.

Pedestal Key 1

What is a Raised Pedestal Paving System?

A raised pedestal installation system.

Also known as a PolyPad.

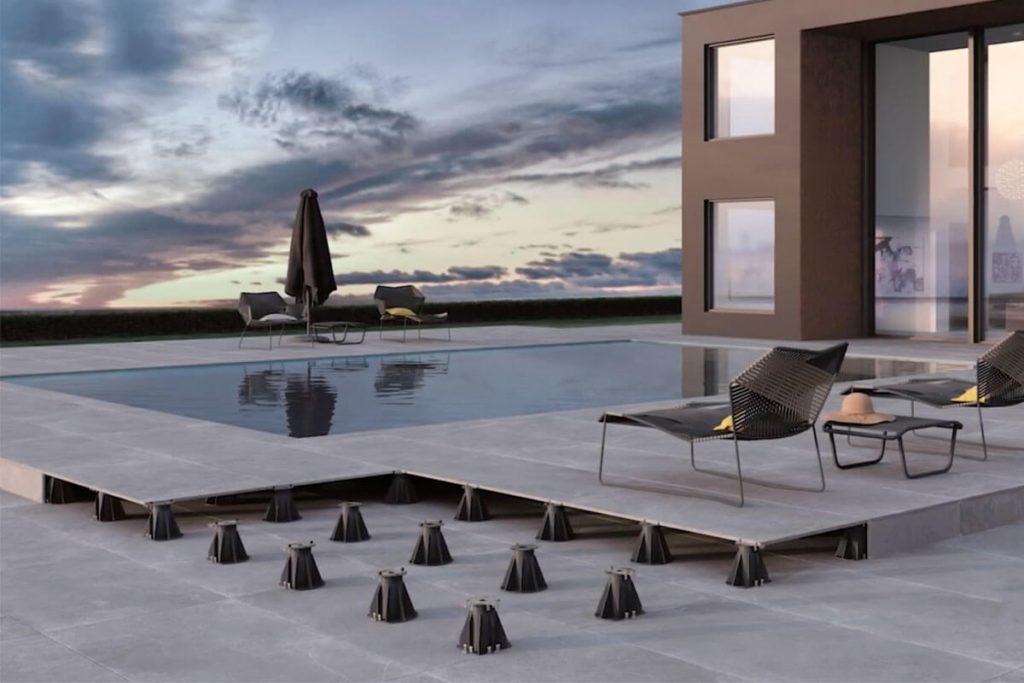
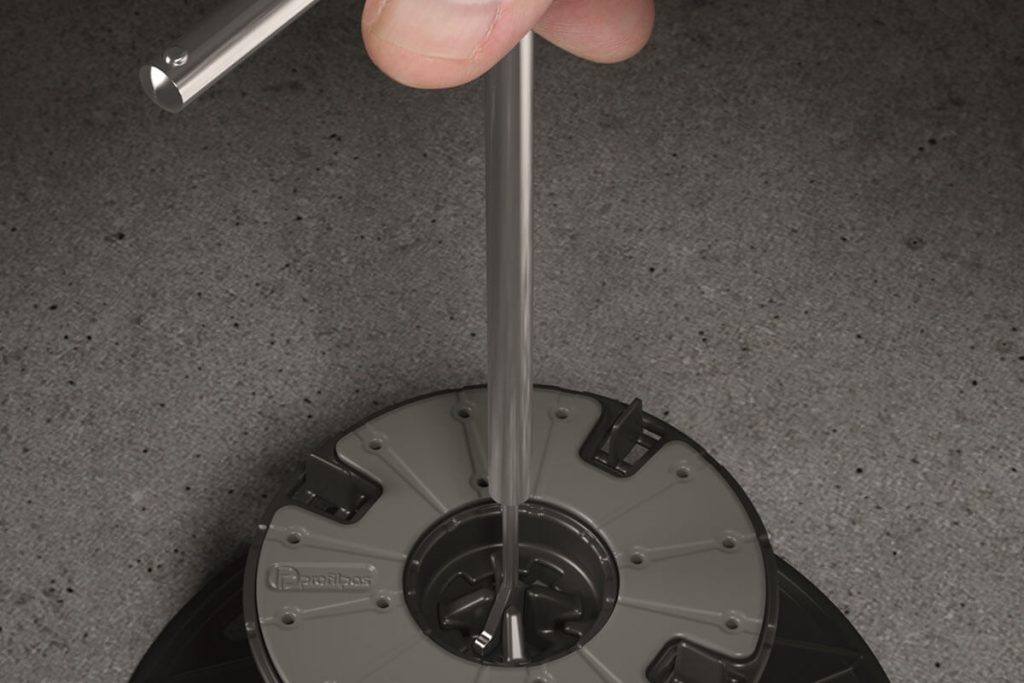
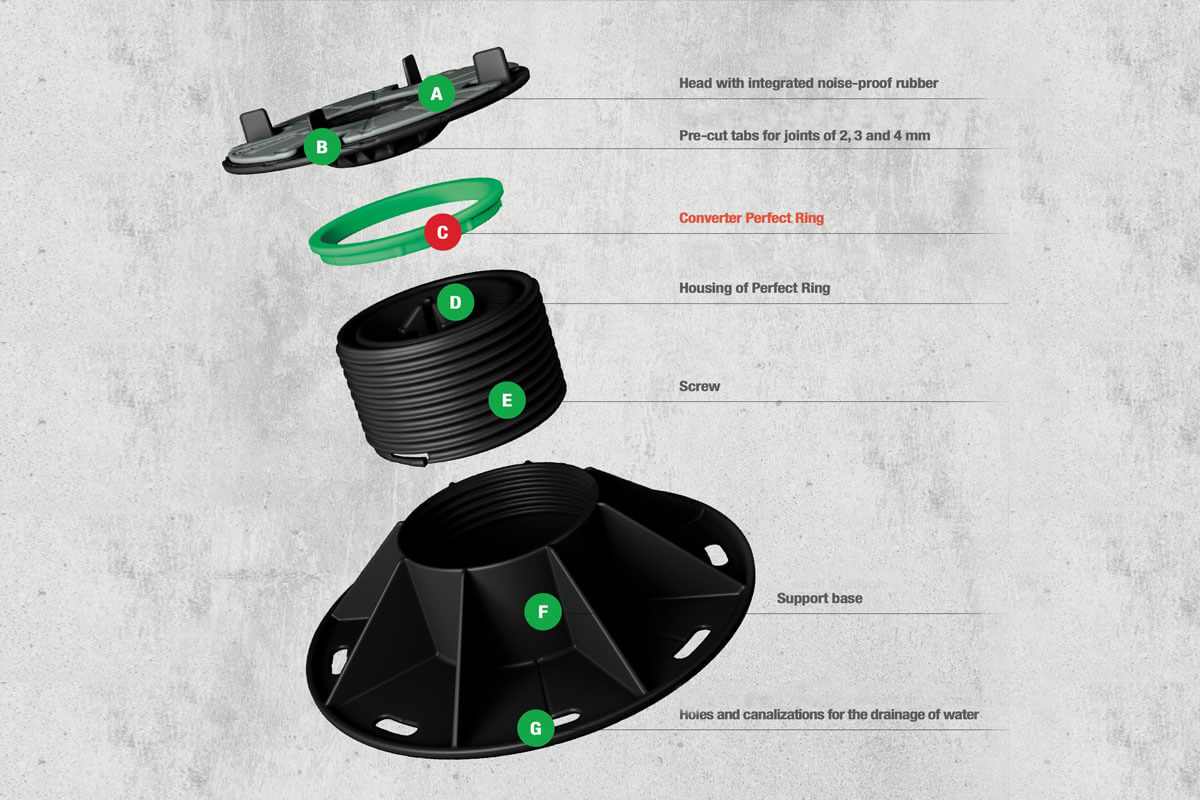
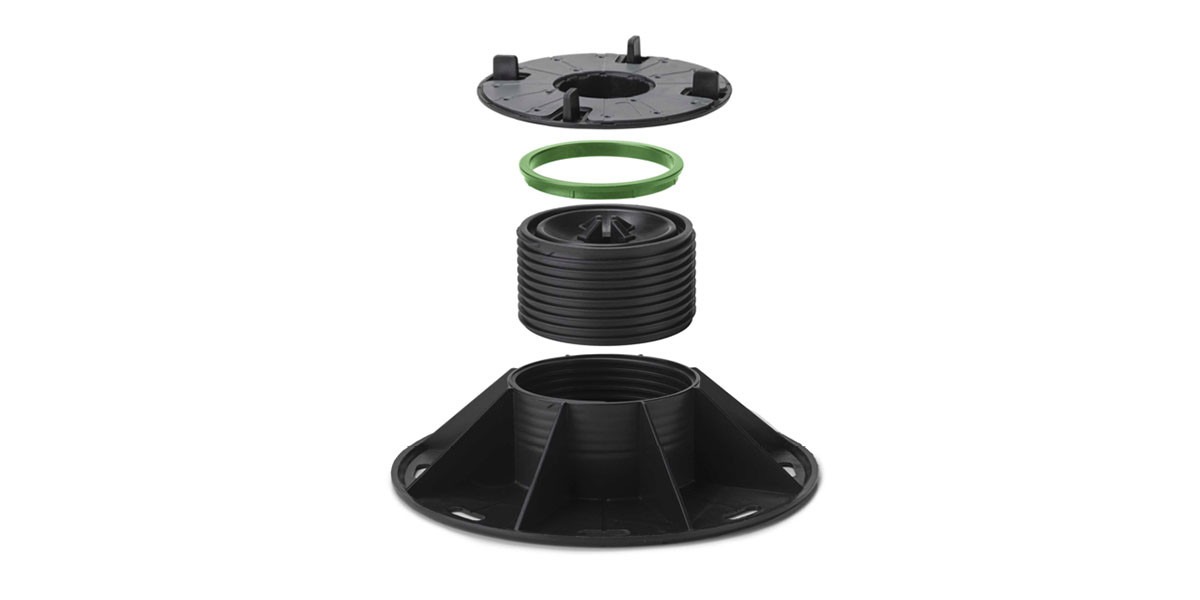
Is a cylindrical device that can be adjusted to varying heights to level an uneven surface for paving purposes.

Each pedestal has four corners spaced 4mm apart.

Once the pedestals are installed on the ground, you can lay the pavers directly on them.

Since the pedestals have the 4mm spacer, your pavers will stay apart and your completed floors will be raised and even.

Why should you use them?

 Pedestal paving is used for a few main reasons, namely:

  • Improving rapid drainage – As the pavers have a 4mm gap between each other when installed on the pedestals.

    Rainfall can easily fall through this space onto the surface underneath.

    So, instead of the water gathering on the raised floor and pavers.

    It swiftly drains towards the appropriate areas underneath the pedestals.


  • Simplifies surface levelling when installing floors – Most outdoor areas have parts that are not levelled or even.

    This does not make an ideal foundation for creating a quality, sturdy or even safe, floor.

    If you have any experience with levelling surfaces.

    You will know that it’s a laborious task involving digging, laying cement, and installing timber support posts.

    On the other hand, you can forgo all of this by using PolyPad paving.

    Not only does it save you cost and labour efforts.

    But it achieves a better result by creating a levelled, anti-slip and noise-reducing floor at a height you


  • Increasing safety and aesthetics by hiding outdoor wiring – In the case that your balcony or backyard has additional lighting, plumbing, wiring and electrical requirements.

    Installing floating pavers creates a gap between the floor and the underlying surface.

    This allows a ‘storage space’ (so to speak) underneath the flooring.

    Here you can hide the cabling, ducting, or wiring and yet have easy access to it (should you require it).

    From a general aesthetics perspective.

    tThis makes your space more attractive because the clutter is out of sight and, out of mind.

Pedestal 0

** Self Levelling and Fixed Adjustable Pedestal

What Pavers to use on pedestals?

If you are thinking of installing natural stone pavers on a pedestal system.

We recommend stone pavers that are 40mm thick and no bigger than 600x400mm in size.

Since natural stone pavers have hairline fractures.

Which are the weakest point of the paver.

Using thinner stones on pedestal systems increases the chance of breakage.

That’s why we recommend a 40mm thickness.

In saying this, the only time you can use 30mm natural stone pavers.

Is if an additional pedestal is installed in the middle of the paver.

On the other hand, it’s become quite common in the industry to install structural porcelain pavers that are as thin as 20mm.

This is because structural porcelain pavers have no weak fracture points and the advantage of a high break load.

Regardless of what paver you choose, it’s important that they’re compliant with Australian Standards.

For example, it’s important to use sawn-edge pavers so that you can keep the gap between the pavers no bigger than 4mm.

Rumbled-edge natural stone pavers are not suitable for use with pedestal paving systems.

And finally, you can create raised floors in a variety of locations.

The only requirement is that the substrate is flat and hard.

ADJUSTABLE + SELF LEVELLING PEDESTALS


8 advantages of installing raised pedestal systems

As well as the three main reasons listed above.

There are 8 additional advantages for using PolyPads to raise your floors in your home.

These include:

1. Acoustic Insulation

As our paver supports have a dual component.

That includes both an anti-slip and an anti-noise head.

They are extremely helpful in reducing the sound of impact by up to 25dB.

What does this mean for you?

Well, if you have a lot of people coming and going in and out of the home.

Using floating pavers helps to reduce noise pollution.

2. Absorption of Structural Movement

Environmental factors are a fundamental factor that causes wear and tear in natural pavers and tiles over time.

Extreme cold makes stones contract, while extreme heat causes expansion.

When pavers are installed directly onto the surface.

There is no allowance for them to move as freely.

This can cause them to crack and become damaged with too much exposure to the elements.

Using pedestal systems for paving slabs means that the floor is floating and thus independent of adhesion.

This allows for an ease in structural movements.

And also eliminates the risk of de-bonding due to improper installation and/or tile movement.

3. High Strength and Resistance

Since PolyPads are made from polypropylene.

With a design that features a circular base plate.

A foursquare support and a continuous thread that connects the pedestal between the base and screw.

They are sturdy, strong and durable.

So, if you want to build floors that stand the test of time.

PolyPad paving is the way to go!

4. Entirely Recyclable

With environmental consciousness on the rise.

Many are extremely aware of their carbon footprint.

So, if you are interested in reducing your impact on the environment.

Consider using a raised paver system.

Why? Well firstly, it’s entirely recyclable.

And secondly, because it doesn’t need to be fixed to a substrate with an adhesive.

No chemicals are released into the ground.

It’s really a win-win-win for everyone involved.

5. Improved Thermal Insulation

As the pedestals create space between the pavers and the ground surface.

This allows for constant air circulation.

Consequently, this improves the heat insulation.

While simultaneously protecting the ground surface from UV degradation and extending the lifespan of the waterproofing.

6. Time Effective Installation and Low Weight

Pressed for time and funding for your outdoor flooring project?

Floating pavers to the rescue!

Since the pedestals themselves are easy to adjust and you don’t need to level the surface.

You can simply start your project with minimal (if any) site preparation and without disrupting any nearby projects.

Additionally, with the minimal installation products required.

Pedestal systems offer a lightweight solution to building floors.

Subsequently, this translates to a lower project cost and higher savings for you.

7. Design Flexibility

As PolyPad paving allows for the tiles and pavers to be placed atop the pedestals.

This means that pavers can be easily removed and changed.

This promotes design flexibility and is helpful if you like to regularly change the floor style.

8. Eliminated Efflorescence

Efflorescence – the buildup of salt on a porous surface – is a major concern when installing pavers or tiles on the ground surface.

But since raised pedestal systems do not require tiling grout or screed, this eliminates the concern for efflorescence.

Some of the more common areas pedestal systems are used include:

  • Outdoor rooftop areas
  • Outdoor podium areas
  • Exhibition spaces
  • Gardens and courtyards
  • Swimming pool surrounds
  • Balconies and verandahs
  • Internal podium areas
  • Internal pedestrian access floors


ADJUSTABLE + SELF LEVELLING PEDESTALS


Where can I find pedestal paving systems?

Convinced that raised pedestal system is the most time and cost-effective solution for your flooring installation?

Excellent!

It just so happens that Armstone is a major supplier of pedestals and polypads in Australia.

We have solutions for all scenarios.

Including adjustable height pedestals, self-levelling pedestals, soundproofing pedestals, and weight load management.

As specialists in both pavers and pedestal installation systems, we offer both pedestal and full-raised floor systems for pavers.

We are also fully equipped to assist architects, designers, builders, and developers with their projects.

If you need any assistance with your project, simply reach out to our experts online or at 1300 560 560.

We would love to help you with your floating pavers and pedestal installations.


Top 6 Reasons to Choose Marble Tiles for Your Living Room

Silver Travertine Porcelain Tiles Indoor

Like all renovations, retiling your living room floor is a big undertaking, both financially and in terms of the disruption, albeit temporary, that it will cause for your lifestyle. As such, to avoid doing the job twice, we recommend taking the time to research and review the type of tiles on the market.

Why choose marble tiles for your living room?

From our experience working with builders and home renovators like yourself for over 10 years, marble tiles have proven time and again to be a fantastic option for living room flooring. In this article we’re going to share 6 reasons why we feel they are the best choice for most residential properties in Australia.

If you like the idea of installing marble flooring but you’re not completely sure it’s the right choice for your living room, consider the following advantages:

  1. BeautyThere is no denying that marble is one of the most beautiful natural stone pavers used for flooring in residential properties across Australia. It has also been used in many grand building projects over the centuries – like look at all the buildings in Rome that have stood the test of time. If you are looking for a type of flooring that will transform your living room into an elegant space, and be appreciated by your friends, marble tiles are definitely the right choice for you.
  2. Environmentally friendlyIf you are conscientious of the environment, you can rest assured knowing that choosing marble tiles for your living room is an eco-friendly option because when marble tiling is manufactured no chemical processes are involved. On the other hand, when synthetic floors are manufactured, harmful gasses and toxic waste is emitted in the process. Timber flooring, unless it comes from renewable sources or reclaimed wood, is also potentially harmful to the environment.
  3. Wonderfully easy to shine – Marble tiles can be polished like no other natural stone paver and positively sparkle when polished to a high gloss finish. While this finish is not advisable for households with young children because it makes the floor very slippery, it’s very appealing for adult-only living areas.
  4. Relatively Easy MaintenanceMarble tiles are relatively easy to clean and can be mopped the same way you clean any other type of hard flooring. Just be careful not to leave standing water on marble. Because it’s a porous stone, extended exposure to water can lead to discolouration and damage to the stone. On this subject, some people insist that marble tiling should be sealed. On the other hand, others say it’s not necessary. In our experience, a highly polished marble floor is quite stain resistant so sealing is not essential. However, if you are worried about spilled drinks staining your new tiles, we recommend sealing them once a year.
  5. DurableAs a dense natural stone, marble is suitable for high traffic areas such as busy family living rooms. It has been used in many ancient buildings and stood the test of time so you can rest assured that with some attention and care will outlast  your property.
  6. High Thermal MassMarble has a high thermal mass, which means it can absorb a lot of heat before its internal temperature is raised by a significant degree. For this reason, marble tiles for living room floors are a popular choice in parts of Australia where summer temperatures can be brutal. A cool floor underfoot is a much appreciated luxury when outside temperatures are soaring.

We hope this article was helpful to you.

At Armstone we stock a selection of beautiful marble tiles, including Carrara, Pietra Grey and Tundra Grey marble, all of which are ideal for use in living rooms. For more information, or a free quote, reach us online or at 1300 560 560 during business hours. We have helped thousands of customers bring their dream project to life and would love to help you too.