Tips on Sealing and Cleaning Natural Stone Pavers
Like all materials, if not maintained properly, stone pavers can age and lose their elegant aesthetic and appeal.
Foot traffic, weight stress, dirt, debris and exposure to the elements, are all factors that can contribute to this deterioration.
Like all materials, if not maintained properly, stone pavers can age and lose their elegant aesthetic and appeal.
Foot traffic, weight stress, dirt, debris and exposure to the elements, are all factors that can contribute to this deterioration.
However, regular cleaning and high-quality sealing will give your natural stone pavers the best chance at retaining their original aesthetic and longevity.
In this article, we share simple strategies and steps you can take to maintain your pavers from the challenges of everyday wear and tear to keep them looking lush and new.
1. Use the Right Cleaning and Sealing Products
You have probably found that there are numerous cleaning and sealing products available on the market. These products include stain-removal, polishing creams, pre-sealers, deep cleaners, concentrated cleaners, and many others.
However, choosing the product on price point is not the best strategy for finding the best sealer or cleaning product for your particular paver. Choosing the best product depends on the type of stone you’ll be sealing, the stone’s grouting, density, porosity and many other factors. For example, your natural stone pavers might need a heavy-duty cleaner and grout removal.
In order to achieve that quality clean you want, it’s important to find the right product for your paver. If you need some assistance or advice, we suggest contacting a professional, or calling us at 1300 560 560.
2. Avoid Harsh Cleaners
Not all cleaners are created equal. More specifically, not all cleaners are designed for natural stones. We strongly suggest against using acid-based cleaners, vinegar or other harsh soap-based products on natural stones. If you use these, they will leave dull, hazy or milky stains on the stone. The best cleaning products for natural stones are pH-neutral cleaners, that are specifically designed for natural stone pavers. Another important detail is creating the solution by mixing the product and water in the right ratio, which is dependent on the soil buildup.
3. Wipe Spills Immediately
You may have heard that prevention is far more effective than cure. In the case of natural stone pavers, in the odd occasion where prevention is not possible and spills accidentally occur, wiping them immediately can save you a lot of time and money in the long term. Acidic drinks and food items, cooking oil and demineralised water can damage the natural stone’s finish and stain the stone with etch marks. To avoid long term damage, we recommend cleaning the spill as quickly as possible. Once you’ve wiped the spill, use an appropriate cleaner or stain-removal product to reduce the risk of staining.
4. Sweep Regularly
When it comes to maintaining stone paving, as overwashing can result in soiling the grout and other parts of the stone, regular sweeping is more recommended than regular wet cleaning. Dirt, grime, and grit are the key culprits to damaging your stone pavers. Regular sweeping will remove these from the floor and thus reduce the stone’s surface wear and tear.
5. Clean the Grout
Dirt, grime, grit and dust loves gathering in small spaces. This is why it’s super important to clean the grout area (the space between your pavers). To do this most effectively, mop the floor’s surface with a non-acid based detergent cleaner.Once complete, use a soft, non-scratch brush to scrub both the pavers and the grout.
6. Seal Correctly
Sealing helps protect your natural stone pavers from staining and odours. Like painting a house, sealing your pavers not only protects the underlying material but also keeps the pavers looking beautiful. While it is common for natural stone pavers to be pre-sealed prior to installation, ongoing sealing is a recommended necessity to prolong your pavers longevity, protect them from deterioration and staining and keep them as close to new as possible.
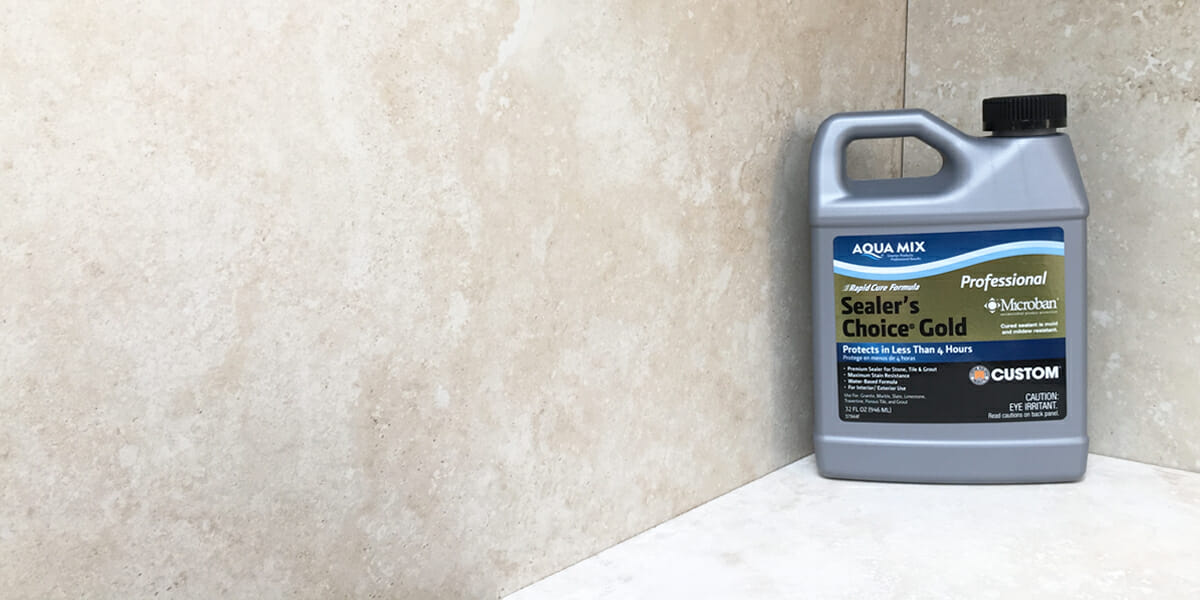
When applying the sealant, make sure you accurately follow the sealant manufacturer’s instructions. Poor application can leave residues and stains, leading to dirt accumulation and difficulties in cleaning in the long term. Avoid unnecessary peeling and scuffing by selecting a sealant that is designed for natural stone. Remember that depending on the stone and the sealant, you may need to apply several layers for maximum effect.
General Product Instructions
To make it easier for you, we wanted to share some general product instructions for applying sealant:
- Sweep, vacuum or dust the surface thoroughly.
- Test the sealant on a small area prior to application.
- Apply the sealing solution using a paint pad applicator, pump sprayer, sponge or brush and allow approx 3 minutes of penetration before wiping the area dry.
- Leave the sealant for a minimum of 30 minutes to dry before applying the second coat.
- Ensure that no sealer is left on the surface by wiping it completely dry using clean, dry cotton, paper or microfibre towel after each application.
- Check that the surface is completely sealed after 2 hours by applying droplets of water onto the paver. If the water penetrates, an additional application is required. If it doesn’t, your paver is now successfully sealed!
Sealing Wet Areas
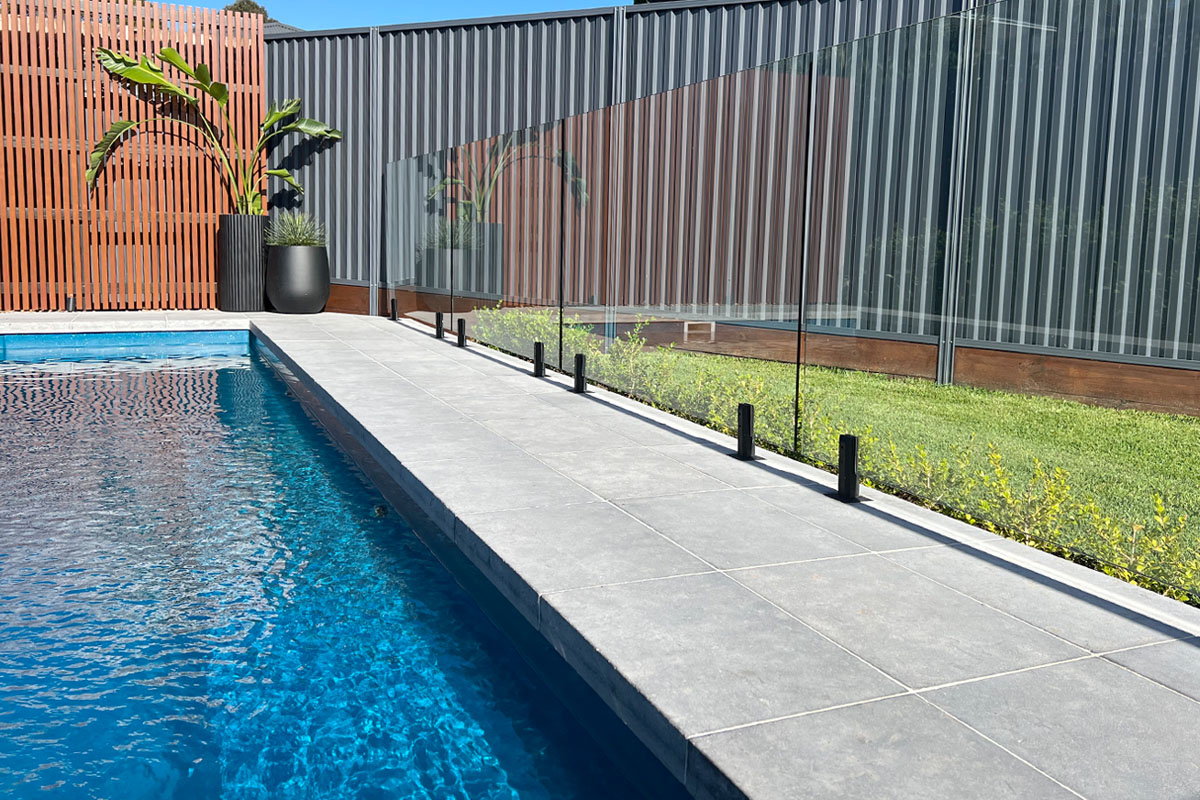
If you’re sealing a paver that is exposed to a wet area, such as the space around a pool or pond, you might need a special sealant that is specifically designed to withstand such exposure. Alternatively, ensure that your natural stone pavers have been dip sealed prior to installation.
7. Maintaining Sealed Pavements or Re-sealing
After you’ve successfully applied your sealant, check the manufacturer’s instructions and note when you’ll need to reapply it. Sealants can last for as long as 15 years, however because some areas that are prone to heavier traffic than others, the sealant may wear out faster. As such, we recommend checking once every three to five years to see if resealing is required.
To check this, simply drop some water onto the surface of the paver. If the water beads and doesn’t absorb, you can probably leave it for a while.
Routine cleaning of your paver should include regular sweeping, as mentioned before, as well as mopping or lightly scrubbing the pavers with the appropriate pH-neutral detergent.
8. Allow Drying
After applying the sealant, let the paver’s dry for a minimum of 12 hours. It’s preferable to let the sealant dry for up to 24 hours, however this would depend on each manufacturer. So remember to read their instructions first and foremost.
More on Natural Stones
Choosing the right cleaning and sealing products, along with regular cleaning, not only protects the appearance of your natural stone pavers but also prolongs their beauty and life.
If you are interested in laying natural stone pavers in your home read this for tips and best practice.
Armstone is Sydney’s leading provider of pavers, tiles, stones, and cladding. We work with the world’s best manufacturersto supply you with the highest quality products.
We hope you found this article helpful! If you need any other assistance, contact us here for help from one of our natural stone experts.
