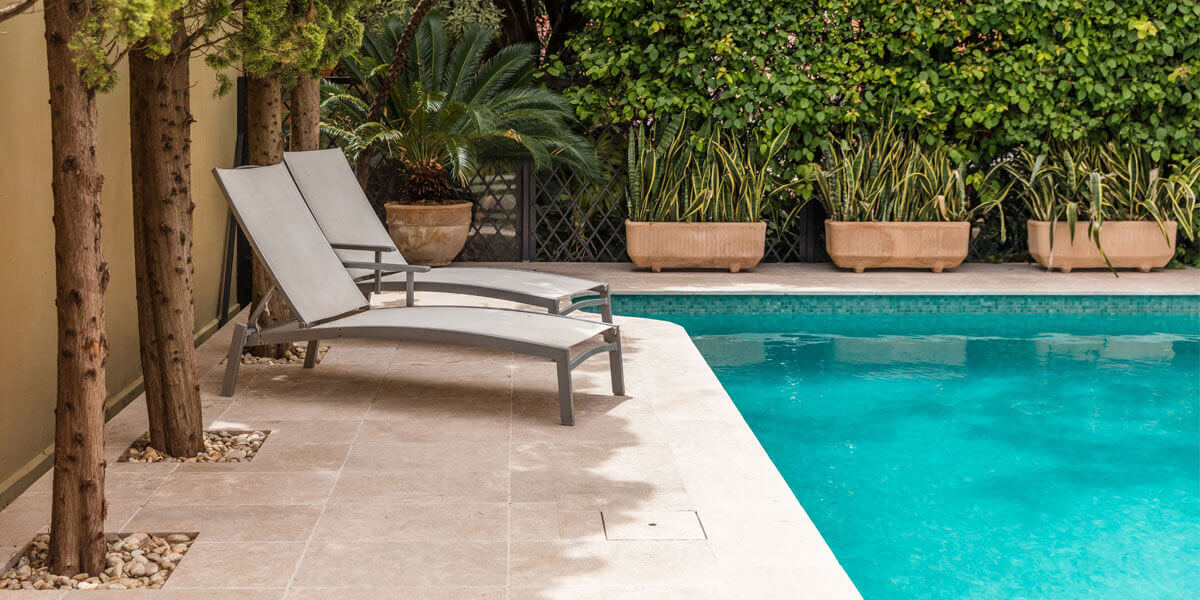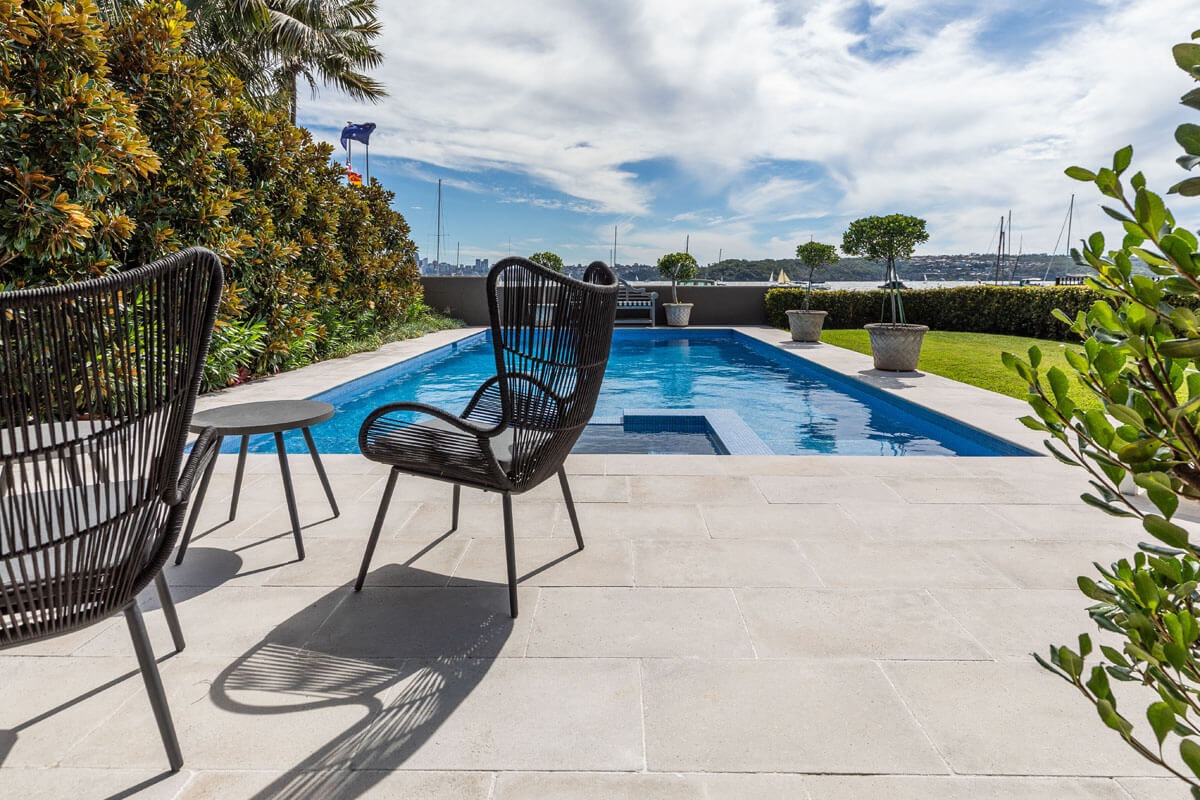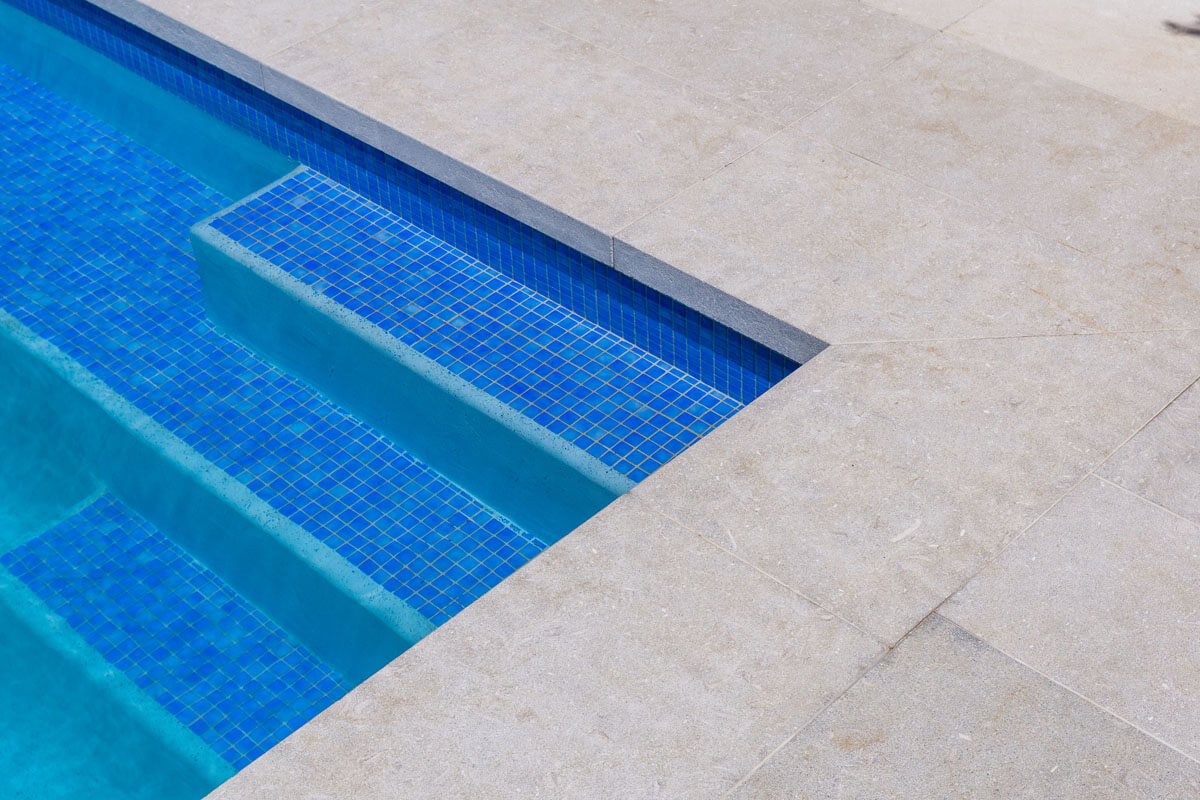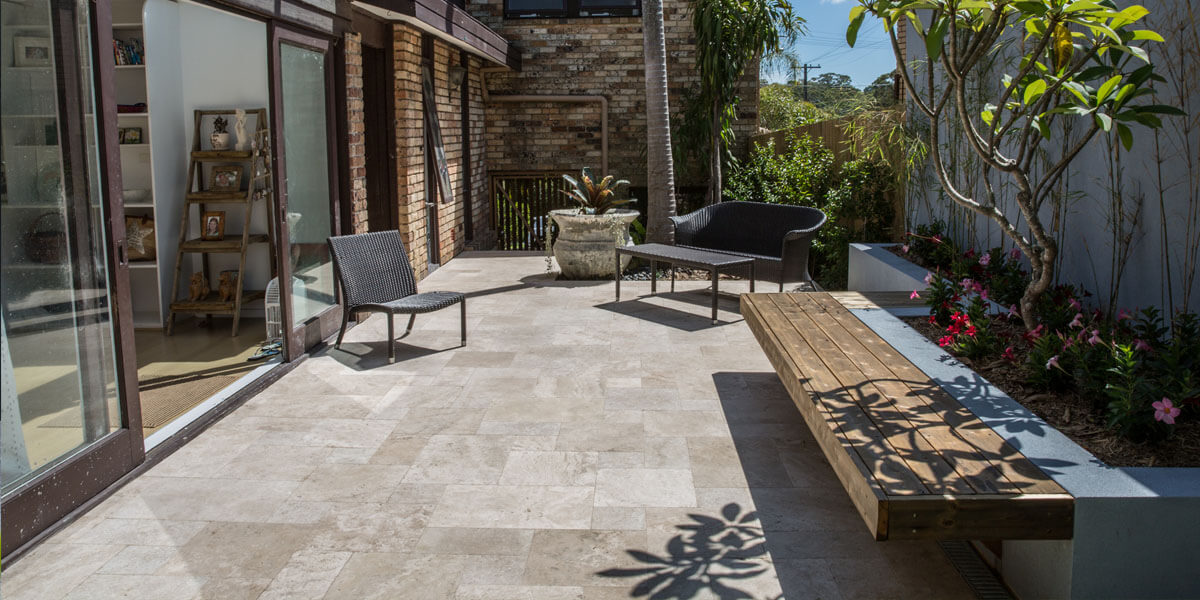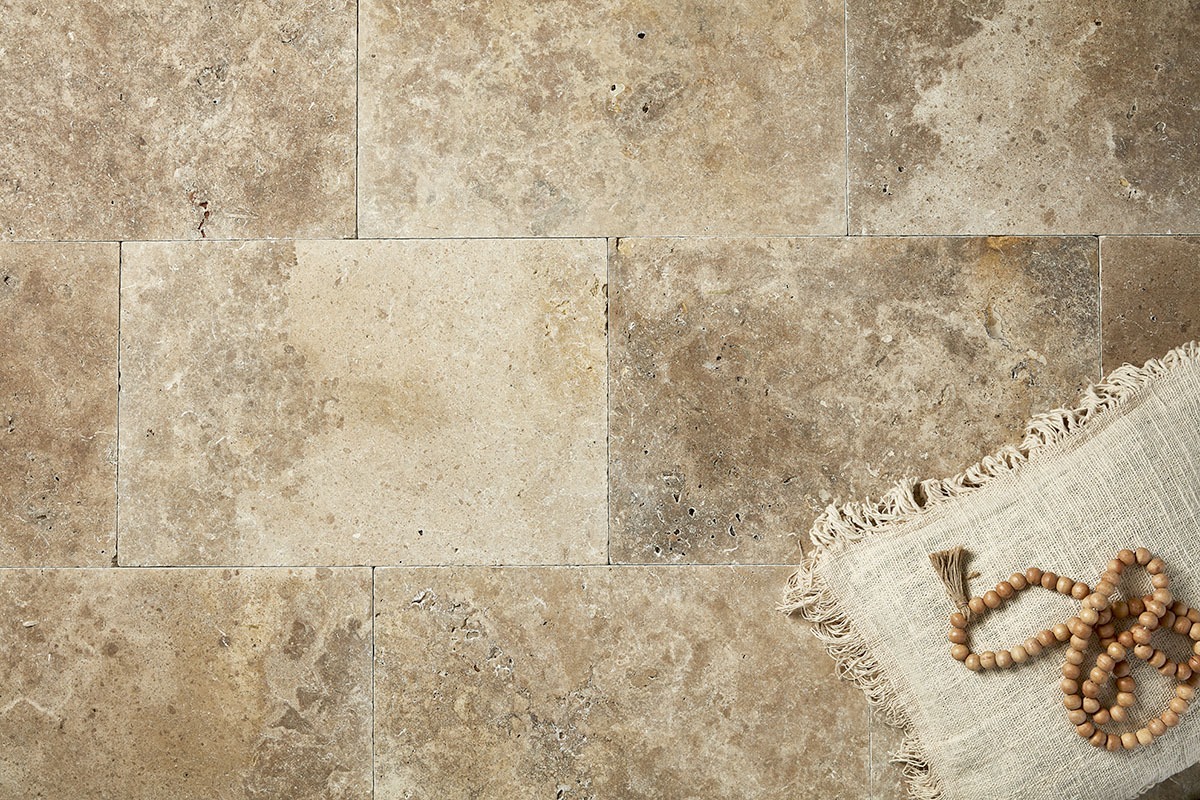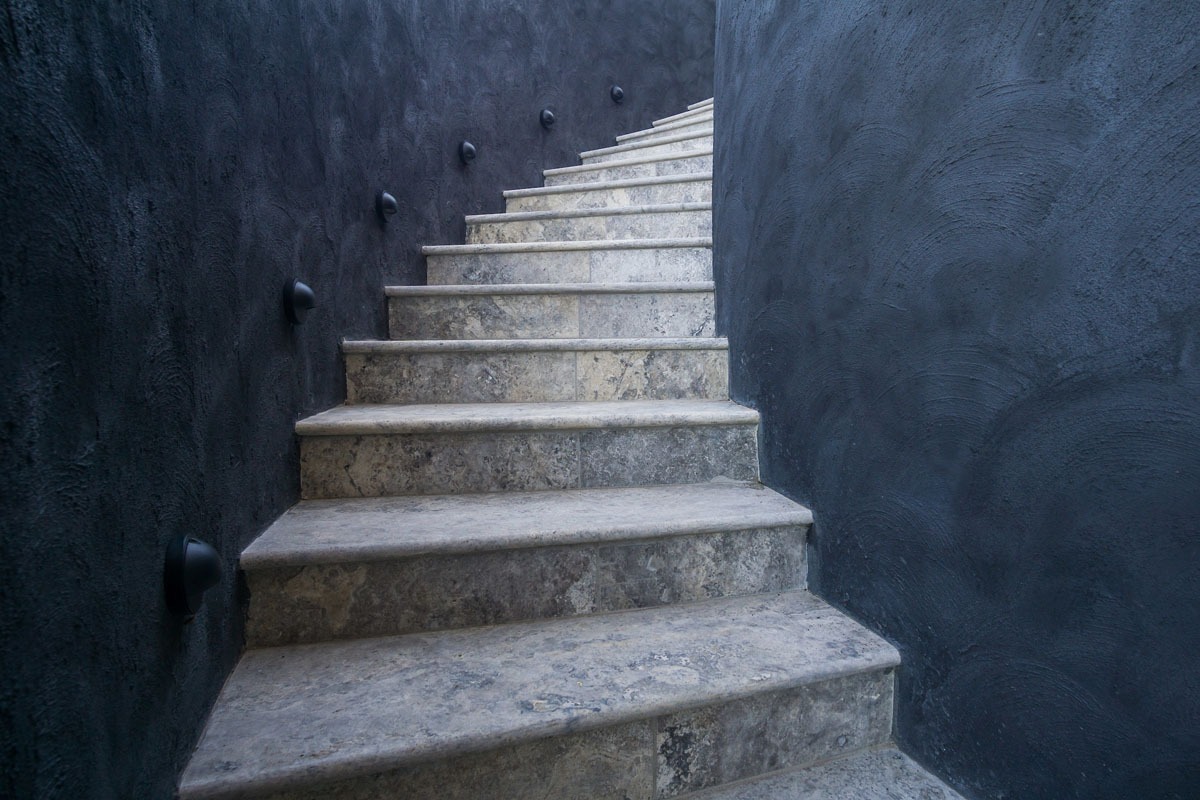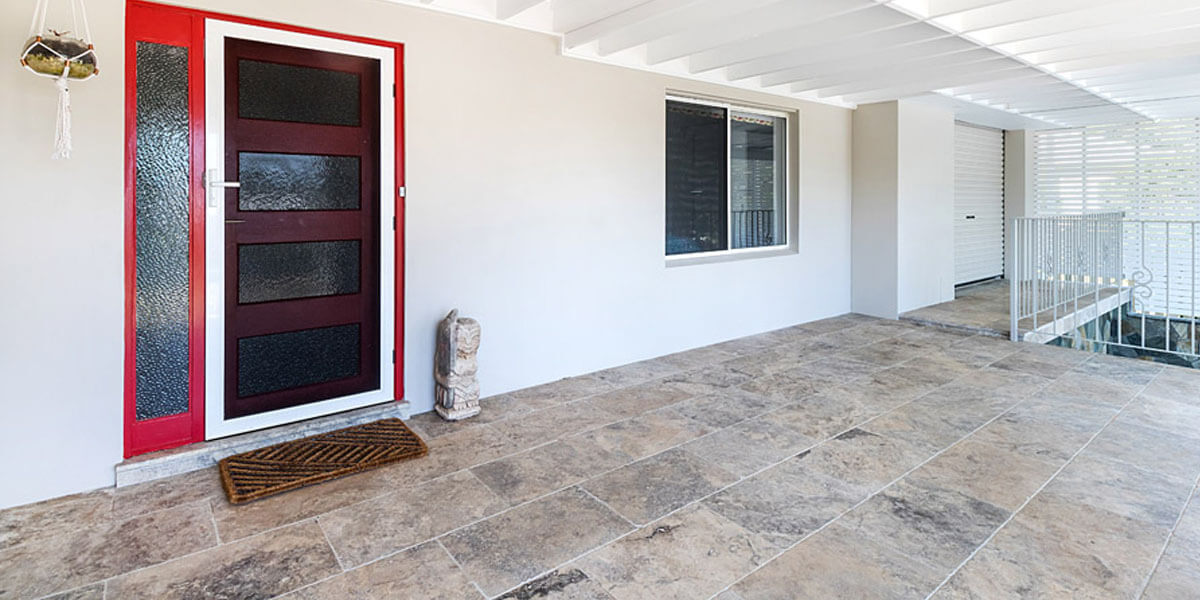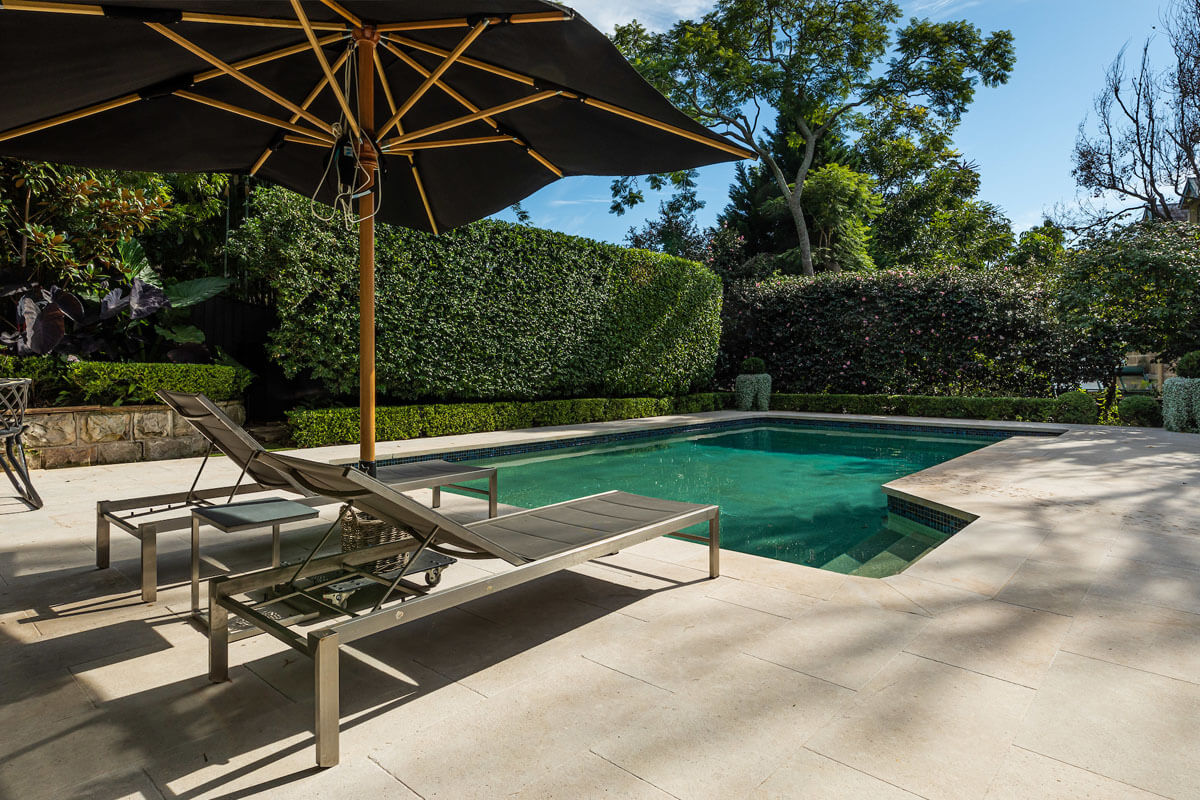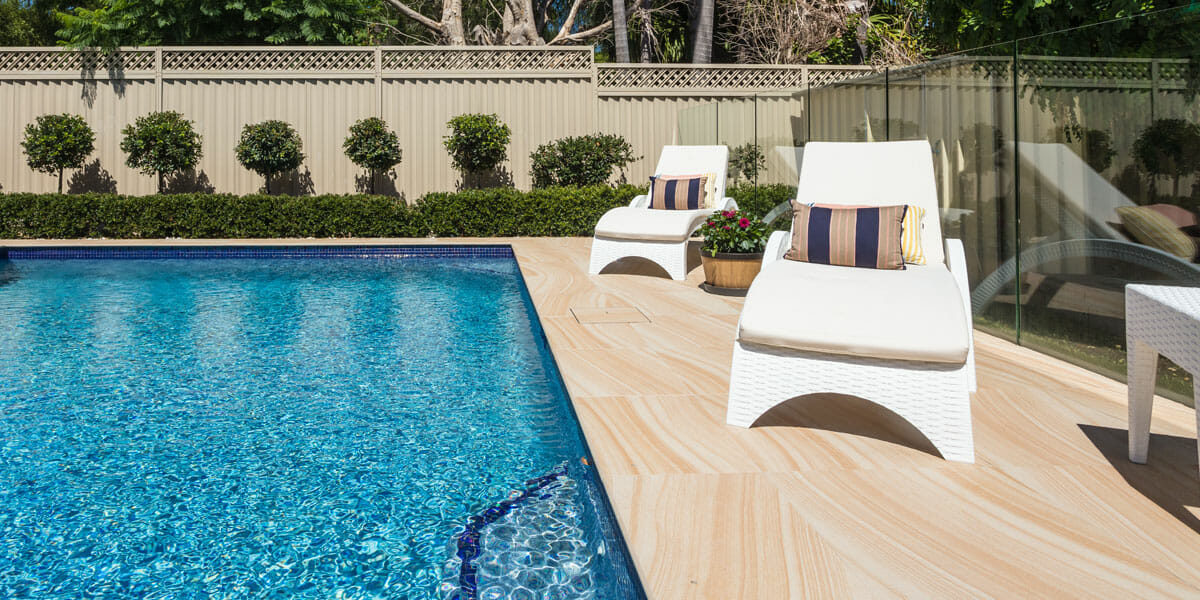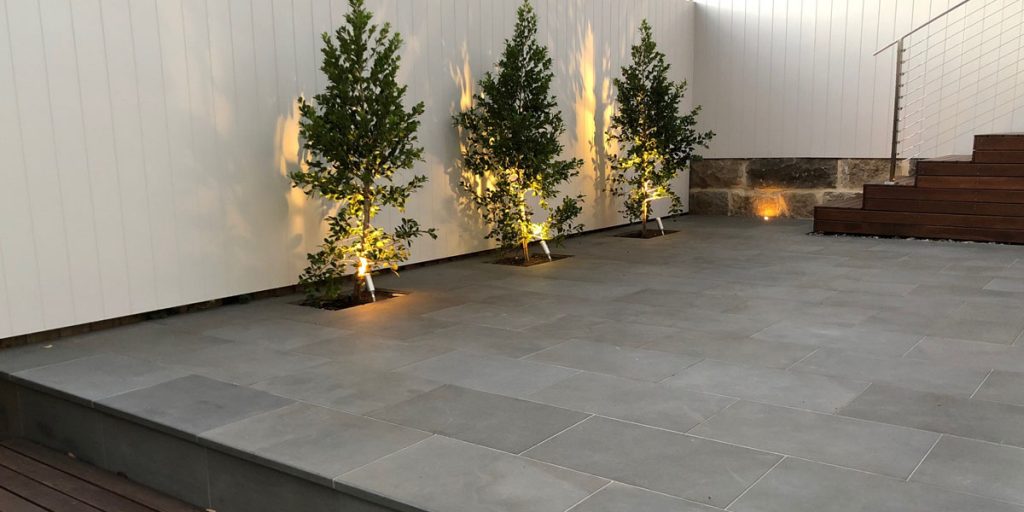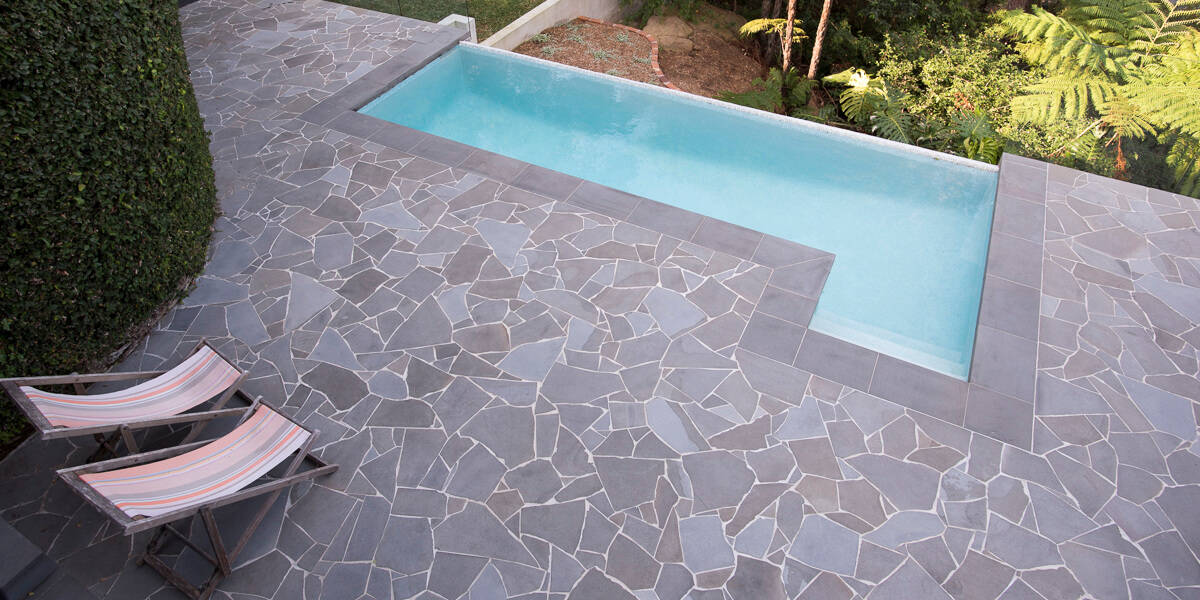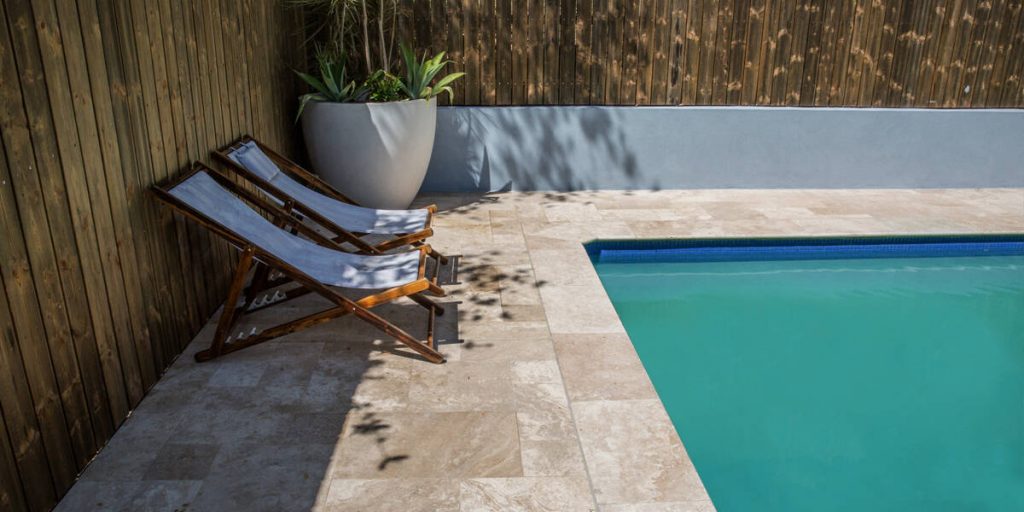
Warning: Don’t use Travertine Pavers Around the Pool before reading this Article

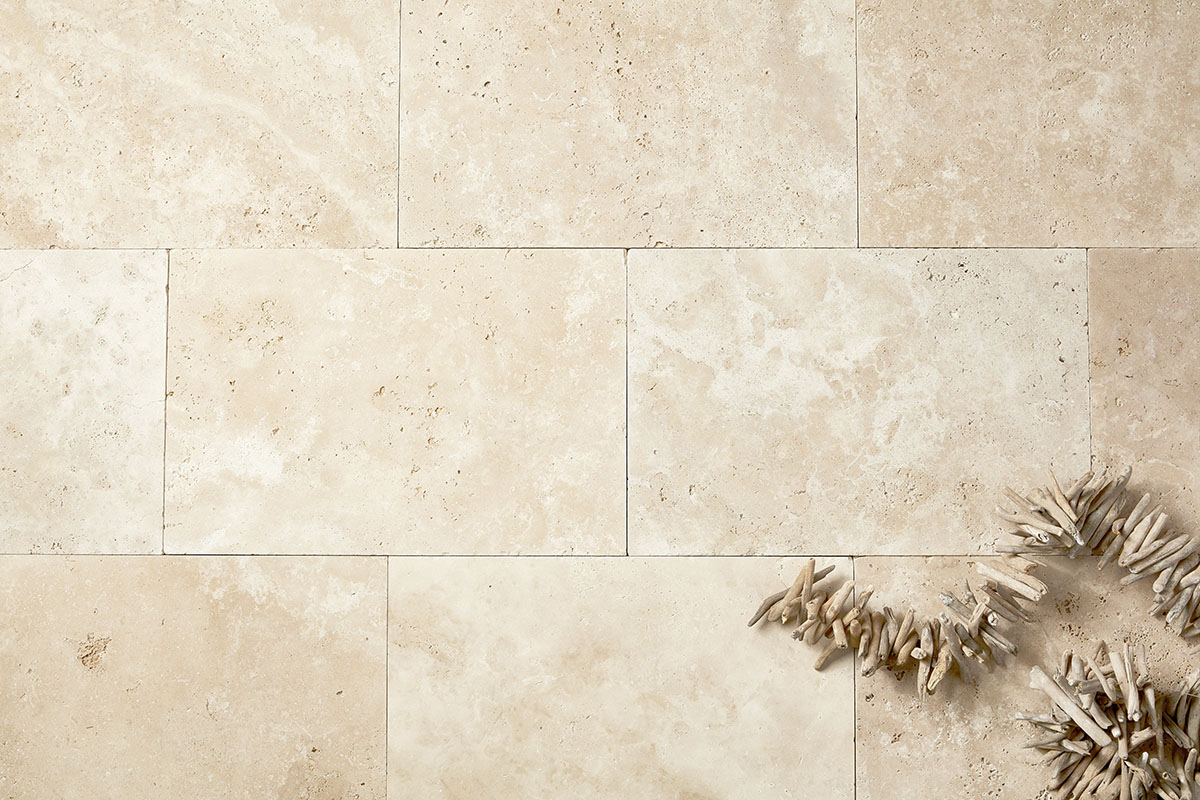
Cinnamon Travertine Pavers

Our headline is loaded and intriguing and you’re probably wondering:

“But why aren’t tumbled travertine pavers suitable for installation around the pool?”

Good question!

We would love to answer it for you.

There are three major reasons why tumbled travertine pavers aren’t suitable for installation around the pool.

Before we dive head first into these.

We would love to introduce ourselves so that you know that we aren’t just a character blogger who is regurgitating content.
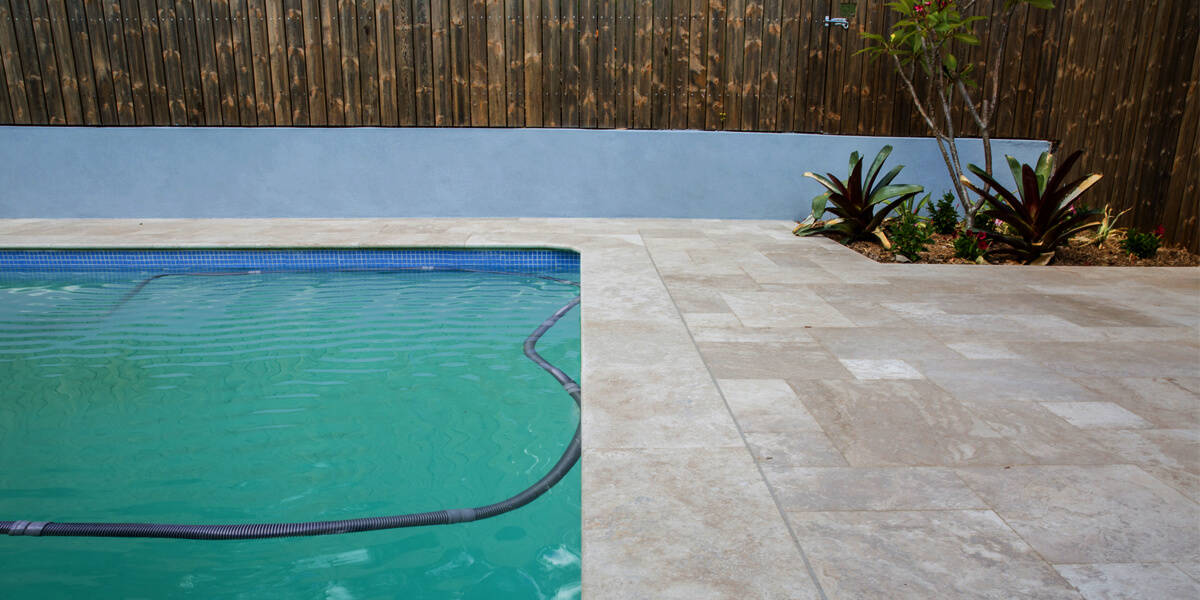
Cinnamon Travertine Pavers

In the past 10 years, Armstone has become one of Sydney’s high-end natural stone suppliers.

Situated in Glebe, we are passionate about supplying you with the best quality pool pavers that transform your outdoors and bring you and your family, joy and happiness.

We love to guide our customers to make the best decision that is perfectly tailored for their project.

We have worked on thousands of multimillion-dollar homes and commercial projects.

Working closely with pool builders, architects and landscapers alike.

We have learnt a few tricks of the trade about how to create attractive natural stone designs.

All the while keeping the area around your pool safe and practical for your entertainment and enjoyment.

Over the years we have received 5 star rated feedback from our lovely clientele.

Making us one of the best stone suppliers in our niche-industry.

Now, let’s get back to the article.

Below we will highlight the three key disadvantages of installing tumbled travertine pavers around your pool area.

If you would like more information about travertine pavers, check out our article on the 9 most frequently asked questions here.
Cinnamon Travertine Pavers

3 REASONS WHY YOU SHOULDN’T USE TUMBLED TRAVERTINE AROUND THE POOL:

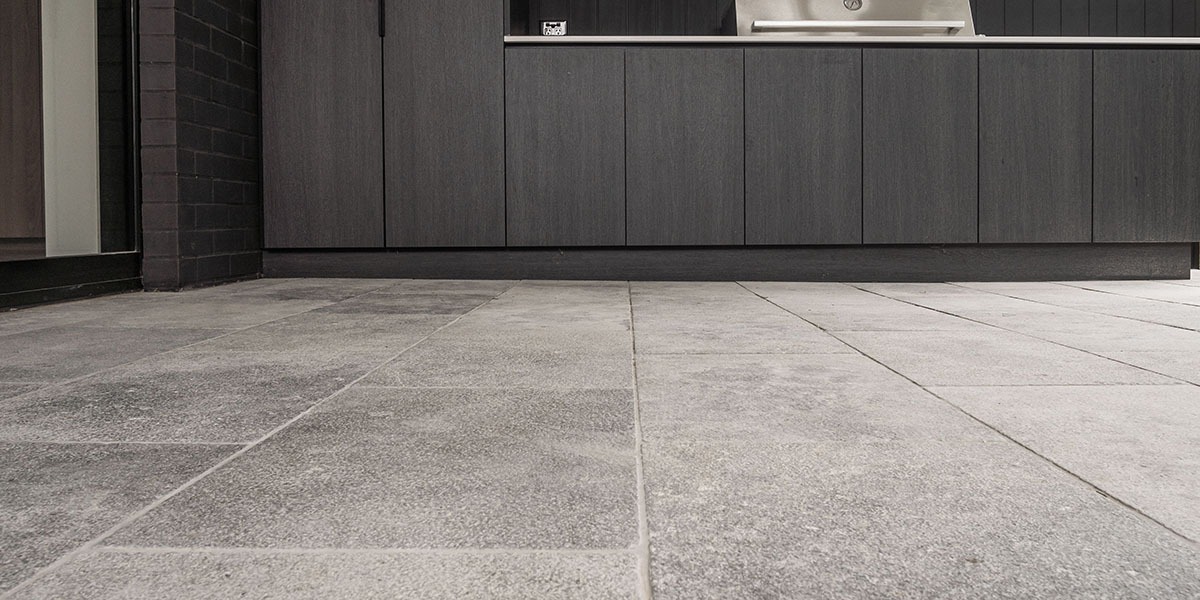
  1. TUMBLED TRAVERTINE PAVERS ARE SLIPPERY WHEN WET

A pool is obviously a wet area.

So in order to keep the surrounding paving as safe as possible.

It’s best to install materials that are made of non-slip surfaces.

It is recommended that these extend at least one metre from the pool.

Are graded away from the pool and installed in such a way where any water that gets onto the surface of the stone.

Drains to a waste area so that it decreases the slippage of the stone’s surface.

Ordinarily, tumbled travertine pavers can get slippery when wet.

And as such, it is not recommended for installation around the pool.

How do we know this?

We pride ourselves on testing our natural stones for safety.

To check how slippery stones are, we put them through what’s called a “Wet Pendulum Test”.

We conducted this test on “A” grade travertine pavers and noted that they had a P3 slip rating.

This is the same rating as to your indoor stone or porcelain tiles.

Which means that the stone is slippery when wet.

The Wet Pendulum slip test is where a metal boot.

With a spring-loaded rubber slider on its outsole.

Swings down onto a stone and slides across its surface.

Once the boot swings back up.

The height of the swing helps us determine the slip rating of the surface.

The more slippery the stone is, the higher the pendulum swings.

The “P” Stands for Pendulum Test.

And its rates range between P0 – P5 (see table below for more information).

When choosing a paver for your pool surrounding.

It’s important to understand that when there is too much water on a stone’s surface.

It can naturally get very slippery.

As such, it is much wiser to choose a pool paver with a P4 or P5 slip rating.

These ratings show that the stone has a better grip than a stone with a P3 rating.

For example, while having fun in the sun, excited children tend to run around the pool.

If the stone’s surface has a P3 rating.

It can be tough to keep your balance and a small slip can result in devastating injuries.

Yes, adults included.

P4 or P5 ratings will give you the confidence and peace of mind that your pool paver is safe for everyone to enjoy.
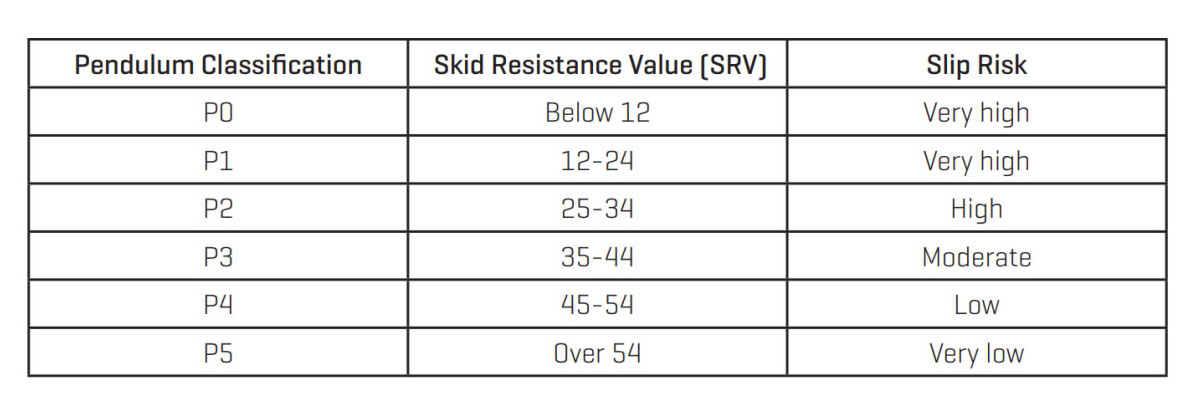
slip risk graph

  1. TRAVERTINE MAY CONTAIN PITTING THAT TRAPS DEBRIS

One of the characteristics of travertine tumbled pavers.

Is the various sized holes throughout its surface.

This isn’t a defect, but simply a unique trait of the stone.

However, these pits and holes can become quite troublesome outdoors.

Especially as debris and dirt can build up in them.

If installed near a wet area like a pool, these holes are also prone to water filling into them.

As they are hard to clean, eventually the travertine paver will have mould growing in it.

Meticulous maintenance and care are prerequisites for travertine pavers.

For example, it’s recommended to fill these holes with an appropriate grout.

However, this adds additional labour and material cost.

Which coupled with the additional maintenance time, is not always an ideal situation for many homeowners.

If you are keen to learn how to grout travertine pavers, follow this link and read the answer to question 9.

travertine pavers

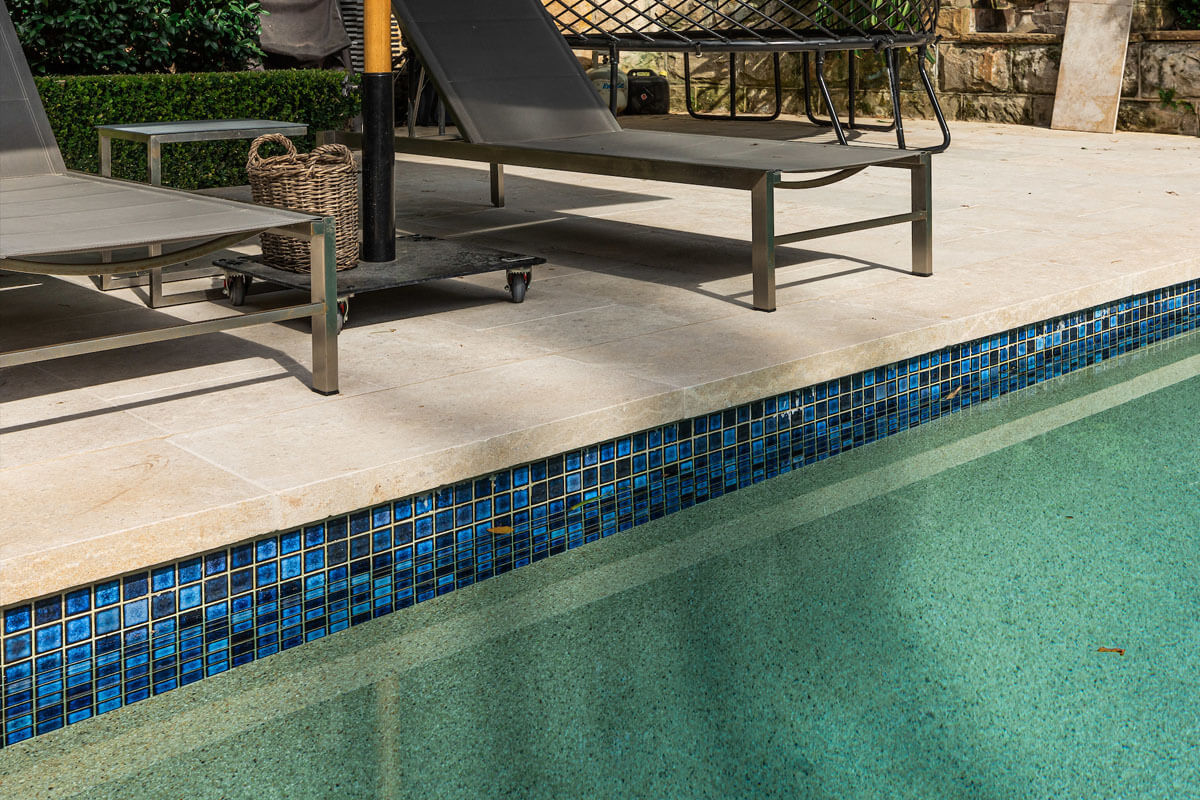
  1. TUMBLED TRAVERTINE PAVERS USED AS A COPING CAN CUT OPEN YOUR SKIN

Aside from being super slippery and full of tiny holes that require additional maintenance and care.

Travertine pavers are actually one of the more economical natural stone pavers on the market.

Which is why many people use tumbled pavers as pool coping.

However, to cut costs, they do not purchase the tumbled travertine in an appropriate bull-nosed or pencil-rounded edge.

And this is necessary for pool coping.

You are probably thinking: why not?

Well, many have a preconception and belief that tumbled travertine pavers have a rumbled edge that is “suitable” for pool coping.

As such, they think this cost-cutting method can help them “get away” with using the pavers.

Rather than getting the correct bull-nose, pencil-rounded or drop edge necessary for pool coping.

Like we mentioned in the second point, travertine has naturally occurring holes throughout it.

This is true of its surface and its edges as well.

It is also impossible to source travertine pavers with smooth edges.

Why is this important for pool surroundings and pool coping purposes?

Well, if you run your hand (or foot) over the edges of travertine pavers.

The holes can be so sharp, that they can cut your skin open.

Now imagine you are trying to pull yourself out of the pool.

You grab onto the edge of the travertine paver and cut yourself because the stone is slippery when wet.

And the little holes are sharp as well.

Now you’re injured and the pool is full of bloodied and contaminated water.

We are always amazed at how many consumers close their eyes to this detail.

And even more astounded by how some shady-stone suppliers will never tell you about this, just to close a sale.
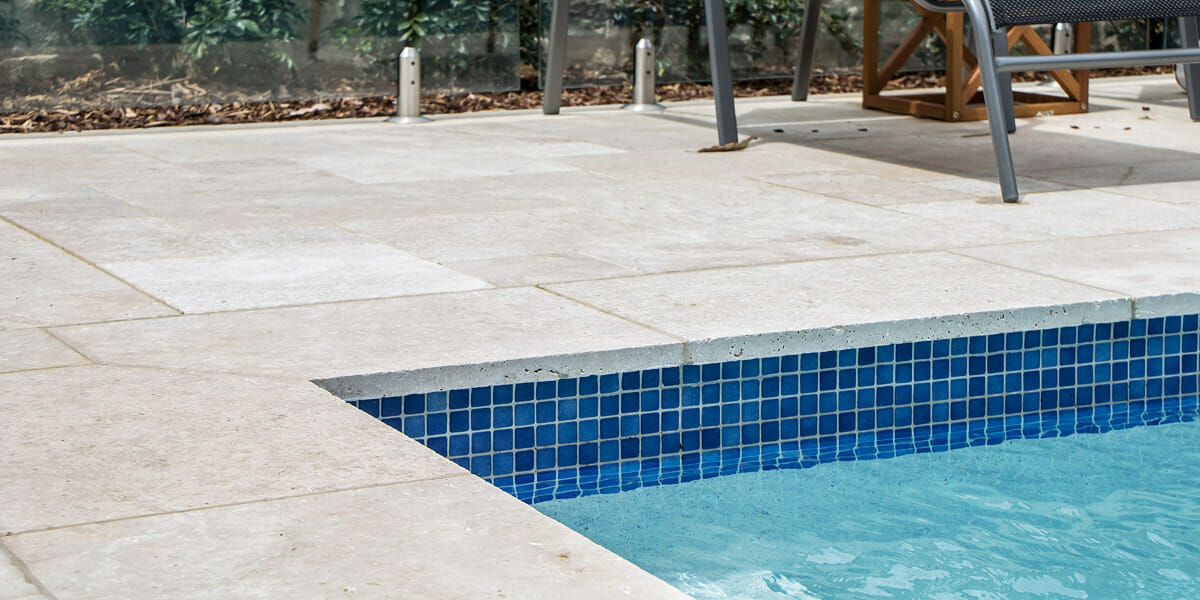
Travertine Pavers Leggero


To know more here is a video with frequently asked questions about travertine pavers:

Conclusion

Tumbled travertine is a beautiful natural stone.

However, it’s best to avoid installing it in an outdoor area that is susceptible to water.

This is because it can be slippery when wet and cause unnecessary injuries.

When installing pool paving, safety is the first priority.

There are many beautiful pavers that are safe and aesthetically pleasing.

If you want to learn more, check out our article where we share 5 tips on how to choose pool pavers and pool coping.

In case you need any help or guidance finding the right natural stone for your pool paving or coping.

Reach out to us at Armstone and one of our experts will guide you in the right direction.

PS. Below video will help you understand why is it important that your trusted stone suppler works closely with Installer.
 

How to Landscape With Pebbles ?

garden pebbles

WHAT ARE GARDEN PEBBLES?

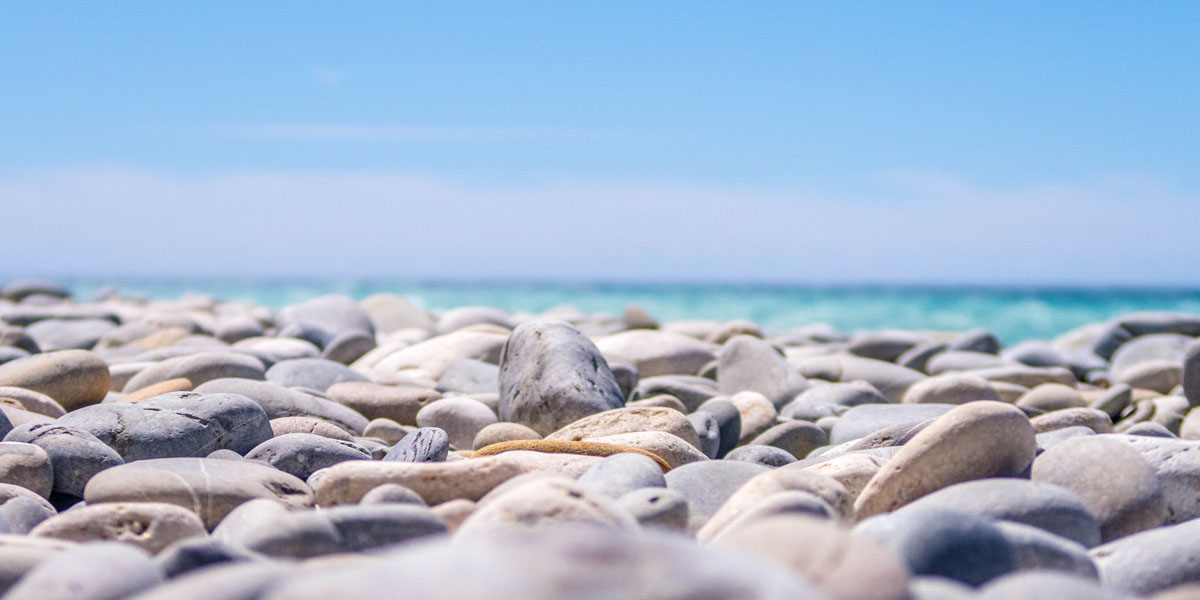
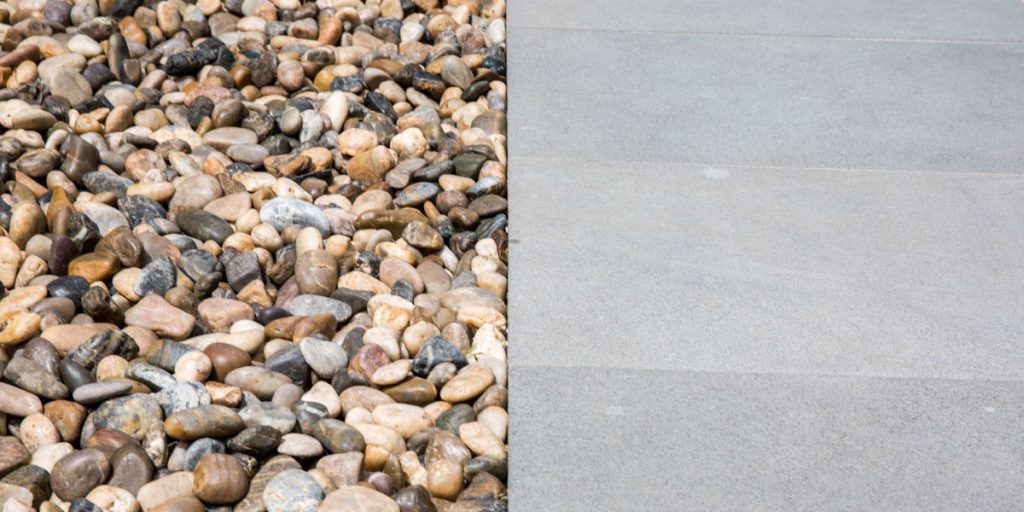
Garden pebbles are small, round edged stones that add a beautiful landscaping touch to create unique and stunning gardens.

As a versatile material, stone pebbles are is available in many different colours, sizes and textures. Whether you use them to give an empty space some character or for decorative purposes, your list of options is endless. For example, more and more homeowners are using river pebbles to decorate garden beds, pathways and for creating indoor features.

Natural Stone Pebbles are an easy and inexpensive solution for transforming your space into something magical and stylish.

In this article we will review the different options available to you and give some suggestions of how you can add value to your home with stone pebbles.

Snow White Quartz Pebbles

WHERE DO PEBBLES COME FROM?

The shiny, smooth stones you see in beautiful gardens are actually a by-product of years of natural erosion in exotic places like China, Indonesia, Philippines and Vietnam.

Contrary to popular belief, these pebbles aren’t easily formed and are not easy to find either. In fact, it takes millenia for pebbles to be created.

This process starts when rainwater washes loose stones from a mountain. Over the course of thousands of years (yes, it’s a slow process), these rocks find their way into mountain streams and eventually into rivers and oceans.

As the stones travel along their newfound path, over time their rough texture and sharp edges are weathered down by the water’s current. This is how they become the beautiful, soft edged and rounded stones you can use in your home today!

River pebbles

WHERE CAN STONE PEBBLES BE USED?

One of the biggest draw cards for using stone pebbles is that they are very versatile. Here is a list of all the places you can use them:

  1. Rooftops
  2. Between stepping stones
  3. Drainage
  4. Poolside
  5. Garden edging
  6. Ground cover
  7. Garden beds
  8. Pot Plants
  9. Around a Fire-pit
  10. Around bathtubs

Let’s look at them individually.

Rooftops 

If you want to add visual appeal to your roof, simply add garden pebbles! On a more practical level, adding a thick layer (about a few inches thick) of stone pebbles to your roof can also help insulate your property (and reduce your electricity bill). As pebbles absorb and release heat, they can help reduce the heat that is absorbed and released from your roof. Wouldn’t that be handy? Also, sun exposure can cause cracking on your roof. Stone pebbles can protect from this too.

Between Stepping Stones 

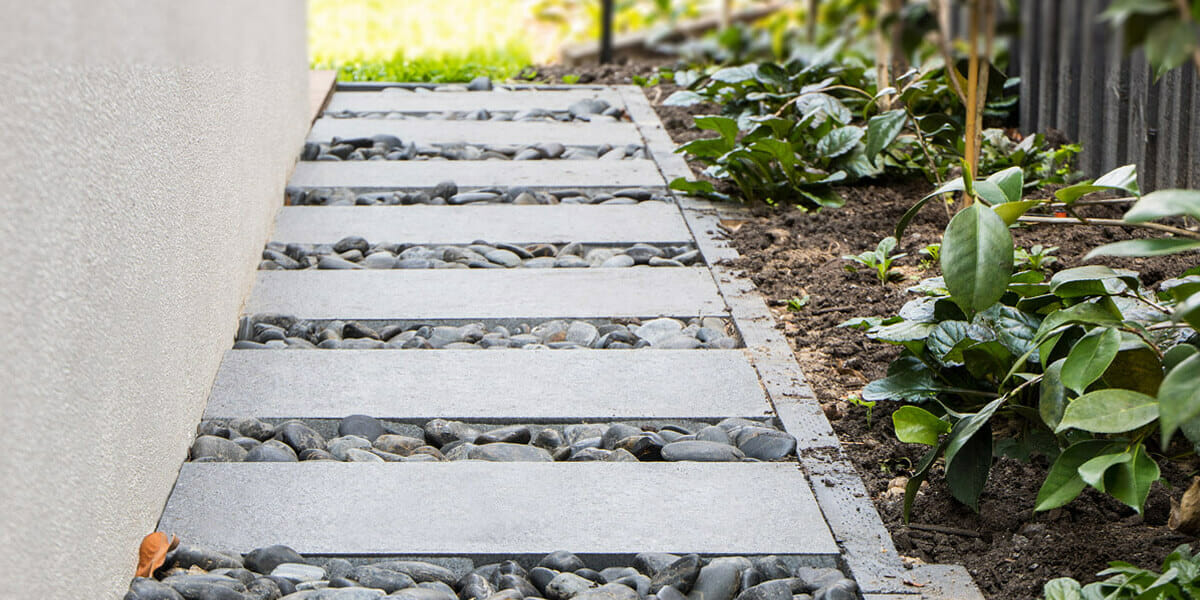
You can use exotic pebbles to strategically define the area between your stepping stones. We recommend choosing pebbles that either compliment or completely contrasts your stepping stones.

Raven Granite Stepping Stones

Drainage

You can also use pebbles to fill and decorate drain areas! Firstly, they make the area more attractive. Secondly, as they are permeable (they allow water to pass through them) they can turn a plain and necessary part of your home into a feature space.

Poolside

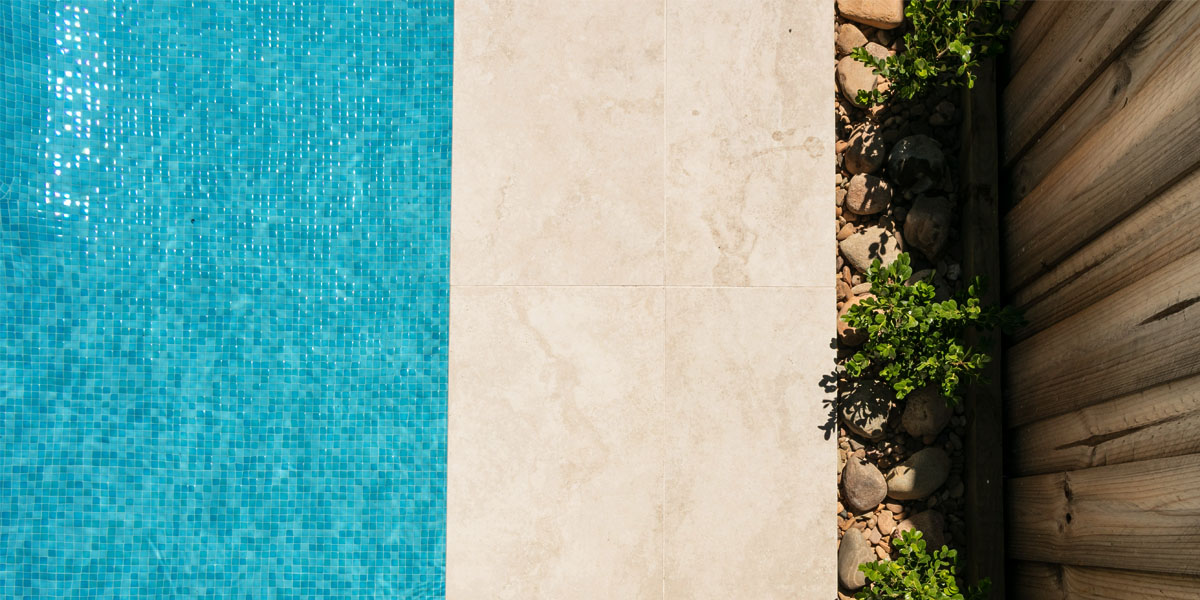
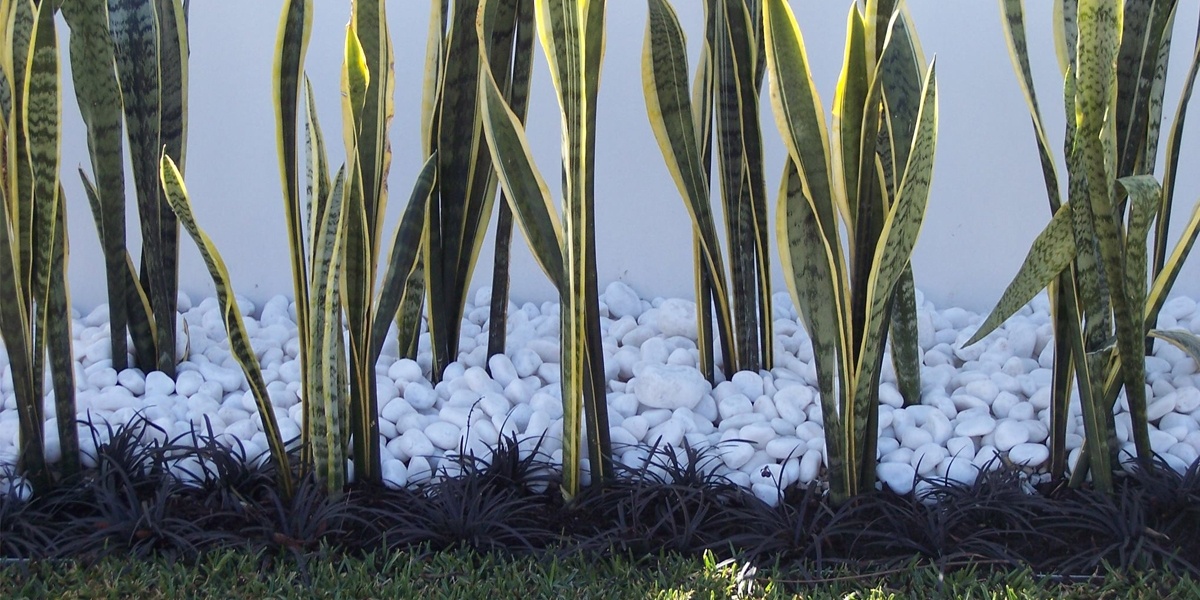
If you have vegetation and landscaping along the fence of your pool, use pebble stones instead of mulch as decoration! As pebbles have rounded edges, they can really break up the pool area from being too linear and really add some fluidity to the outdoor space.

stone pebbles

Garden Edging

Landscaping Pebbles can also be used to as edging around your garden. We recommend using larger pebbles that are approximately 90-120mm or 100-150mm in size as these naturally create a border to define your garden space.

Ground Cover

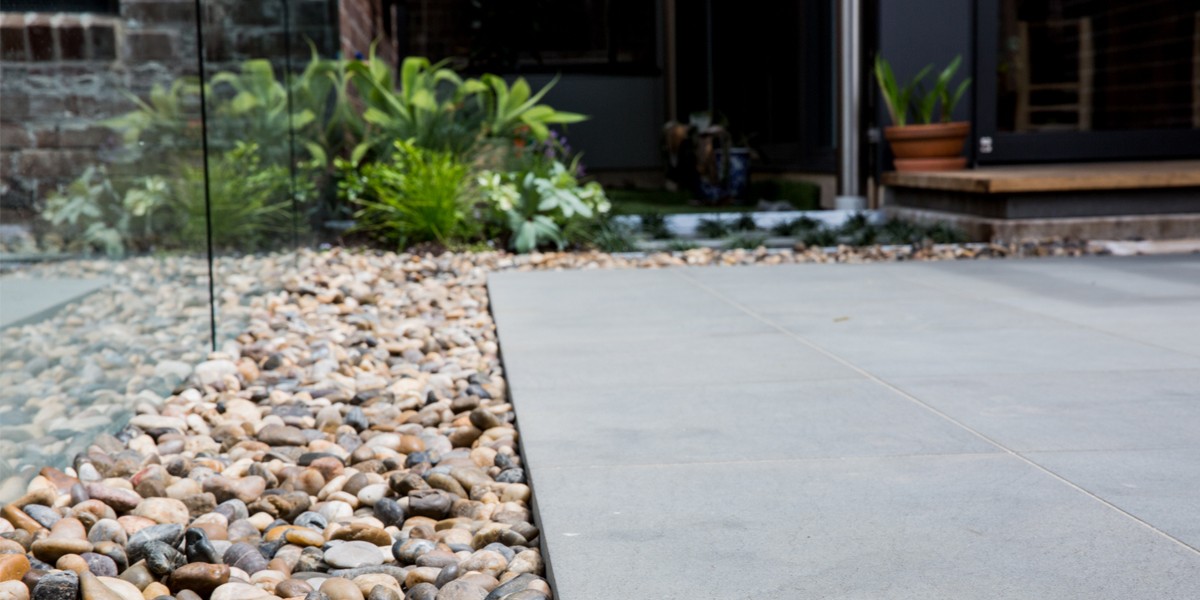
Using decorative pebbles as ground cover is an easy solution to transform neglected areas of your garden into feature landscapes. For example, use pebbles to reform an eroding pathway, an unwanted lawn space or an edge around the pool where you don’t want to plant anything. Firstly we recommend matting the area and then adding approximately two courses of pebbles that are 40-50mm in coverage.

mixed polished pebbles

Garden Beds

Using pebbles for garden beds can really reduce the loss of moisture in the soil and thus, help the plants stay rejuvenated and healthy. On the plus side, this means you don’t need to water the plants as often, which saves you time and water. In a drought prone area like Australia, this actually becomes a really handy landscaping hack. Also, pebbles really beautify the area around the plants. So it’s really a win-win-win situation.

Pot Plants

Sprinkling garden pebbles atop the soil of pot plants not only helps the soil retain its moisture, but the overall aesthetic really completes the pot.

Volcanic Earth Pebbles

HOW TO INSTALL GARDEN PEBBLES?

As you can see, there are many benefits to adding garden pebbles to your outdoor (or indoor) surroundings.

However, there is one thing that can become quite problematic.

Weeds!

The trick here is to add a thick layer of pebbles to stop the weeds from growing through them. Another solution is adding a  Roundup treatment to the soil prior to laying the garden pebbles.

Finally, you can create a weed barrier by adding underlay between the rocks and the soil. This helps prevent weed seeds from touching the soil. We suggest using landscape fabric, double pebble matt or black plastic as the material for the underlay. Plastic creates a stronger weed barrier than landscape fabric, but water won’t pass through it to feed the bushes’ roots. If you decide to use plastic, make sure to puncture it with holes so that water can still seep through.

HOW TO CALCULATE THE COVERAGE OF THE PEBBLES?

A number of factors affect pebble coverage. These include: the coverage area, depth of cover and the shape and size of the garden pebbles.

As garden pebbles come in a variety of shapes and sizing, it can be tricky to calculate the exact amount required to cover a specific area. We have solved this by laying pebbles on a square meter area and found a reasonably accurate formula that you can use.

In saying this, calculating garden pebble coverage isn’t an exact science and so please keep in mind that our formula is still only an approximation.


HOW TO MANAGE YOUR PEBBLES QUANTITIES CORRECTLY

Here are three simple steps to help you manage the quantity of your pebbles as accurately as possible:

  1. Use an underlay material
    Typically a less expensive pebble such as blue metal (or one that is a similar colour) can be laid to cover a significant amount of depth. Once this area is covered, add your feature pebbles on top. This solution works best on areas that are not exposed to heavy foot traffic as this can disturb the pebbles and expose the base pebbles.
  2. Mix sizes
    Small pebbles offer much better coverage than larger pebbles. To save money while achieving a visually pleasing aesthetic, you can strategically mix large and small pebbles together because the smaller pebbles will fill gaps between larger pebbles.
  3. Insert your pebbles into the grout
    If you are using pebbles in high foot traffic areas, grouting your pebbles will create better coverage and also hold them in place without being disrupted by constant foot movement.

CONCLUSION

Now that you have a more solid understanding about garden pebbles, where they come, how they can be used and a guide to calculating coverage, you can use them to spruce up your space.

If you need some help, or if you have any questions about anything we’ve discussed in the article, please reach out to us here or visit us at our showroom in Glebe, Sydney.

Thanks again for reading our article!

If you found it useful, please share it with your friends!

How & Where To Use Crazy Pavers?

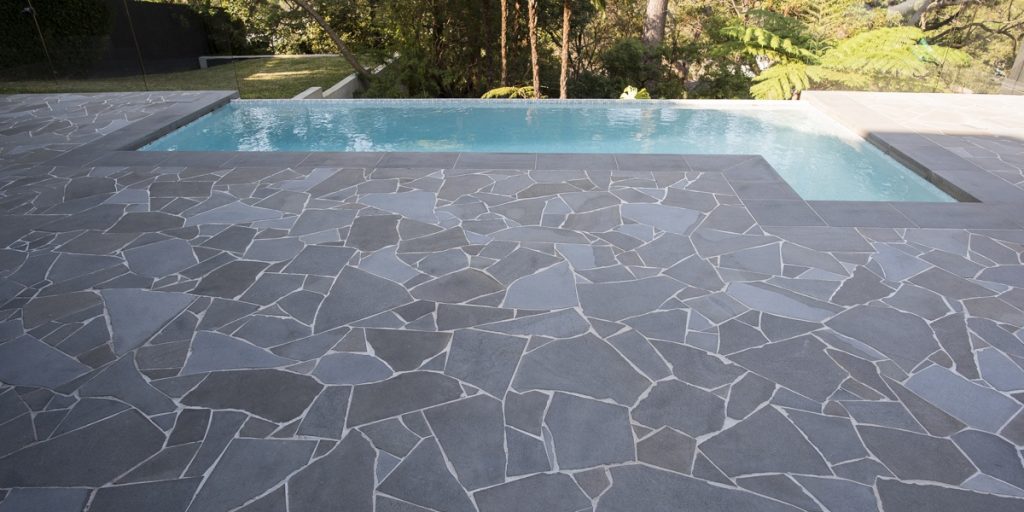
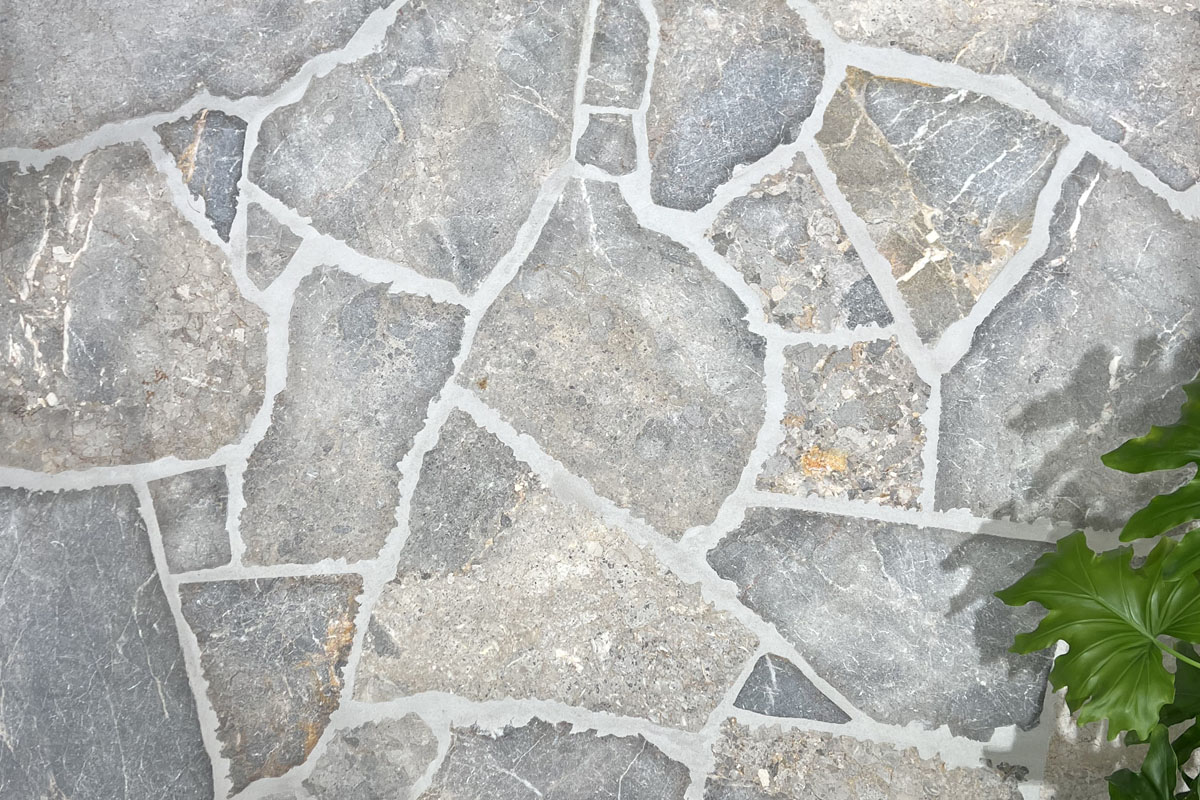
Bluestone crazy pavers

We can just imagine what you’re thinking.

Crazy paving?!

What even is that?

So first, let’s take a look at what crazy paving is.

What types of homes it suits best.

How to best lay crazy paving.

And of course, best practices for sealing and grouting.


WHAT IS CRAZY PAVING?

Basically, Crazy Paving is exactly what it sounds like!

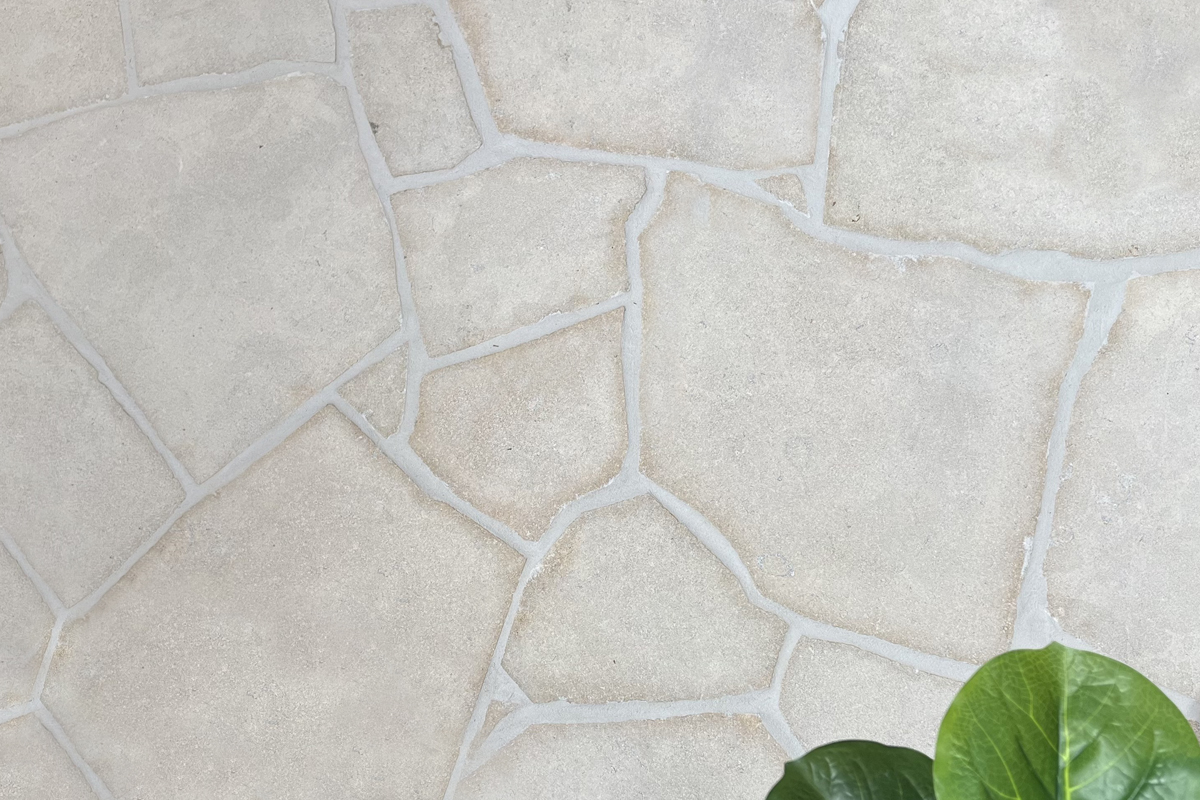
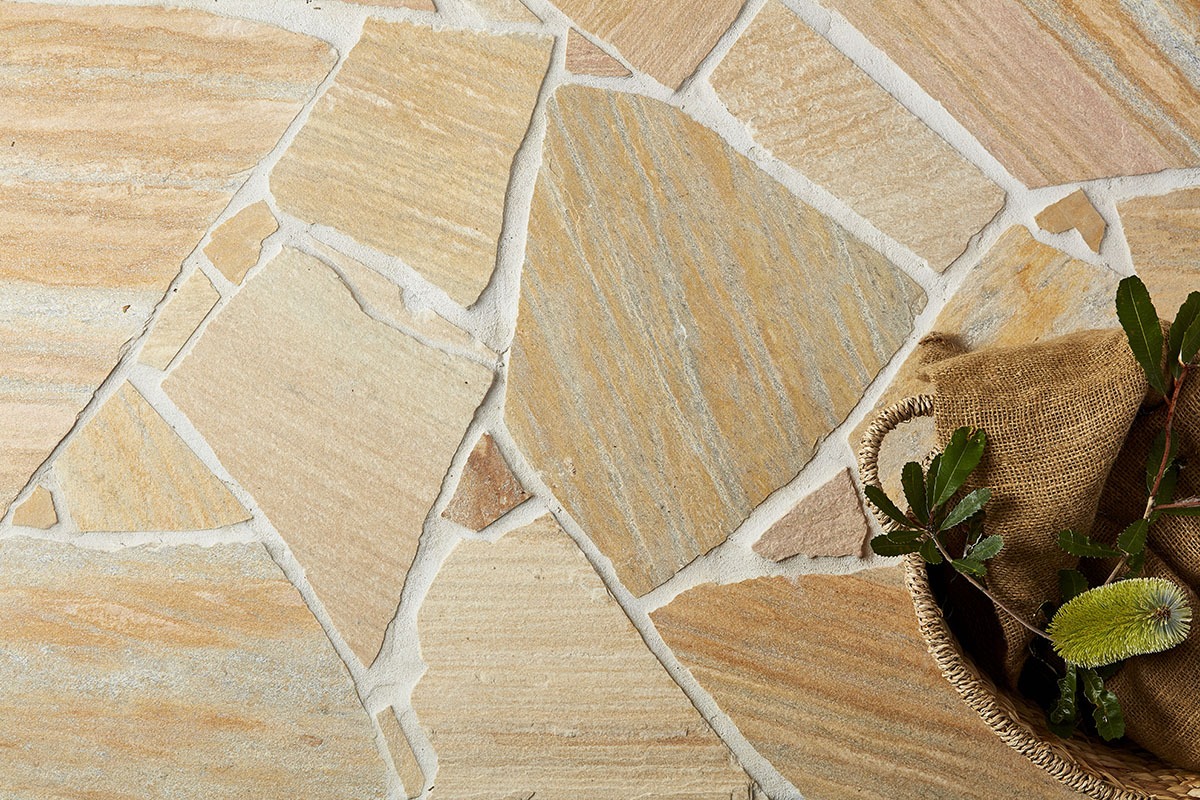
It’s stones that have been assembled on the floor in a crazy look with irregularly shaped stones of small, medium and large-sized pieces.

Crazy pavers are also known as flagstones or flagging.

Usually, flagging stones refer to stones that have a natural split finish on the top as well as the bottom.

As such, these can have inconsistent variations of thickness.

The most popular flagstone pavers are Sydney Sandstone.

These can be sourced in many random shapes or more random squared/rectangular shapes.

Crazy paving stones are also available in many other materials, like Bluestone Crazy Paving, Limestone Crazy paving, Marble Crazy paving, Slate Crazy Paving,  Quartz Crazy Paving and Porphyry Crazy Paving.

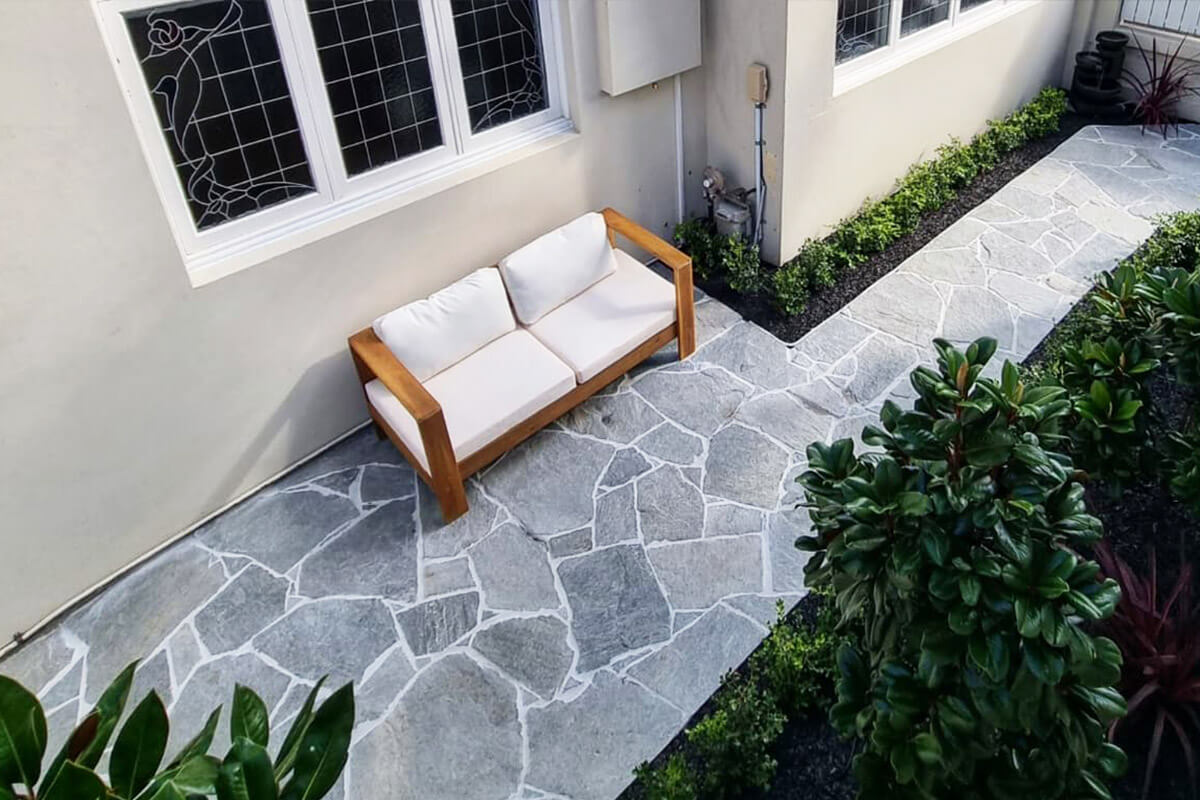
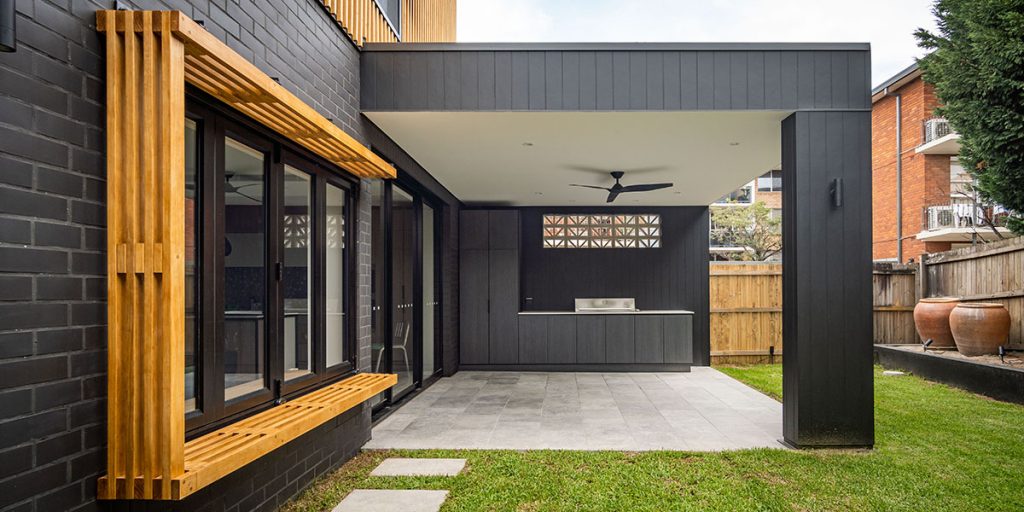
With its multi-purpose functions, crazy paving can be used for driveways, patios, courtyards, around fire-pits and in many other spaces.


Grampian crazy

**Trello Limestone Crazy Paving

WHAT STYLE OF HOME DOES CRAZY PAVING SUIT?

Crazy paving and its unique “randomness” works naturally in retro-styled homes and inspire a pleasant retro feel.

Being a versatile material, it also works well in modern settings, creating beautiful terraces and entertaining areas.

As it is easy to use and install, you can also create seamless and organic spaces.

These will complete your home with contemporary or mid-century designs as well.

Many homeowners and designers also strategically use crazy pavers with accessories like dichondra plants.

This is an incredible combination in the modern landscaping industry.

It helps create a truly beautiful balance between land and plants.

Cullbara crazy pavers

**Culburra Quartz Crazy Paving


HOW TO LAY CRAZY PAVERS?

If you are planning to lay crazy paving stones in a foot traffic area that has a concrete slab.

And the crazy paving stones are 20mm in thickness.

You need to use flexible glue to adhere them onto a concrete slab.

If you don’t have a slab, you need a compacted road base and sand-cement mix.

Then you can lay them on the wet bed.

But if you use this method, your stones need to be 30mm or more in thickness.

The type of glue you use depends entirely on the traffic of the area where you’ll be installing the pavers.

For example, a vehicle traffic area like a carport and driveway requires a very different glue to a foot traffic area like a footpath.

Prior to gluing the stones, we recommend laying at least 3 square metres on the floor.

This will help you have a good idea of the shapes and visual design you will be working with.

Then you need to mix the shapes and colours of the natural stones to make them as “crazy” as possible.

There are only two major rules you should follow. 

Rule number one: 

Do your best to create consistent gaps between the pavers.

For example, if you decided on a 20mm gap between the pavers, do not exceed a 30mm gap.

Also, ensure that your gaps are not less than 10mm in width.

Rule number two: 

Do not line the paving pieces consistently with each other.

The goal is to maintain an organic and unstructured look and feel.

As such, the pavers should not be aligned to create any straight lines.

Aim to lay them in a free-form manner.

Pazzo crazy 4


**Pazzo Crazy Paving

HOW TO SEAL CRAZY PAVING?

Prior to grouting crazy paving pavers with split finishes, you must pre-seal them.

We recommend pre-sealing your crazy paving with Aqua Mix – Pro Block.

We recommend this product because it will help you easily clean off any grout haze or leftover grout from the surface.

This way you’ll be able to keep the job tidy and clean, without hindering your installation process.

Once you finish grouting the crazy pavers, you need to apply a top sealer.

This helps protect the stone, increase its longevity and allow for easier maintenance.

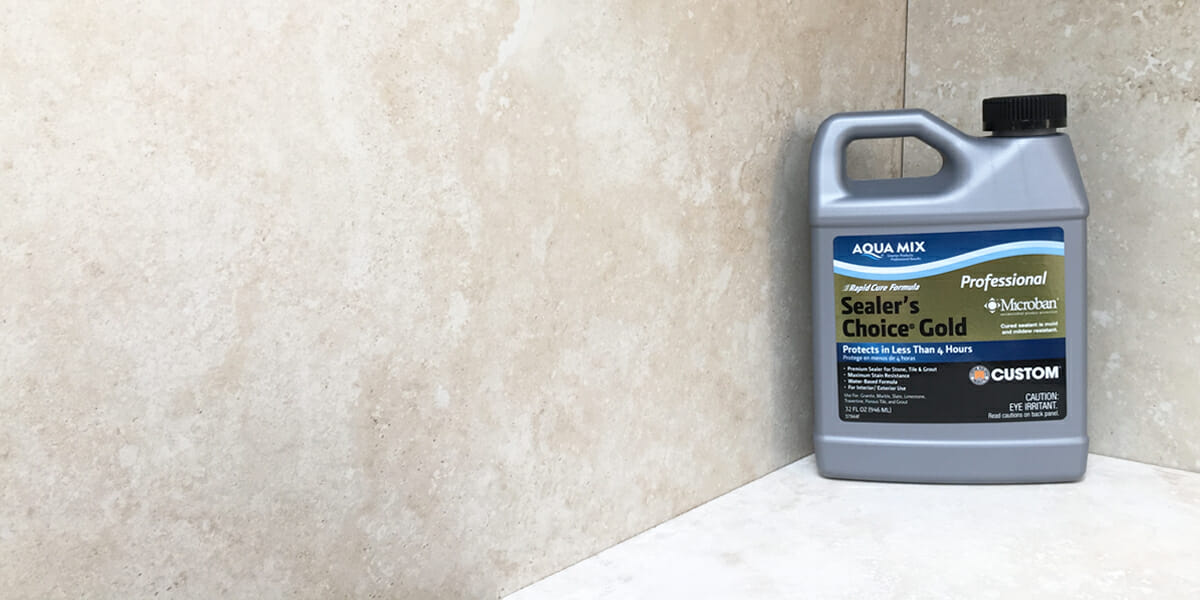
At Armstone we recommend using Aqua Mix – Sealers Choice Gold.

This is a water-based penetrating sealer that also contains a micro-band formula and a low VOC rating.

We also recommend re-sealing outdoor exposed areas every 8 years with our recommended sealer.

Norse crazy
**Norse Marble Crazy Paving

WHAT IS THE RECOMMENDED GROUT FOR CRAZY PAVING?

At Armstone we recommend using Ardex WJ50 grout for crazy paving.

This grout has a lot of colours to choose from.

More importantly Ardex WJ50 doesn’t have polymer in it.

So your grout won’t shrink and you won’t have cracks in the joints.

To avoid possible shrinking issues, Ardex WJ50 is ideal to use in joints that range from 3mm to 50mm in width.

It is recommended to combine the Ardex WJ50 grout with the Ardex Grout Booster.

The Ardex Grout Booster is a water-based, synthetic polymer grout additive.

It was specifically created to be used with cement-based grouts.

It improves the grout’s adhesion strength, flexibility and resistance.

The product is available in a range of colours.

Added benefits include improved colour consistency and excellent workability.

If you have any questions or want to find out more, contact the team at Armstone on 1300 560 560.

Our experts would love to help you.


Things to Know when Using Limestone Pavers

Payton Payton Limestone pavers ARMSTONE

Limestones pavers have softer colour variations than most natural stone.

They also have less veining and a chalky feel about them.

Each piece of limestone has a story behind its beautiful aged look.

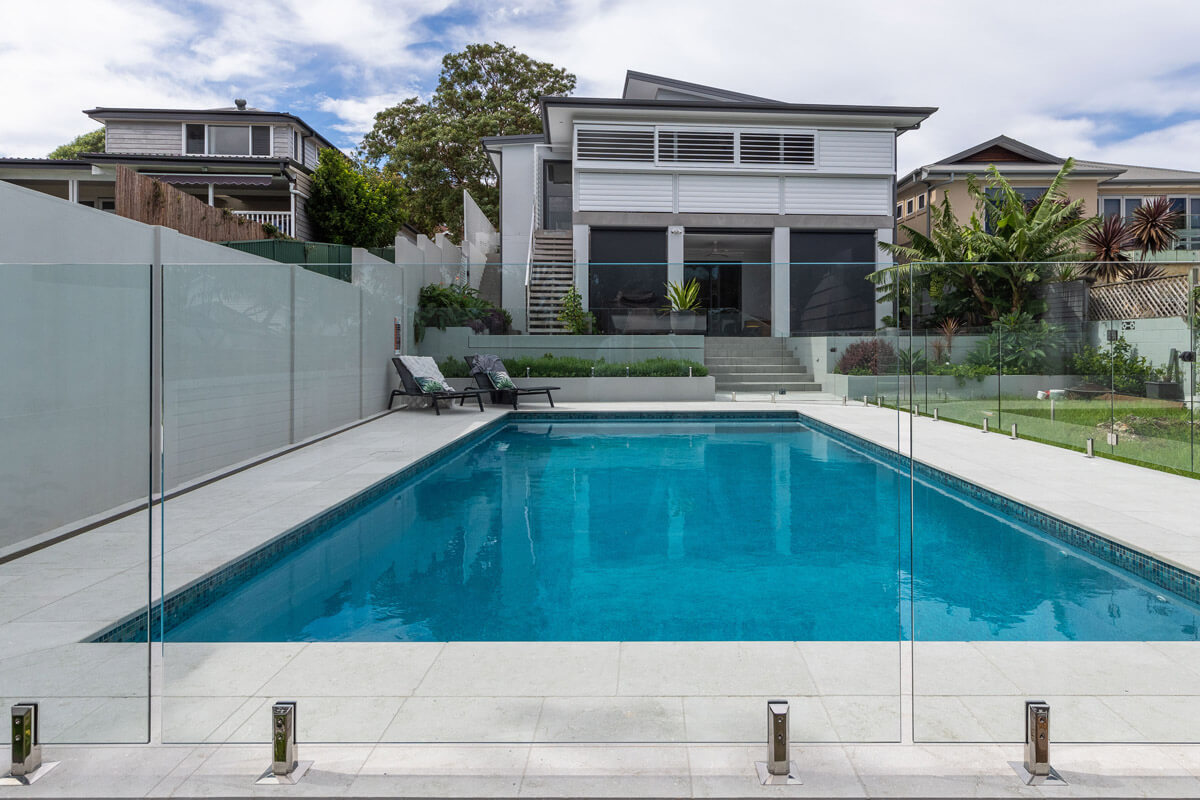
And makes an excellent paver for your home, outdoor entertainment area or poolside.

In this article, we will answer a few important questions about limestone pavers to help you make the right choice.

Let’s start with…

What are Limestone Pavers Made of?

Limestone is a sedimentary stone that is primarily composed of calcite and is formed by nature.

Compared to travertine and sandstone, limestone pavers are a very popular natural stone with Australians for outdoor usage.

While travertine is a stone with much character, its holes make it look quite busy.

And though sandstone is a desirable paver, it’s very porous.

Which is not ideal for outdoor usage due to it attracting mould and discolouring over time.

So if you are searching for an exclusive and unique paver for your outdoor entertainment areas and pool surroundings.

Limestone pavers are an excellent choice.


Dutoit Limestone Pavers 2
*DuToit Limestone Pavers

Do Limestone Pavers Stain Easily?

We have noticed a common trend from customers when they visit our showroom:

They have mixed information about limestone pavers.

Many think limestone pavers are cheap, porous and stain very easily.

Whilst others have been told that limestone pavers are so durable that they are suitable for driveways.

So we want to make it clear once and for all:

The porosity, durability, suitability and cost of limestone pavers.

Are all dependent on the supplier and the quality of stone they stock.

For example, a fine limestone paver is not as durable as a bluestone paver or granite paver.

However, limestone pavers are much denser than your average travertine paver or sandstone paver.

On the other hand, while high-quality limestone pavers have great strength.

And are salt and slip tested to ensure they are suitable for installation around saltwater pools.

They are not ideal for installation in heavy traffic areas like driveways.


Melba 2

How Much are Limestone Pavers?

Like all natural stones, quality limestone pavers add value to your home.

So even though they are a higher investment now.

iIf you look at it from a long-term perspective, they’re worth every dollar.

Limestone pavers can vary in cost from $65 per/m2, all the way to $230 per/m2.

This variance in cost is not due to the limestone’s durability.

But rather the fossils and shells that have set in its formation.

This unique trait adds a lot of value to limestone pavers.


Limestone Pavers Melba* Melba Limestone Pavers

What Makes Some Limestone Pavers Superior to Others?

There are a few characteristics that distinguish a superior limestone paver from a less superior one.

These include:

  • The stone’s density
  • The colour of the stone and
  • The cut of stone sold to the supplier.

In saying this, we urge you to be wary when investing in limestone pavers.

This is because some pavers on the market, even if they are 30mm thick.

Are actually quite porous and need to be dip-sealed to help make them less porous.

In such cases, you may even need to seal all 6 sides of the stone to protect it.

Also, there are some very low-quality limestone pavers on the market.

They’re so porous and soft that installing them around a pool, especially a saltwater one, is not ideal.

The stone will simply crumble over time and cost you even more time and money to fix.

This is why investing in the right quality stone for the area you intend to install it in, is very, very important.

If you need any help with this, reach out to our team of experts for some guidance here.


Grampian 1
* Grampian Limestone Pavers 

Limestone Pavers Around the Pool?

If the particular limestone is carefully selected and adequately tested.

Limestone pavers can have up to double strength and durability compared to their sister paver, travertine.

As such, limestone pavers can be installed around the pool.

However, we will caution you to salt test your limestone pavers before actually investing or installing them as pool coping pavers.

We have seen limestone pavers installed in various locations around the pool including pool houses and pool surroundings.

They’re also perfect as walkway pavers and for patios, courtyards and basically anywhere else you can imagine.


Limetta Limestone Pavers 8

What’s the Best Limestone Paver Pattern?

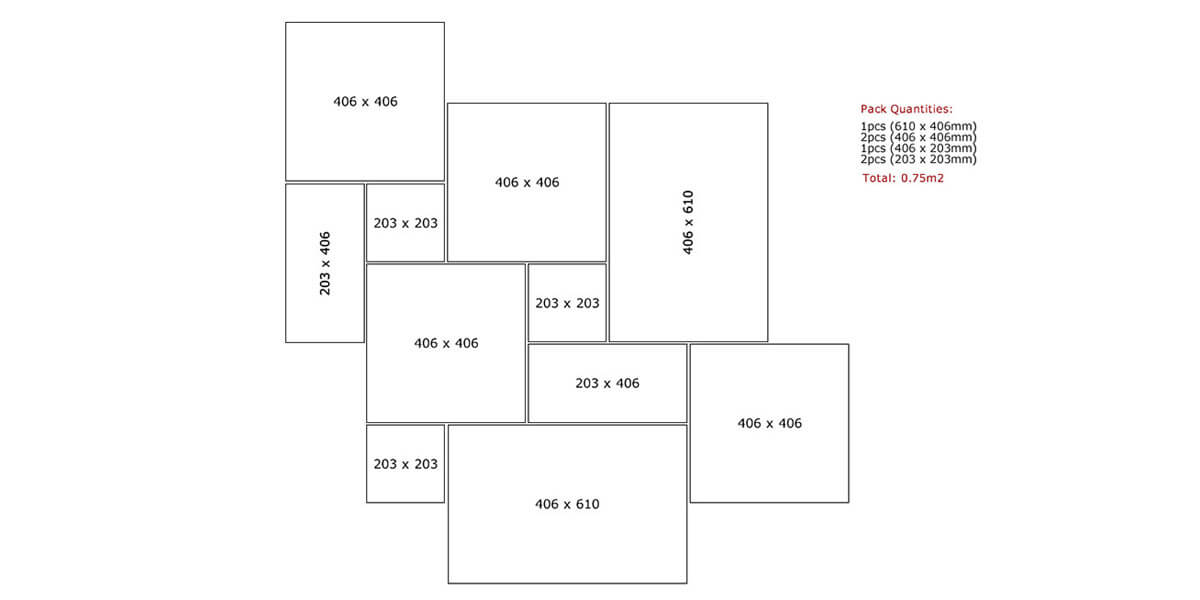
The French pattern is the most desired pattern for tumbled limestone pavers.

Basically a French pattern consists of four different sized pavers, that form a pattern which repeats itself.

The sizes include 600×400, 400×400, 400×200 and 200×200. Below is an example of this pattern.

In terms of design trends with limestone pool coping

Bullnose coping pieces are used in traditional homes or for curvy pools.

While square edge or drop edge limestone coping is used for modern contemporary homes.

See image below:


French Pattern Diagram

Do Limestone Pavers Get Hot?

Compared to granite and bluestone, limestone pavers reflect heat.

As they are made of calcite, this element does not absorb heat.

And as such, limestone pavers are an excellent choice as a poolside paver.

This is because they do not get hot underfoot.

And in the harsh Australian climate.

Where temperatures can reach 40 degrees celsius and higher.

This is a helpful characteristic for a poolside paver.


Payton Payton Limestone pavers ARMSTONE

Along with heat-resistance.

You also want to ensure that the limestone you purchase for your poolside, is slip-resistant.

Ideally, you want to invest in a poolside paver that has a slip rating of P4 or higher.

To make sure, always ask your supplier to send you a slip rating test of the stone prior to purchase!

Do You Need to Seal Limestone Pavers?

As with all natural stone products, sealing is essential to maintain the stone’s aesthetic and longevity.

Limestone pavers are no exception to this.

Aqua Mix – Sealers Choice Gold is our recommended sealer for limestone as it keeps the stone’s natural appearance intact.

Aqua Mix - Sealers Choice Gold

Aqua Mix® Sealer’s Choice® Gold – Rapid Cure, which contains MicroBan®, is the world leader in antimicrobial chemistry.

This sealer is able to penetrate through denser stones with smaller pores.

It also has a Low VOC (Low Volatile Organic Compound).

Which means it emits less carbon into the atmosphere.

For example, Aqua Mix only emits 46 grams of carbon per litre of sealant.

Which in the scope of things, is a very small amount of carbon pollution.

Aqua Mix Sealers and Cleaners have been used on limestone pavers globally in different environments for over 20 years.

Compared to other sealants, they are more long-wearing.

Which means you get the most bang for your buck from the product.

Conclusion

Choosing the right limestone paver will add a wealth of beauty, class, longevity and functionality to your home.

However, paving your home and surroundings is a significant investment and as such, should be one that stands the test of time.

This is why prior to investing in any natural stone pavers, it’s important to always do your research.

As we’ve mentioned earlier, the quality of a natural stone can vary between each supplier.

This is why it’s important to review the tests conducted on each stone.

And see if this information makes limestone paving an appropriate choice for your area of choice.

It’s easy to be led astray in this industry, especially when so few suppliers actually know their products.

If you’d like some guidance with your research or to chat about a specific product, you’re welcome to reach out to us.

We love this stuff and would love to guide you make the best decision for your home.

The 9 Most Frequently Asked Questions About Travertine Pavers (FAQ)

Silver Travertine Pavers

So you’re looking to transform your backyard, courtyard or patio with a timeless and classic natural design?

Yes?

Perfect!

Let’s see if Travertine pavers may be the best choice for you.

In this article we will look at some Frequently Asked Questions about Travertine Pavers.

This will give you a firm understanding of this natural stone.

And equip you with the correct information to make a decision if it’s the best choice for your circumstances.

1. WHAT IS TRAVERTINE?

Travertine is a calcite based natural stone.

It is formed beneath geo-thermally heated hot springs over a period of millions of years.

The hot water shoots up through the stone creating the pits and character you see on the surface of the stone.

Leggero

2.  WHAT COLOURS ARE TRAVERTINE PAVERS AVAILABLE IN?

Travertine comes in a variety of colours.

The most common ones used in Australian are Classic Light Cream and Beige, Medium Cinnamon, and finally Silver Grey Travertine.

Due to travertine’s subtle tones and veining texture.

It is easy to see why it is a popular choice amongst Australian homeowners and installers alike.

Cinnamon Travertine pavers

3.  HOW MUCH DO TRAVERTINE PAVERS COST?

With a range of benefits, travertine pavers are a relatively cost-effective natural stone.

Depending on the quality and stone colour, travertine pavers can cost from $45m2 – $98m2.

The classic colours like beige and cream travertine pavers require less investment because they are more common.

On the other hand, silver travertine is not as readily available in quarries and as such has a higher investment cost.

4.  DO TRAVERTINE PAVERS STAIN?

Even if you seal the stone, any natural stone can cause stains.

As we explain in this blog,  the purpose of a sealer is to reduce the porosity of the stone.

And in doing so, help the stone withstand stains from non-acidic particles.

As such, if acidic particles penetrate the travertine paver, they can still stain the stone.

Unfortunately, there is no bullet proof alternative, unless you choose to install travertine look-a-like porcelain pavers.

Cinnamon

5.  SHOULD TRAVERTINE PAVERS BE SEALED?

Yes.

It is highly recommended to seal travertine pavers.

In the off-chance that a liquid is spilled onto the travertine stone surface.

It can almost instantly stain the stone.

This is because it has a high degree of water absorption.

As a result, travertine pavers are relentless and unforgiving because the reaction time to clean them is basically zero!

This is why sealing travertine surfaces is so important!

Sealing significantly reduces the degree of water absorption.

And gives you more time to clean the stone and remove the contaminants before a stain can surface.

In saying this, depending on your lifestyle and outdoor setting, you may want to choose a high quality and premium sealer.

When tested, these have demonstrated the longest reaction time (measured in hours).

And are thus better equipped for protecting surfaces from a wide range of both water and oil-based contaminants.

6.  DO TRAVERTINE PAVERS GET HOT?

Since travertine comes from the calcite family, it reflects heat.

This makes it a perfect stone for outdoor areas that have constant heat from the sun.

Silver Travertine Pavers 13

 7.  IS TRAVERTINE SLIPPERY WHEN WET?

Yes and no.

Yes, your ordinary tumbled travertine pavers can get very slippery when wet.

And are not recommended to be used around a pool.

As a pool area is under constant water stress, the last thing you want is an accident.

At Armstone, we conducted a “Wet Pendulum Test” on Travertine Pavers.

This resulted in P3 slip Rating for your ordinary tumbled Travertine.

On the other hand, you have “B” grade travertines which are more porous.

As such, they absorb more water.

This makes the travertine less slippery.

8.  CAN YOU LAY TRAVERTINE PAVERS ON SAND?

Yes, high-density first-grade travertine pavers can be laid on a sand base for foot traffic areas.

These pavers need to have a minimum thickness of 30mm.

You need to be very mindful of the hair fractures in All-Natural Stone pavers.

These are basically the weak part of the stone paver where cracks can potentially occur when laid on soft substances like river sand.

By keeping the pavers a thickness of 30mm or more, you significantly reduce its chances of cracking.

If cost isn’t an issue.

We recommend laying the pavers on a sand-cement bed rather than a river sand bed.

This will also help you grout the joints in between the stones.

Silver Travertine Pavers armstone

9.  HOW TO GROUT TRAVERTINE PAVERS?

Some people prefer not to grout travertine pavers because they like to keep the look as close to natural as possible.

However, this becomes problematic when the cavities collect dirt and it’s very hard to clean this.

To some degree, you will be able to clean the cavities using high-pressure hosing.

But some debris will remain.

As the stone is a natural product, the holes will also attract mould and mildew.

As such, we recommend grouting both the paver joints and the entire paver.

Filling all the holes with a proper fine grout will make cleaning and general maintenance a lot easier for you.

Silver Travertine Pavers 11

CONCLUSION:

Travertine pavers are a popular choice amongst home owners and builders alike for a good reason.

They have a very appealing natural aesthetic and for a natural stone, they are reasonably priced.

On a final note, we strongly advise that if you choose travertine pavers that you pick an A grade product.

And find a tradie who is experienced with the installation procedures for this particular stone.

As always, it’s been a pleasure!

And if you have any questions feel free to give us a call or send us an email.

One of our experts would love to help you!

Why You Should NEVER Use Sandstone For Around The Pool and What You SHOULD

Sandstone Porcelain pavers

CAN I USE SANDSTONE AROUND THE SWIMMING POOL?

The short answer is:

No!

You should never use sandstone around the swimming pool.

Why?

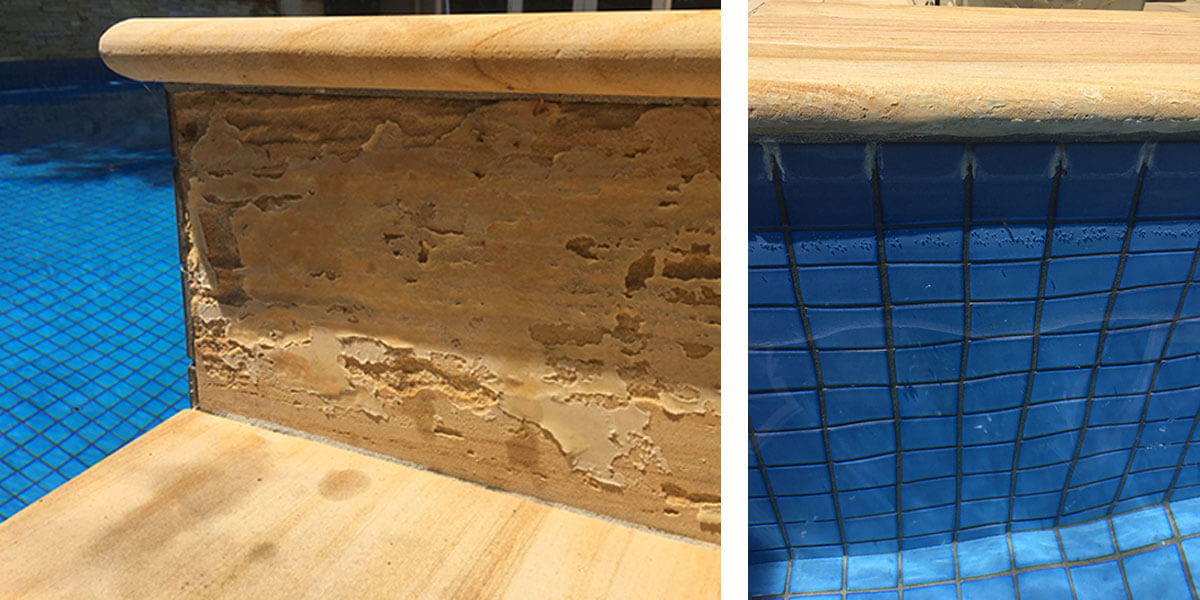
Well, very simply, sandstone is an extremely porous product. It is also very vulnerable to acid and salt. Since the pool is always subject to some kind of harsh chemicals and minerals, we do not recommend installing sandstone pavers around the pool.

The long answer is that there is a very fine line when determining if a sandstone paver is suitable to be installed around a pool. You see, the fact of the matter is that some natural stone products are simply not suitable for saltwater pools. For example, some limestone pavers do not meet the Australian Standard for use around pools.

Many people, even within the stone industry, believe that the reason sandstone pavers create issues is due to choosing the incorrect sealant for the stone. But this is a very common misconception. The only reason that sandstone pavers cause issues is because they are not suitable for use around a swimming pool.

Sandtone Porcelain Pavers

THE SHOCKING AFTER-EFFECTS OF SANDSTONE AROUND THE POOL

Sandstone is a sedimentary rock and it is composed of sand particles (SiO2) and calcite (CaCO3), which binds those sand particles together.

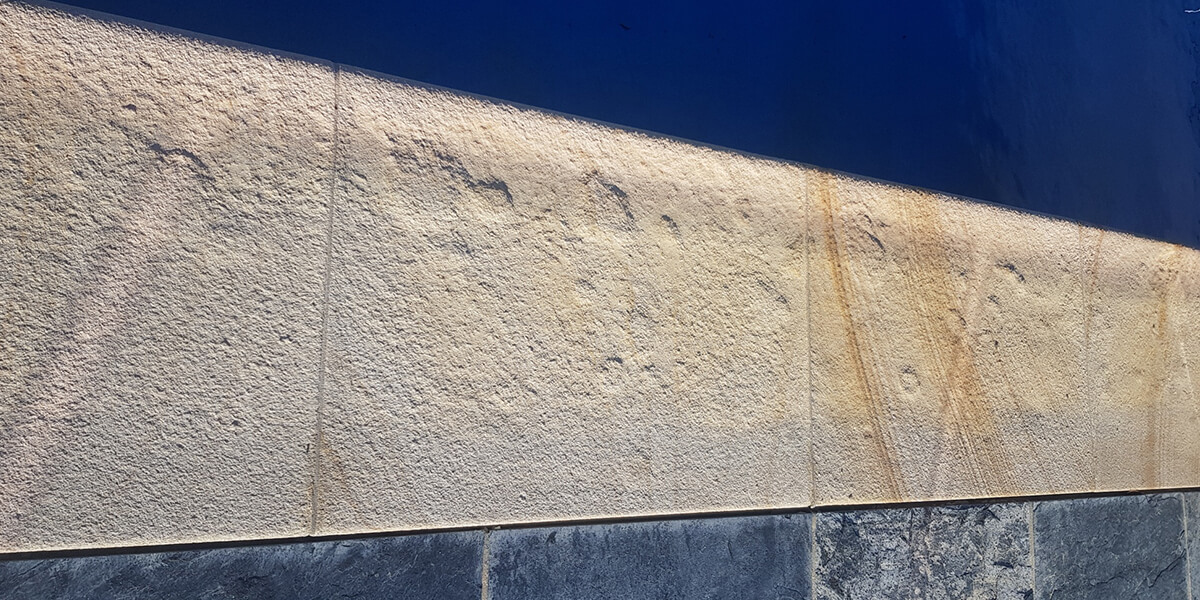
As soon as the stone comes in contact with any form of acid, the acid dissolves the calcium and in doing so, breaks the bond that holds the sand particles together. This causes the sand particles to fall apart and what was once a stone, is now only sand.

Since saltwater is composed of a low PH Hydrochloric Acid (HCL), you can imagine the issues the acid would cause the sandstone over a long period of time.

One of the most famous landmarks that shows this interaction between sandstone and water is the Twelve Apostles in Melbourne, Australia. If you have been there, you would have seen the erosion caused by the sea (salt) water over the years. Now imagine installing sandstone pavers around your pool. That same erosion will start in your very own backyard.

If I were you, I would avoid that at all costs, wouldn’t you agree?

salt attacks sandstone pool coping

salt attacks sandstone pool coping

CAN I MAKE MY SANDSTONE COPING SALT SAFE?

Some people believe that sealing sandstone will make their sandstone ‘salt safe’.

This is completely incorrect.

The purpose of a sealer is to reduce the porosity of a stone and in doing so, help the stone withstand stains from non-acidic particles. Since sealers penetrate into the stone but do not alter the stone’s molecular composition, they simply cannot make any stone salt-safe or acid resistant. Only the stone’s density and composition is able to make it resistant to acid or salt-safe.

So if you have issues with your pavers, the sealant is not the cause.

It is the type of stone used that is causing the issue.

WHAT OTHER STONE PAVERS ARE NOT RECOMMENDED AROUND A POOL?

Along with sandstone pavers, there are various types of limestone pavers (not all) that are not recommended for installation around a pool.

At Armstone, we follow a stringent testing process to determine the best longevity and salt safety of limestone pavers that would be most suitable for use around a pool.

Granite and Bluestone are two salt-resistant natural materials that are best suited for installation around a pool. Their only disadvantage is that they feel hot under the feet.

If you want to find out more, we have written a detailed article giving 5 Important Tips on How to Choose Pool Pavers and Pool Coping. Alternatively, watch this video for more information on making the right choice.

Melba 1

Melba Limestone Pool Pavers

WHAT SHOULD YOU DO IF YOU STILL LIKE TO USE SYDNEY SANDSTONE AROUND YOUR POOL?

If you love sandstone, it is wise to use sandstone look porcelain pavers.

The image below shows how sandstone designed porcelain pavers. These look very natural and the advantage is that because they are only 0.5% porous, you don’t ever have to worry about deterioration or sealing.

You see, porcelain pavers, never permanently stain. And just because it’s not a ‘natural’ product, does not mean it’s an inferior version of Sandstone Pavers. You aren’t making a concession by choosing this type of paver. You are simply picking the right type of stone for the longevity, aesthetic and maintenance for your outdoor pool area.

The sandstone porcelain pavers that we stock at Armstone are made from super strong clay and are extremely dense. As a matter of fact, they are stronger than most of the toughest natural stones pavers.

With a commercial grade slip resistance, porcelain pavers are also ideal for use in wet areas, specifically by the poolside.

Finally, you can sit back and relax with a drink knowing that your whole family can safely enjoy the outdoor pool area and that you don’t need to worry about your pets staining your pavers, discolouration, mould and mildew attacking your porcelain sandstone pavers.

Sandstone Porcelain pavers

Cattai Sandstone-look Porcelain Pavers

CONCLUSION:

As much as you may love this type of natural stone, you should never use sandstone for around the pool simply because they cannot be made salt-safe.

The (unfortunate for some) reality is that there are some types of natural stones that are just not recommended to be used around a pool.

In the case that you really love sandstone and want to install it around your pool, your best bet is to pick a man-made product. These porcelain pavers are the closest match (both in colour and character) to the natural sandstone you already love. This way, you achieve the best of both worlds: the look of a natural product and the longevity of a non-porous one!

If you have any questions or want to find out more about the most suitable products for your pool surroundings, contact the team at Armstone on 1300 560 560.

We love this stuff and look forward to helping you too.

PS. Below video will help you understand why is it important that your trusted stone suppler works closely with Installer.
6 Things You Need Know When Using Bluestone Flooring Outdoors

Bluestone pavers Armstone

1. What are Bluestone pavers made of?

“Bluestone” is a cultural name for a basalt stone.

This is an igneous (volcanic) rock that forms after lava cools.

Bluestone pavers are used widely in modern-day architecture and are loved by architects and homeowners alike.

The “cat paws” throughout the stone truly bring out the volcanic properties of the rock and add a raw feel to any project.

This is probably why bluestone is also a popular choice with many Australians.

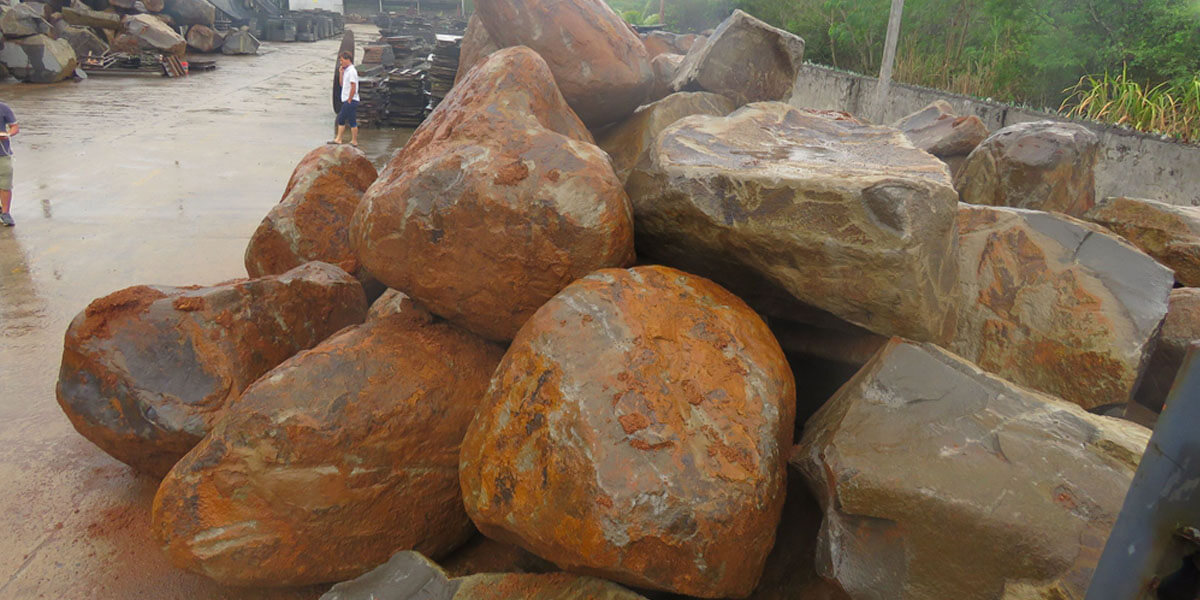
BLUESTONE BOULDERS

Bluestone Boulders

2. Where are Bluestone pavers suitable to use?

Bluestone is an appropriate paver for your courtyard, patio and even poolside area.

Bluestone pavers are also available as accessory products.

These include natural organic shaped stepping stones that can transcend simple walking paths into exciting focal points.

Bluestone pavers are dense and hard-wearing.

As such, they stand the test of time and can easily withstand harsh weather conditions.

This is why they are suitable for most residential or commercial applications.

Pianura 3

Nulla Bluestone Pavers

Due to their durability and salt-resistance.

Bluestone pavers are also a wise choice for pool coping and general poolside areas.

They can also be used in other outdoor areas that are susceptible to changing weather conditions.

Bluestone pavers also have a P5, high-grade slip rating.

So if you need a stone that gives you security for your family’s safety.

This stone is definitely worth your consideration.

The combination of dark blue, grey and charcoal hues creates a minimalist feel in the stone.

And gives a sleek contemporary finish without hindering surrounding garden environments.

Bluestone pavers mainly come in Sawn, Sawn & Honed and Flamed finishes.

So let’s take a look at them individually:

  • Sawn finishes have sawn marks on the surface of the stone.

    This type of finish highlights the grey tones throughout the stone and gives it an enviable character throughout.

    If you are looking for a plain and clean look for an outdoor space that is open to the elements.

    A sawn finish is an ideal choice.

The rough surface on a sawn finish is created by cutting the stone with a diamond blade.

This typically makes the stone lighter and gives it additional grip strength.

Which makes it an excellent choice for outdoor paving.

sawn

  • Sawn & Honed finishes are non-slip and smooth on the feet.

    This makes them a perfect paving solution for areas that are exposed to ever-changing weather conditions and environments and foot traffic areas.

How are these finishes created?

The stones are first sawned (as we explained above).

Next, they are honed (sharpened) in such a way that hides the saw marks.

But still keeps the stone’s surface non-slip.

This process gives a P5 (Pendulum 5) finish.

A Pendulum Test for P rating basically measures the stone’s surface slip rating.

P5 is the highest grade of grip strength and means that the surface is the highest non-slip grade.

sawn and Honed


  • Flamed finishes are created when an intense flame is fired at the stone.

    This causes the surface to burst and become rough.

    Flamed bluestone pavers have more grey tones with shades of olive throughout.

    They are what we call a warm earthy tone.

flamed

  • Bush Hammered finishes are a higher grade version of sandblasting.

    This finish is created by hitting the stone at high speeds with nails which creates a broken look.

Bush Hammered BLUESTONE

3. Are there any disadvantages with Bluestone?

As it is a volcanic rock with dark pigments.

Bluestone can get quite hot when exposed to direct sunlight for long periods of time.

As such, it can become quite unbearable underfoot.

Due to this, we strongly encourage you to think carefully and consciously about where you want to install these on your property.

For example, if you are getting a lot of westerly sun during the day.

You would want to install a calcite paver (like limestone or marble) because they reflect heat.

Alternatively you could also use structural porcelain stone-look pavers as they absorb 35% less heat than natural stones.

bluestone pavers

4 What do I Watch Out for with Bluestone?

One thing you must be cautious with bluestone is called ‘Curling’ (also known as cupping).

This is an unfortunate process that can affect poor quality bluestones.

What is this?

Basically it’s when the outer edges of the paver lift before the mortar or adhesive have fully set.

This creates a drummy/hollow effect.

The main cause of curling depends on the stone’s density, paver thickness and moisture.

Stone density is a major factor in curling.

As density is built over a prolonged period of time.

If the bluestone has been quarried close to the earth’s surface it will naturally be less dense.

If the stone is quarried from deeper within the earth.

It has more layers and has sustained more pressure from the earth’s gravity over time.

This makes it stronger and vastly reduces its chances of curling.

Basically, the thicker the paver, the more structural strength it holds.

We recommend our customers to use bluestone pavers that are no less than 30mm thick.

In the case that you have a concrete slab, you may want to use a thinner bluestone paver.

Here we encourage you to choose a trusted supplier and make sure that you use a moisture-sensitive glue.

The speed at which water is absorbed from your mortar really depends on the porosity of the stone.

To find out the best ways to install your bluestone pavers, feel free to contact us.

Nulla Bluestone Pavers

5. Do the Bluestone Pavers require to be Sealed before laying or grouting?

The short answer is: yes!

You see, whilst bluestone pavers are very dense.

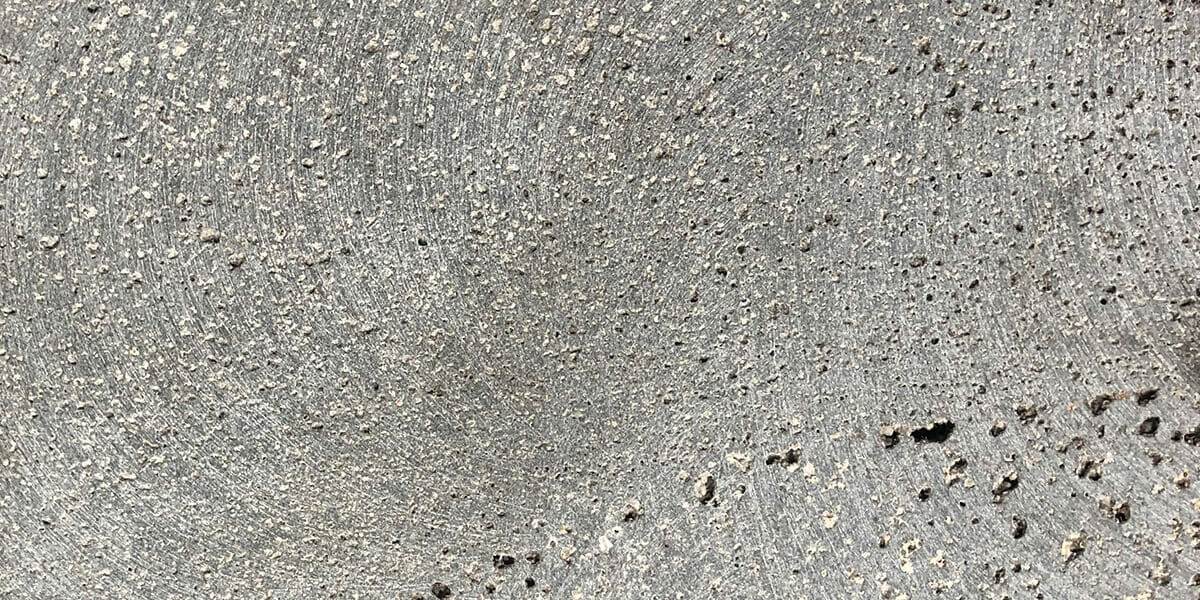
They do have many small pinholes throughout them.

Because of this, pre-sealing them prior to grouting will make the grouting process much easier.

When it comes to grouting, we recommend that you grout the entire paver and not just the joints.

This will protect the stone from getting what’s called ‘picture framing’.

If you only grout the joints.

The bluestone’s natural pinholes will be filled with the coloured grout but the middle section will be unfilled.

When this happens, the middle part will have a different colour to the edges.

You want to avoid this.

To help clean any excess grout off the stone post-installation.

We suggest using a coat of pre-sealer on the face of the stone.

If bluestone pavers are less than 20mm thick.

You want to use a moisture-sensitive glue like the Mapei – Granirapid Kit, to adhere them prior to sealing.

Then you must deep seal your tiles with the Aqua Mix Pro-Block adhesive bond breaker sealant.


Aqua Mix - Pro Block

In effect, the pre-sealer will penetrate the stone and prevent any moisture seeping into the stone from the earth or glue.

It also helps manage the migration of efflorescence.

Which is basically when salt from porous material surfaces to the top layer and causes a white coat over the stone.

It is imperative to remove grout haze within 3-10 days of installation.

It takes approximately 3 days for the grout to harden.

Do not leave this for more than 10 days as it may become too tough to remove.

And will require mechanical removal, an additional cost that can be avoided.

Lastly you want to add a top sealer to your bluestone pavers.

The one we recommend is called Aqua Mix – Sealers Choice Gold.


Aqua Mix - Sealers Choice Gold


6. How do I Clean my Bluestone Pavers?

If the surface of your bluestone pavers has been left unattended over a period of time with dirt and debris built up.

We suggest using Aqua Mix Stone Deep clean or Aqua Mix Heavy Duty Tile and Grout Cleaner to clean the debris.

If these products don’t work, feel free to call us for advice on an alternative method.

We can be reached at 1300 560 560.

If you would like to learn more about how to seal and clean bluestone and basalt pavers, click here.

Bluestone pavers Armstone

Conclusion

As bluestone is a form of basalt.

It is a superb choice for most outdoor entertainment areas.

With mixes of earthy blues and grey charcoals.

Bluestone oozes with contemporary elegance and has a sophistication that’s hard to match.

In saying this, this natural stone paver definitely requires the correct pre-installation.

And installation process to ensure a premium finish and longevity of the product.

Sturdy and well-balanced, bluestone pavers can be used to dress a wide range of outdoor areas.

With its non-slip surface, many variations of finishes, thicknesses and formats.

It’s never been easier to create your unique desired landscape.

If you’d like to find out more, contact us today.

How To Lay Cobblestones on Mesh?

Bonza cobbles 1

If you want to add character and a sense of antiquity to your front or backyard, cobblestones can really help achieve this aesthetic.

Now, before we jump into how to lay cobblestones on mesh, let’s first start at the beginning.

And find out …

What are Cobblestones?

Cobblestones are based on the century old roads and walkways that are prominent in Europe.

Given their historical value, they bring a tremendous amount of character, timelessness and beauty to any space.

Cobblestones are typically made from dense stone materials such as granite, bluestone, quartzite and porphyry.

They typically have excellent grip strength.

As a result of their superb genetic makeup, they serve as a long-lasting paving solution.

With a wide selection of designs and materials, cobblestones can easily be used to create stunning outdoor spaces.

Audrey Cobblestones on mesh
**Audrey Quartz Cobblestones on mesh

What Patterns do Cobblestones Come in?

Cobblestones are available in a wide range of styles.

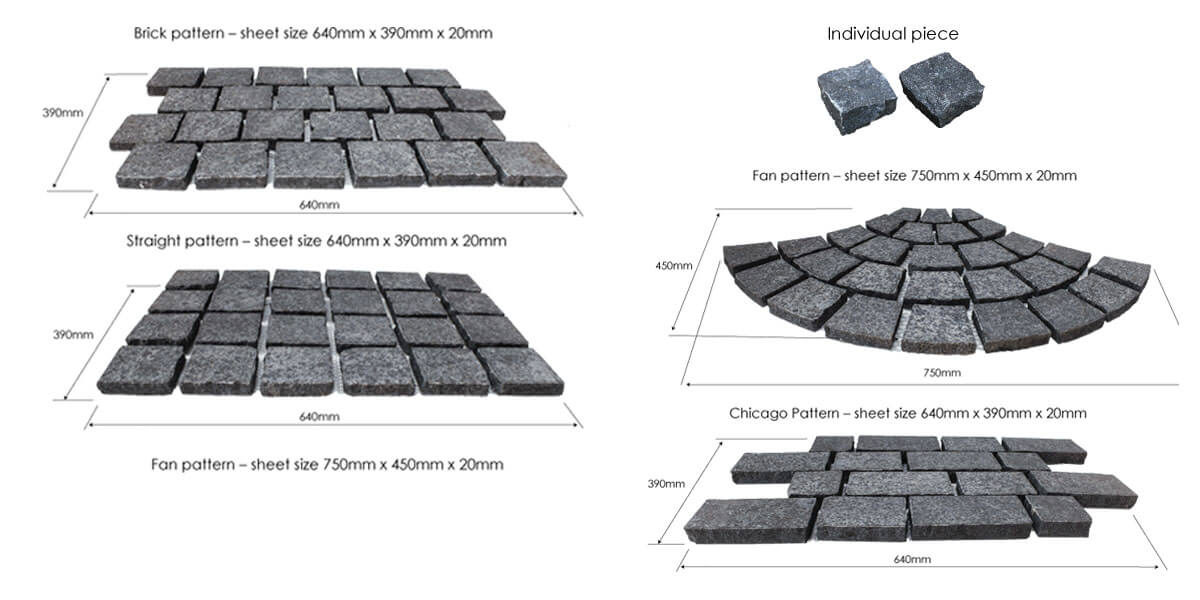
These include the Chicago Pattern, Herringbone Pattern, Brick Pattern and Straight Pattern.

They are also available as loose individual pieces which gives you the chance to create your own unique design.

Below are some examples of how you can arrange cobblestones to turn your outdoor space into a stunning feature for your home.

Cobblestones on mesh 3

How to Lay Cobblestones on Mesh?

Generally speaking, all cobblestones that are on mesh backing of 20-30mm thickness, are to be laid on a cement base.

Depending on where and why you are installing the cobblestones, installation methods may vary.

As such, we strongly recommend consulting your professional contractor to confirm the exact thickness required for the concrete slab.

For example, when laying cobblestones for driveways, it is recommended to install them on a reinforced concrete slab that is 120 mm thick.

Cobblestones can vary by 3 – 4 mm in size and/or thickness.

All meshed back cobblestones must have a tolerable thickness and size variation of +/- 2mm.

Cobblestone pavers with a split finish have more flexibility in size and thickness because of the split factor.

It is important to consider these size tolerances during the installation process.

Sometimes the tradesman will need to manually adjust some individual cobblestones in order to maintain the correct heights.

During installation, it is also typical to remove the odd cobblestone that has been broken during transportation.

Graphene Granite Cobblestones Armstone

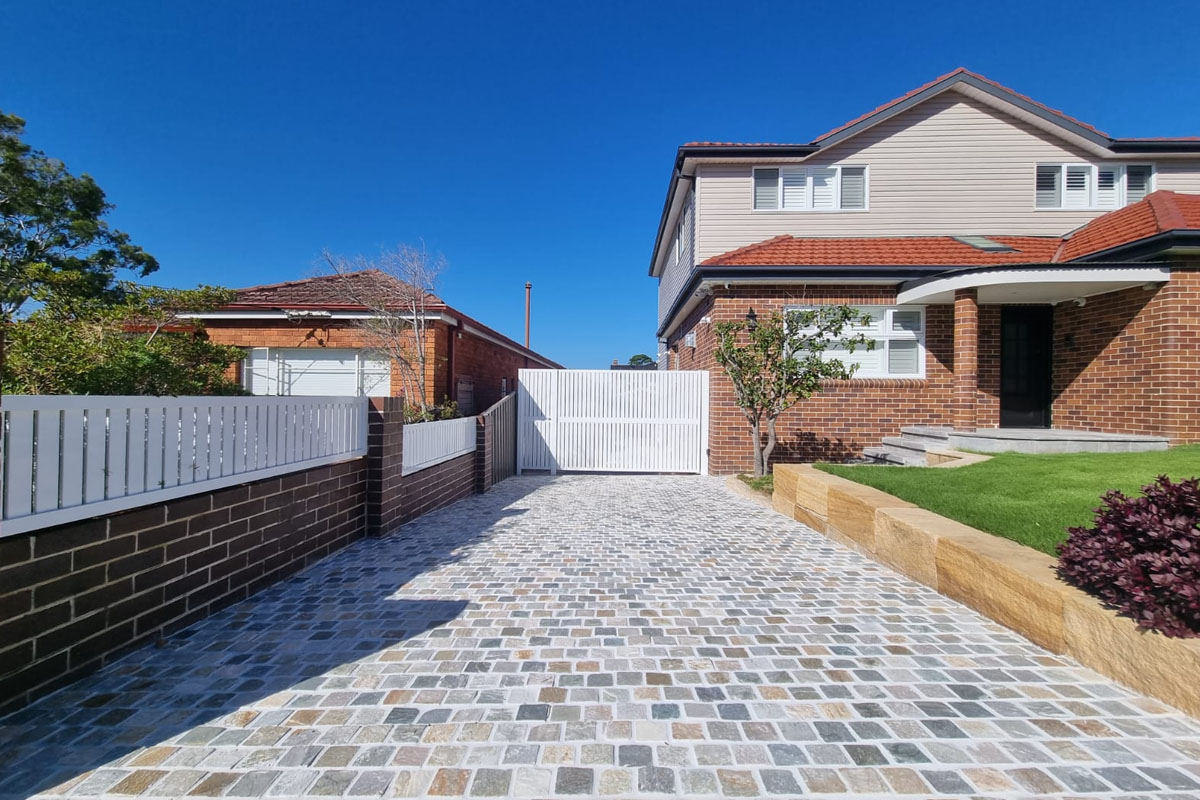
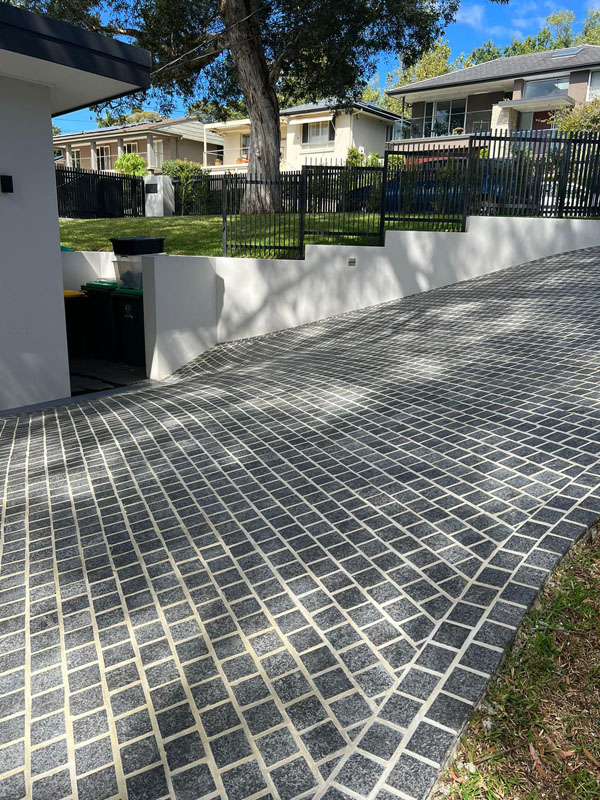
Graphene Granite Cobblestones – Installed by Branch Out Landscape Design

If you want to create that traditional look with your cobblestones, you must use the appropriate installation procedure.

This includes using the proper adhesives, grout, additives, sealers and pre-sealers.

Installing cobblestones the right way will give your paving that “bulletproof” feel.

In this regard, meshed back cobblestones are easier and quicker to install.

However you must use the appropriate adhesives (glue) and grout.

Otherwise your cobblestones will fall apart and that will be costly and time consuming to fix.

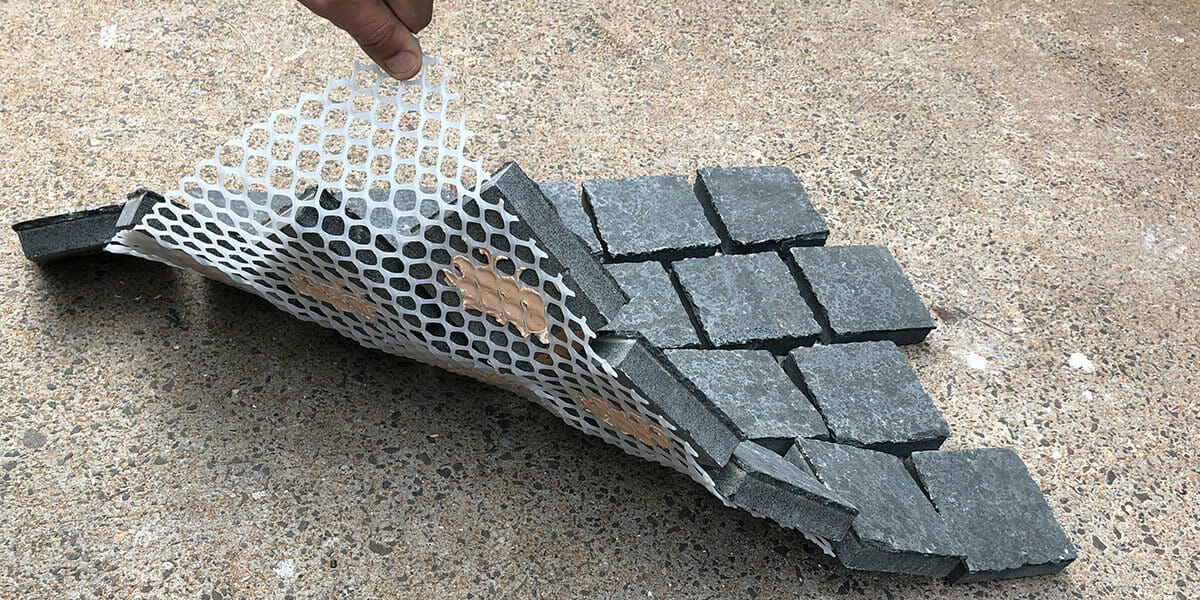
When you get cobblestones with a mesh backing, they are held together on the mesh with an Epoxy Glue.

The mesh backing is made of plastic.

It has holes throughout it so that when you apply the glue to the paving.

This helps it adhere to the back of the cobble stone as well.

Together, the plastic mesh and epoxy glue cover about 50% of the cobblestone’s back.

This leaves another 50% of the space free for the paving glue to stick to the cobblestone.

To avoid the stone from de-bonding over time, it’s very important to use the right adhesive. H

ere we recommend a strong bonding and fibre reinforced ‘Non-Slump Adhesive.’

Cobblestones on mesh

If you want your cobblestones to stand the test of time and stay glued to the cement.

Using only a stronger bonding glue is simply not enough for mesh backed cobblestones.

Let’s say that your car is parked in the driveway and you turn the steering wheel while it’s stationary.

The rubber tyres will grip onto the cobble.

And just as you are rotating the wheel, the tyres will physically rotate the stone.

If you repeat this overtime, it will cause your cobblestones to debond.

In order to avoid de-bonding and increase the strength of adhesion.

We suggest you apply a thicker amount of glue in comparison to installing other ordinary stone pavers.

Use a notch trowel that’s 15mm in width and apply it all over the concrete slab prior to installing the meshed cobblestones.

When you place the cobblestones on top of the glue, keep 10mm space free for the grout.

This means that you will have 5mm of glue under the cobblestones.

And 10mm of glue around the edges of the cobblestones.

This will ensure that all 5 sides of the cobble are somehow glued and joined to another material.

The above method of adhesion is recommended for heavy-traffic areas.

These include driveways that are exposed to more weight and vibrations.

If, on the other hand, you are installing cobblestones for an entertainment area that will only be exposed to foot traffic.

You can get away with a more ‘light’ installation method.

Now that we’ve reviewed the correct way to adhere to meshed cobblestones.

Let’s check out the best products for the installation process.

Lorax Cobblestones

Lorax Cobblestone on mesh

If you are installing cobblestones for an entertainment area that will only be exposed to foot traffic.

You can get away with a more ‘light’ installation method.

However, if you are planning for a driveway.

You will need what we like to call ‘heavy-duty’ installation products.

This is because this area will take a lot more weight and vibrations than an area only exposed to foot traffic.

Bonza cobbles 1
**Bonza Quartz Cobblestones on mesh

RECOMMENDED INSTALLATION PRODUCTS

Adhesive:

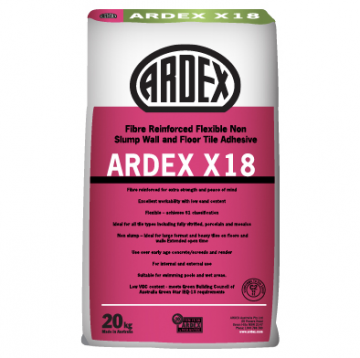
Ardex X18

Depending on the area, we recommend different adhesives.

  • For installation on the footpath area, we recommend a Fibre Reinforced Non-Slump Adhesive like Ardex X18.
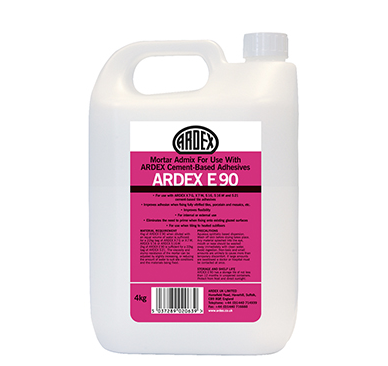
  • For driveways, we recommend the adhesive Ardex X18 mixed with the Ardex E90 Here the mixing ratio must be: 1 x 20kg bag of Ardex X18 + 2L of E90 + 4.5L of water.

Ardex E90

Grout

The recommended grout for cobblestones is Ardex WJ50 Sanded Grout mixed with an Ardex Grout Booster.

Ardex’ WJ50 is a water-based, synthetic polymer grout additive, designed for gaps that are bigger than 3mm.

It improves the strength of adhesion, flexibility and resistance to abrasion.

Grout Booster is added to assist with the grout’s flexibility and also helps reduce efflorescence.

The best mixing ratio is 1 x Ardex WJ50 grout to be mixed with 2L Ardex Grout Booster + 2L water.

Raven cobbles on mesh
**Raven Granite cobbles on mesh

Sealers

Pre-sealing and top-sealing your cobblestones is crucial to increasing their longevity and ensuring a cleaner installation process.

Pre-sealing cobblestones helps clean off any excess grout or ‘grout haze’.

Without using stronger acidic cleaners that can damage the stone.

You may use a pre-sealer like the Aqua Mix – Pro Block.

This is an economical, natural-look, breathable, water-based penetrating sealer.

Aqua Mix - Pro Block


It is designed to resist staining caused by water-soluble minerals.

It also helps resist efflorescence migration.

However, ProBlock is not an adhesive bond breaker.

Once you have glued, pre-sealed and grouted the cobblestones, the top sealer provides the ‘final touch’ to the overall aesthetic.

A sealer like Aqua Mix Sealers Choice Gold is a premium grade, high performance penetrating/impregnating stone, tile and grout sealer and will help protect your stone.

It has built-in Microban® – Cured Sealant and is Mould & Mildew Resistant and will last up to 15 years.

Aqua Mix - Sealers Choice Gold


What is the Cost of Installation Materials for Cobblestones?

The answer to this really depends on your project and its unique specifications.

So what we will do is give a quote sample and then show the cost of materials per square meter.

Quote sample for 40m2 of the 100x100x20mm meshed cobblestones:

Description Quantity Unit Price
Ardex – X18 Adhesive 20kg (each bag to be mixed with 2.0L of Ardex E90 + 4.5L water) 10 $45
Ardex – E90 Additive 3.6kg(4.0L) 5 $75
AquaMix – ProBlock – 3.8L Pre-Sealer, Specialty Water-based Pre-Sealer 1 $110
Ardex – WJ50 20KG Grout (Each bag of Ardex WJ50 to be mixed with 2.0L of water + 2.0L of Grout Booster) 14 $36
Ardex – Grout Booster 4.0L 7 $55
AquaMix – Sealer’s Choice Gold 3.8L Premium Water-based Sealer, Rapid Cure Formula, Mould Resistant – Top Sealer 1 $360
Delivery 1 $135

Total: $2305

Taking the above, we can say that you will spend approximately $58m2 on installation materials per square meter of meshed cobblestones.

Gris Cibbstones 1

Gris Granite Cobblestones on mesh

Conclusion

All in all, cobblestones are an exceptional way to decorate your home, garden or driveway.

And bring a world of value and timelessness to your pavements.

Whether you need the cobblestone pavers to suit light or darker landscapes.

They are available in a plethora of styles and materials such as  Granite Cobblestones, Porphyry Cobblestones, Quartz Cobblestones, Basalt Cobblestones and Limestone Cobblestones.

The entire range of Cobblestones can be viewed here.

At Armstone, we recommend consulting your professional installer prior to choosing the cobblestones and ensuring you have everything required for their individual needs.

Hopefully, this article helped you understand the correct installation methods.

And the best materials to use when working with meshed cobblestone.

If you need any help, feel free to call us or send an email.

We love this stuff and are happy to answer any questions.

PS. Below video will help you understand why is it important that your trusted stone supplier works closely with Installer.

Everything You Need to Know about Himalayan Sandstone

Himalayan Sandstone Honed

Sandstone is a sedimentary rock that is made of sand-size mineral particles or rock fragments.

Himalayan sandstone is a form of sandstone that originates from, you guessed it, the Himalayas in Northern India!

Why Himalayan Sandstone?

Sandstone pavers are typically quite porous. This is because sandstone is predominantly made of compressed sand particles. However, as the sand particles are spaced fairly far from each other, there is no chance for calcium (which acts a bonding agent) to join them and thus increase the stone’s density.

This is where Himalayan Sandstone is not your typical sandstone. You see, the sand particles in this stone are not too far apart. And so this natural stone is surprisingly dense. Though it is stronger, Himalayan Sandstone (compared to Sydney Sandstone) is still regarded as a “high-maintenance” stone that requires regular care.

However, Himalayan Sandstone Pavers do have one unique advantage over Sydney Sandstone Pavers and that is their cost. Himalayan Sandstone is vastly more competitively priced. In fact, it is half the price of Sydney Sandstone. Yes, you read that right… half!

Though the two stones are unique in their own way, combined with the right design, Himalayan Sandstone can look equally as beautiful.

What finishes does Himalayan Sandstone come in?

Himalayan Sandstone pavers are available in three finishes: honed, natural and sandblasted.

HIMALAYan honed

Himalayan Honed Finish

Himalayan Sandstone with a honed finish gives the stone a smooth, elegant and neutral look (see above image).

Favouring a more uniform appearance, its colour is a consistent off-white with some minimal tones of mint. The honed finish is ideal for lightening darker spaces.

As it is a more delicate product, we recommend installing Himalayan Honed Sandstone if your home is facing the sun, your surrounding landscape is free of trees and you have no pets. As it is a light and pale coloured stone, it requires a lot of TLC (tender lover and care) and can become quite tedious to maintain. This is an important consideration to factor into your final decision.

Himalayan Natural 3

Himalayan Natural Split Finish

Himalayan Sandstone pavers with a natural split finish have a rougher ‘split’ look. Their colouring is typically a mix of mint, mango and pink banding. These stones suit the front or backyard of a more traditionally designed home. One of the advantages of the split surface is that it adds a significant amount of grip in wet areas. On the flipside, however, the crevices of split surfaces can also store dirt which makes them harder to clean. Prior to investing in Himalayan Sandstone be very conscientious of your surrounding landscape and if the stone will suit your lifestyle.

Himalayan Sandstone

What profiles can I find with Himalayan Sandstone?

Himalayan Sandstone is available in a variety of profiles including a pencil edge, bullnose and drop edge. Any of these will be suitable for step treads, garden edging or capping purposes.

Depending on your project and where you will be installing the stone, Himalayan Sandstone can be supplied in a variety of sizes and profiles including long pieces for step treads or capping. These can also be custom ordered to specific sizes or formats from overseas.

Installation, Adhesives and Maintenance

When working with Himalayan Sandstone, you must be very diligent with the installation and maintenance and do your research to find the best procedure.

For instance, even if you have a quality supplier for the sandstone itself, the thickness of the stone will influence the type of notch trawl the installer needs. Levels can vary anywhere from +3mm to -3mm for this stone. To make it a smooth process, make sure that you have asked your supplier to provide all the information you need and then pass this on to your installer so that when they start, they are fully prepared as well.

Next, the method of installation is dependent on the substrate and the thickness of your chosen Himalayan Sandstone paver. To avoid dirt sticking to the sandstone, we suggest that you deep seal the pavers. Also, to simplify the maintenance in the long run, make sure you periodically reseal the stone.
As moisture can be detrimental to Himalayan Sandstone, we recommend using moisture-sensitive glues and adhesives when working with this product.

Finally, use a penetrating water-based sealer to top-seal the stone. At Armstone we recommend using the Aqua Mix Sealer’s Choice Gold to complete your project.

himalayan honed

Conclusion

In summary, like other sandstones, Himalayan Sandstone Pavers require regular and disciplined maintenance and the proper attention to detail during the installation process.

While their distinct beauty and pricing has many advantages, it’s also important to weigh up any challenges Himalayan Sandstone could create in your home.

As always, we suggest considering if the stone you choose will suit your lifestyle and environment. If you are unsure and would like some help, we are happy to share our expertise with you.

Reach out to us over the phone or email here or visit our showroom in Glebe.