Cobblestones For Driveways and Landscaping

Mistral Granite Cobblestones

Cobblestone pavers have a way of taking you back in time, to old European cities where horses and carts ventured through windy, narrow, and uneven roads.

Maybe you’ve even strolled through these European laneways, lined with cafes and restaurants in France or Zurich, or stumbled across the cobbles while shopping in Italy, or even enjoyed exploring old castles with cobbled courtyards.

Whether you have travelled to Europe and explored these cobblestone streets, or you’ve only seen them in movies, you’d agree that cobble stones add a beautiful, magical, and romantic touch wherever they’re installed.

But why cobblestone pavers?

Well, cobblestones earned their popularity in Europe because they were easy to find, economical to source and simple to install. These rounded stones, collected from riverbeds, had many helpful qualities for roads. As they formed from years of erosion through fast-racing rivers, they were excellent for traction and reducing muck and mud on roads.

Fast forward a few hundred years, and you’ll see that cobblestone pavers are installed in many modern and contemporary homes. In fact, they’re an extremely popular choice amongst builders, landscapers, architects, and homeowners, and with due reason too!

Firstly – as evidenced with the cobble streets in Europe – they are strong and durable stones that can stand the test of time. Neither political turmoil, nor environmental changes, nor heavy traffic can ruin them.

Secondly, their versatile nature makes them an ideal natural paver for driveways, patios, pathways, and many other places.

Thirdly, they are ideal for installation in more challenging areas like curved or gradient surfaces, where installing larger and rectangular natural stone pavers is a difficult and cumbersome task.

Now, in today’s article we explore why cobblestone flooring is the ideal solution for driveways and landscaping in contemporary and modern homes, the types of cobblestones you can choose and where they’re best suited, as well as the product specifications to consider for the installation purposes of mesh cobblestones.
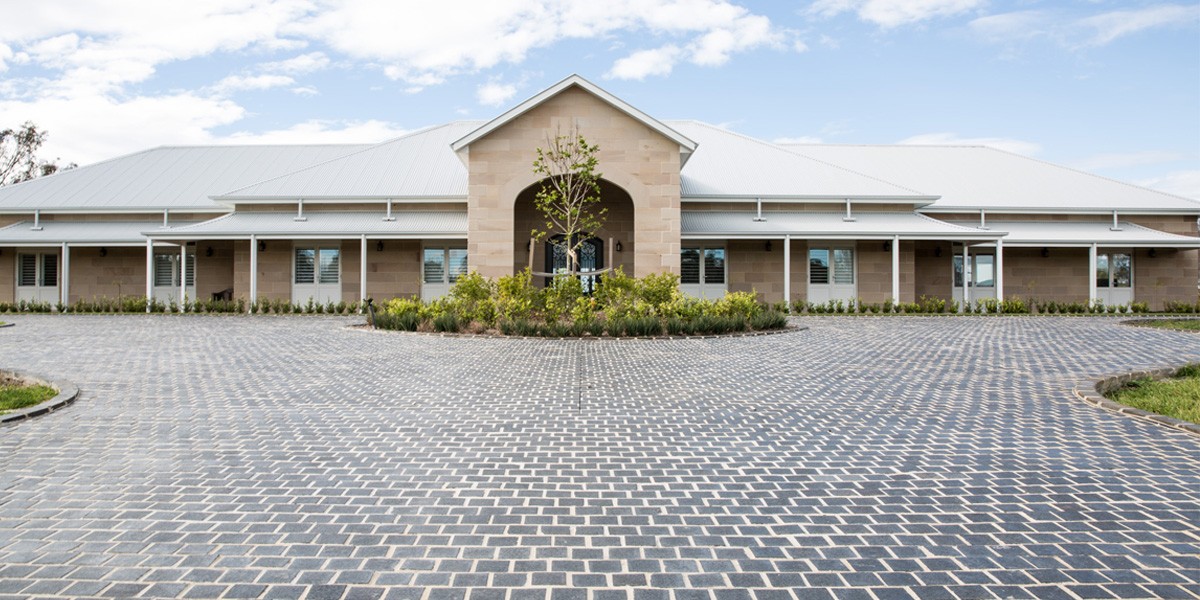
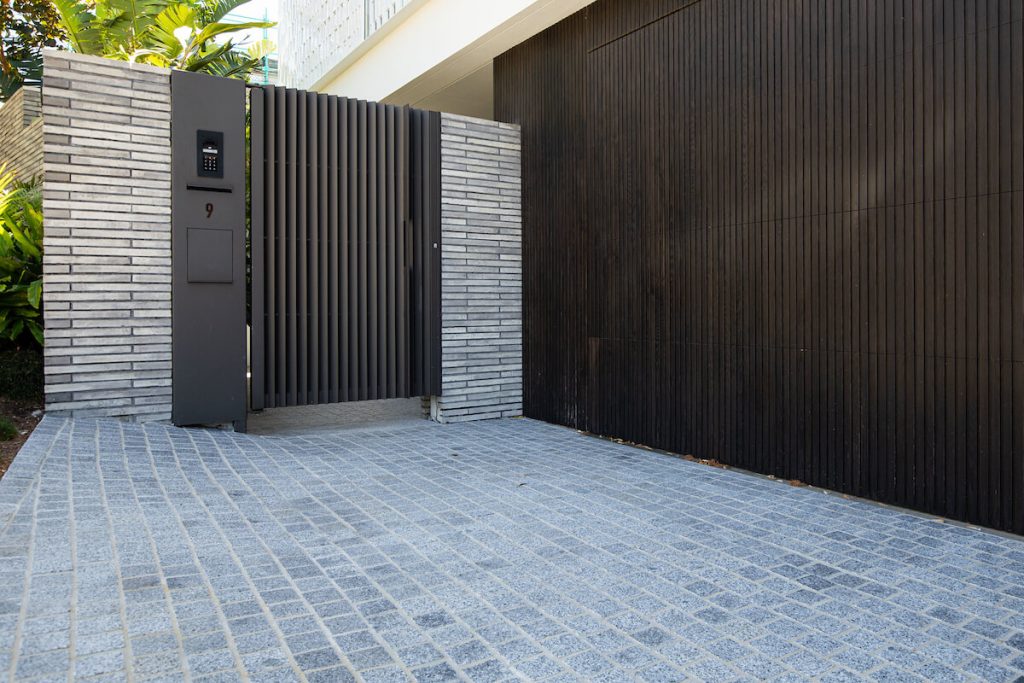
Raven Granite CobblestonesRaven Granite Cobblestones create a grand and practical entrance to this house.

Best Uses For Cobblestones

As mentioned above, cobblestones are strong, versatile, and extremely durable. This makes them an ideal solution for high traffic areas that are more susceptible to wear and tear, like driveways and pathways. In saying this, you might also consider adding cobblestone flooring – with their old-world appeal – to your patio or general outdoor landscaping around your home.

If you’re wondering what paver is best suited for driveways, we strongly recommend cobblestones for driveways for a few reasons. While compared to other natural stone pavers, cobbles are much smaller stones – roughly 100x100mm and 30-60mm in thickness – they are slip-resistant and can hold a lot of weight. So, if your garage holds several cars and people are using your driveway several times a day, cobblestone pavers will support the traffic load without bearing much damage. In fact, if you invest in granite cobblestones, porphyry cobblestones or bluestone cobblestones, the stones will even help mask tyre marks and assist with traction – especially if your driveway is on a slope.

Secondly, since cobblestone pavers are small and available in different patterns – like brick, herringbone, and stagger-set – they are a much more versatile material to work with. As such, choosing cobblestones for driveways means you don’t have to fuss around with large pavers that can be awkward to install on gradient slopes and curved areas – both of which are quite prominent in driveways. In this sense, cobbles are much easier to install in difficult areas. Additionally, Armstone cobblestone pavers are made overseas to resemble the original European cobblestones as closely as possible. This means they’re available in modern colours such as grey, dark-navy and blue-greys which means you can easily match them to the design of your modern/contemporary driveway and home.
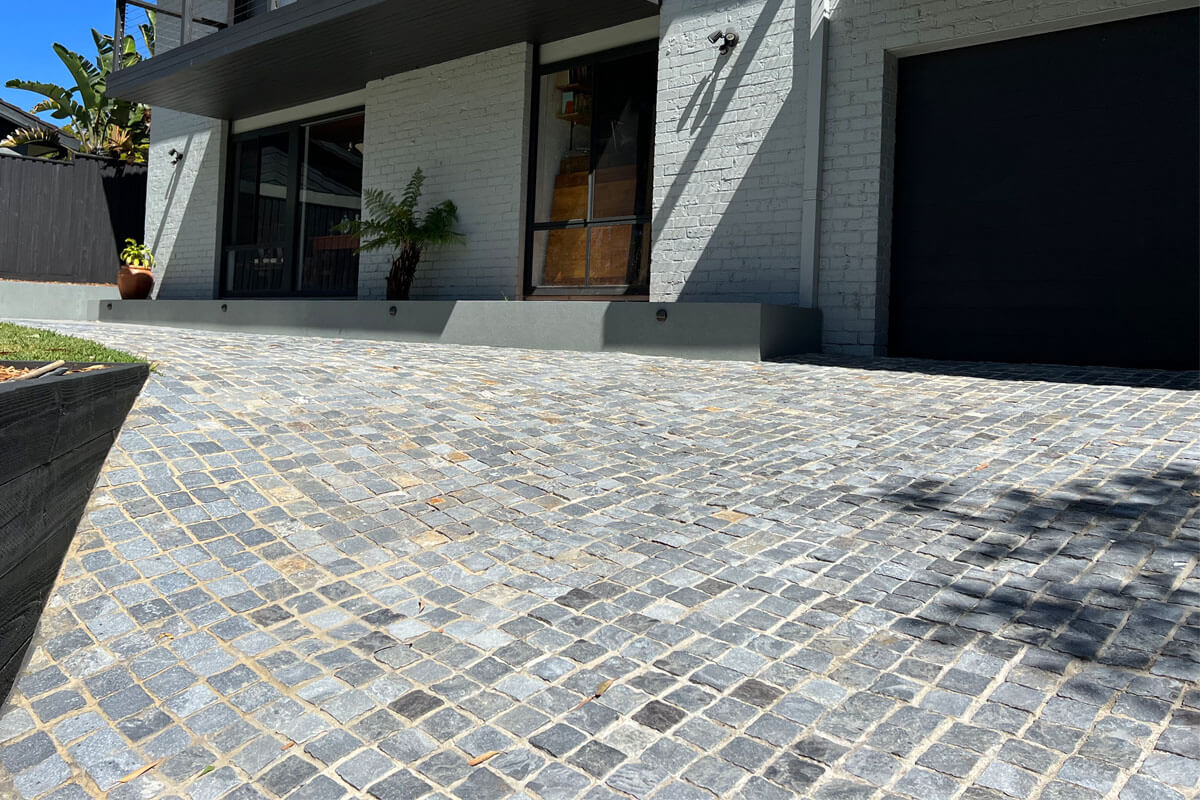
Audrey Cobblestones on mesh

**Audrey Cobblestones on mesh are perfect for busy driveways.

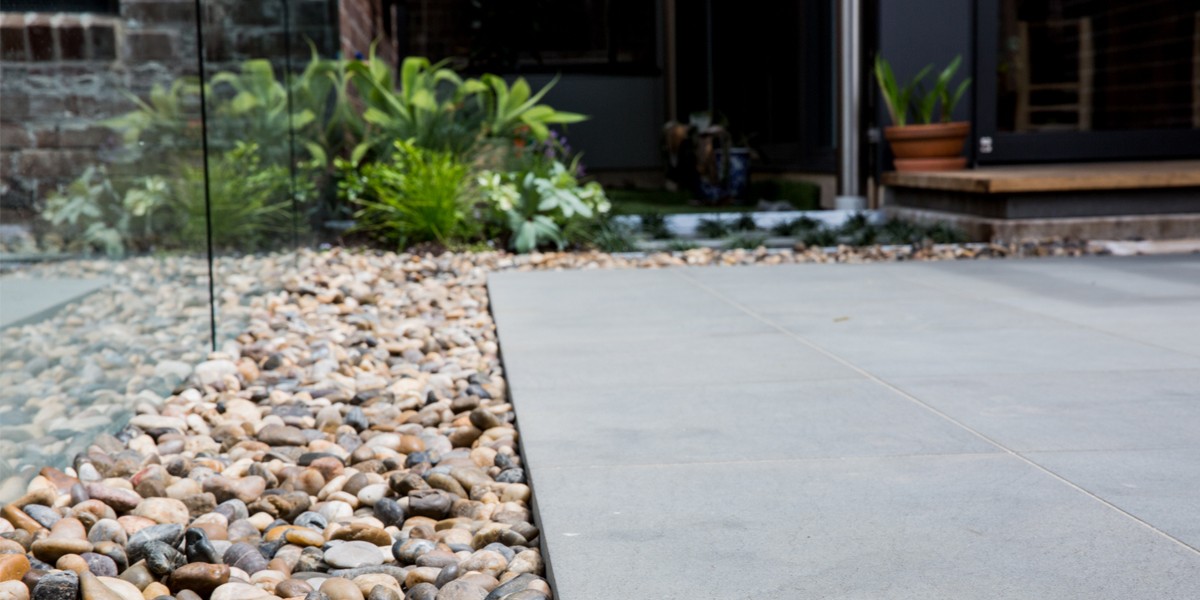
Cobblestones are also a wonderful choice for outdoor landscaping, gardening, and flooring like pathways, bordering around trees and flower beds, patios, as well as edging around a fountain and other water features.

Whether you have a modern or more traditional outdoor design and aesthetic, we stock cobble stones that will suit either exterior. The darker, mysterious and cooler tones of granite, porphyry, regetta, and bluestone cobblestone pavers are ideal for modern decors, while quartz and travertine cobblestones, with their creams and off-white tones, add warmth to a more traditional outdoor aesthetic.

If you want to create a unique pathway that resembles an old English cottage vibe or the paving of ancient Roman streets, install cobblestone pavers in a rectangular pattern. You can choose from a herringbone, filetti or brick-bond design. For a flat and consistent surface, we recommend a herringbone pattern as it’s easier to walk on. This is ideal for homes with kids, pets and elderly members who might otherwise trip at the uneven surface created by installing irregularly shaped brick or narrow cobble pieces to achieve the filetti or brick bond looks. And if you’re looking to add a unique touch to your landscaping and maybe define certain focal points, cobblestones make exquisite borders around larger pavers.

Regardless of which cobblestone paver design you choose, you’re guaranteed to create a timeless landscape, along with a durable and slip-resistant flooring solution that will last generations to come.
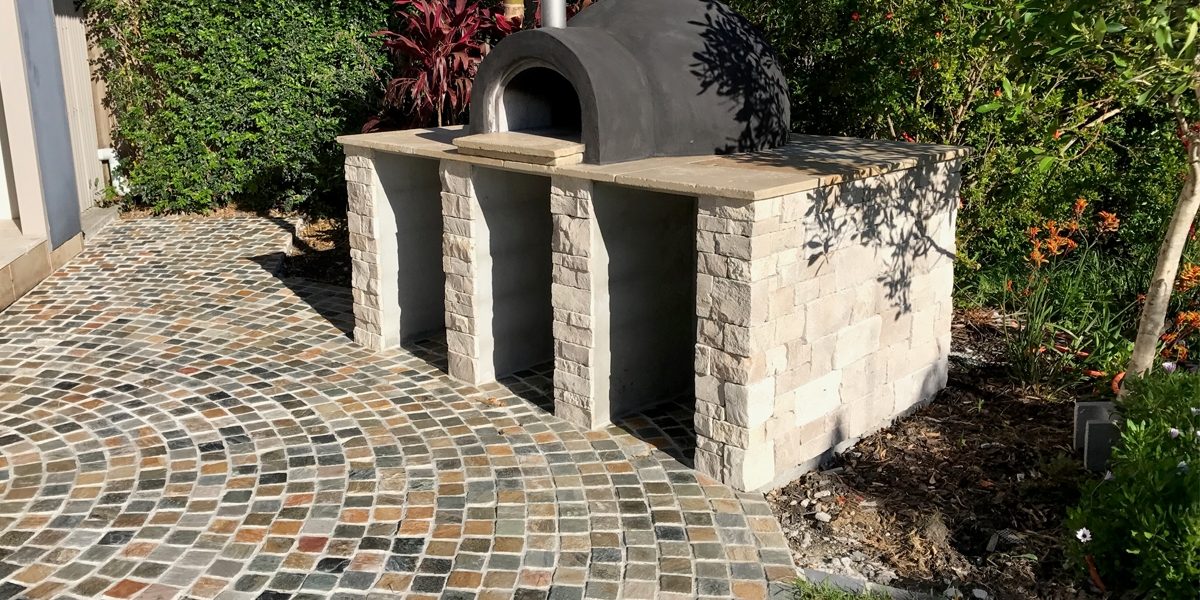
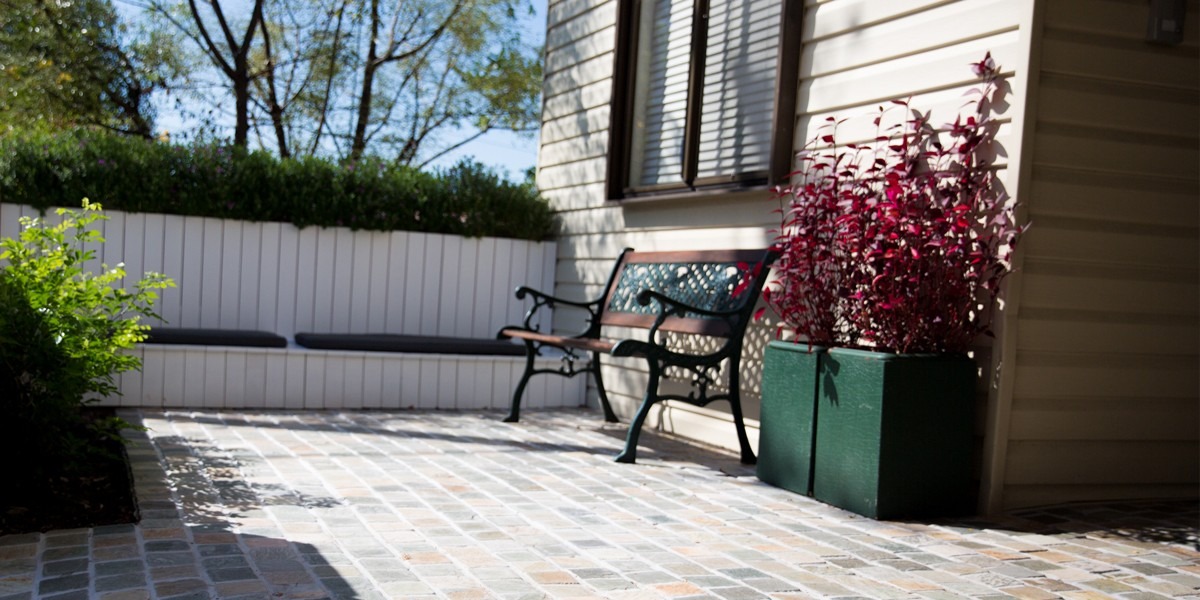
Bonza Quartz CobblestonesBonza Quartz Cobblestones create a beautiful circular artwork in this outdoor patio.

Types of Cobblestones

Now that you’re more familiar with the history of cobblestones and their best uses, let’s look at the types of cobble stone flooring available and the best uses for each variety.

Basically, cobblestones are available in three types of finishes: split-face, tumble/rumbled, and flamed/exfoliated.

So how to choose which finish is the best one for your project?

Well, this truly depends on the type of aesthetic you’re trying to achieve. For example, if you want a natural, uneven, and old-European laneway cobblestone look, split-face is ideal because the cobbles have been split from a much larger stone and have a rough look, as though you’ve just found them at the riverbank.

Alternatively, if you’re looking for a smoother, uniform, and consistent finish, the tumbled/rumbled look is ideal. Tumbled cobbles have been processed by joining smaller stones together. Though they still look like cobblestones, they have softer edges and are a good option for pathways.

Finally, if you want a textured, natural, slip and moisture-resistant surface, then the exfoliated/flamed finish is the best choice for you. Here the cobblestones have been heated with a high intensity flame making the stone’s surface rough and faded. This means the cobbles have better grip and have a more natural aesthetic.
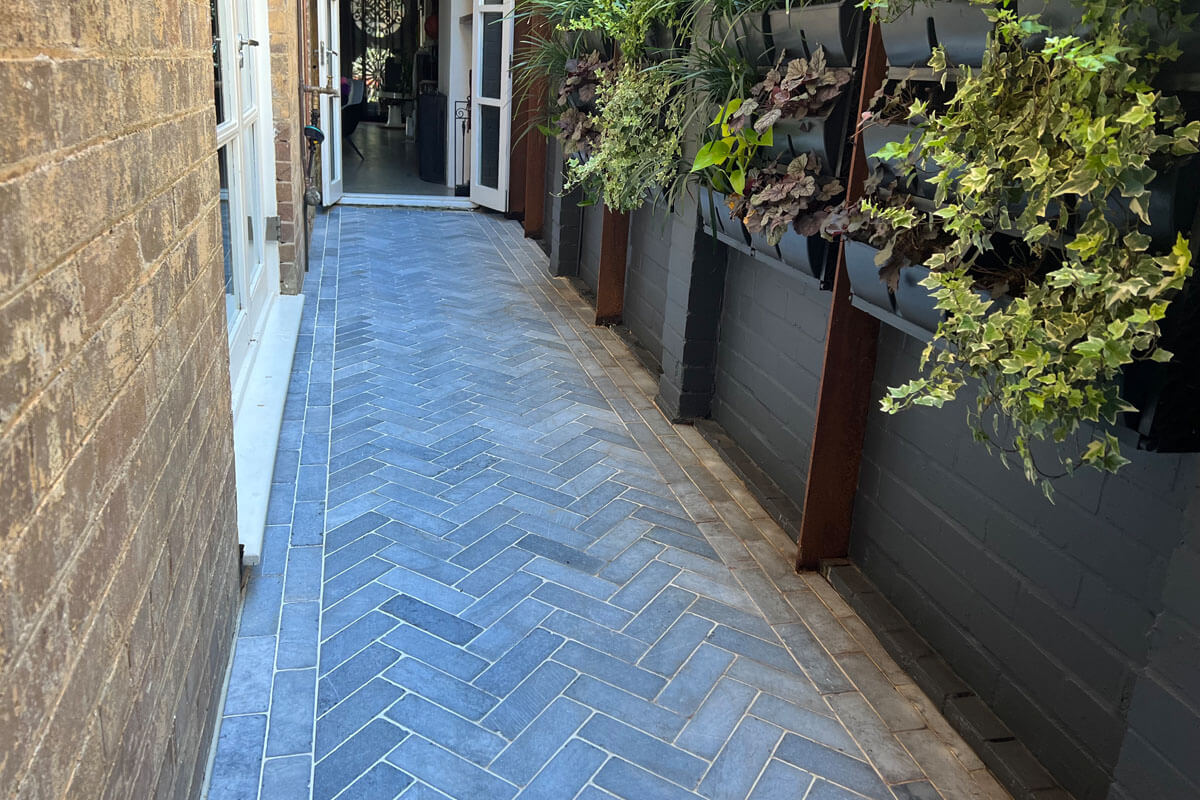
Reggetta Cuboid Cobblestone Pavers 2

Regetta Cobblestones add a stylish touch to your home.

Once you’ve decided which finish best suits your project, it’s time to choose from the following three installation options that we stock at Armstone:

  • Mesh cobblestones (see adhesion method at the end of this article)
  • Cuboid cobblestones
  • Split-loose cobblestones

Much like choosing the type of cobblestone depends on the general use and aesthetic for your cobblestone driveway or landscape project, choosing the best installation method factors in your budget and the type of finish you desire.

So let’s look into them in a bit more detail.

  1. Mesh Cobblestones

Like the name suggests – instead of using them individually – we glue cobblestone pavers on mesh. The mesh backing offers an easier and more efficient installation process. So instead of fussing around and going through the time-consuming task of installing the cobblestones one piece at a time, you can achieve the natural cobble stone aesthetic at half the cost of installation.

Additionally, since these cobble stone pavers are made from off cuts of different stones, if you’re looking to create an outdoor floor with an un-uniformed style that closely resembles cobblestone flooring found in older European cities, mesh cobblestones are the ideal solution. Their variety of colours and shades adds character and texture to any space.
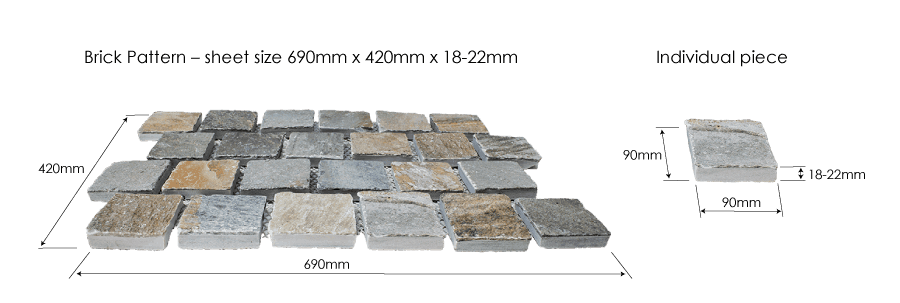
BONZA QUARTZ COBBLESTONES

On the other hand, if you prefer a more uniform shape, size, and colour for your cobblestone flooring, we recommend Granite Cobblestone pavers. These pavers are available on mesh backing in either a flamed or exfoliated finish. The granite has a high non-slip rating of P5, achieved by using high heat to fracture and spall the mineral inclusions. This makes the cobblestones flat and consistent, ideal for pathways and driveways with high traffic. If you’re looking for a consistent finish, Raven Granite Cobblestones and Gris Granite Cobblestones are ideal choices.

If you’re set on installing cobblestone pavers on mesh, learn more about how to do this yourself by reading our article here.
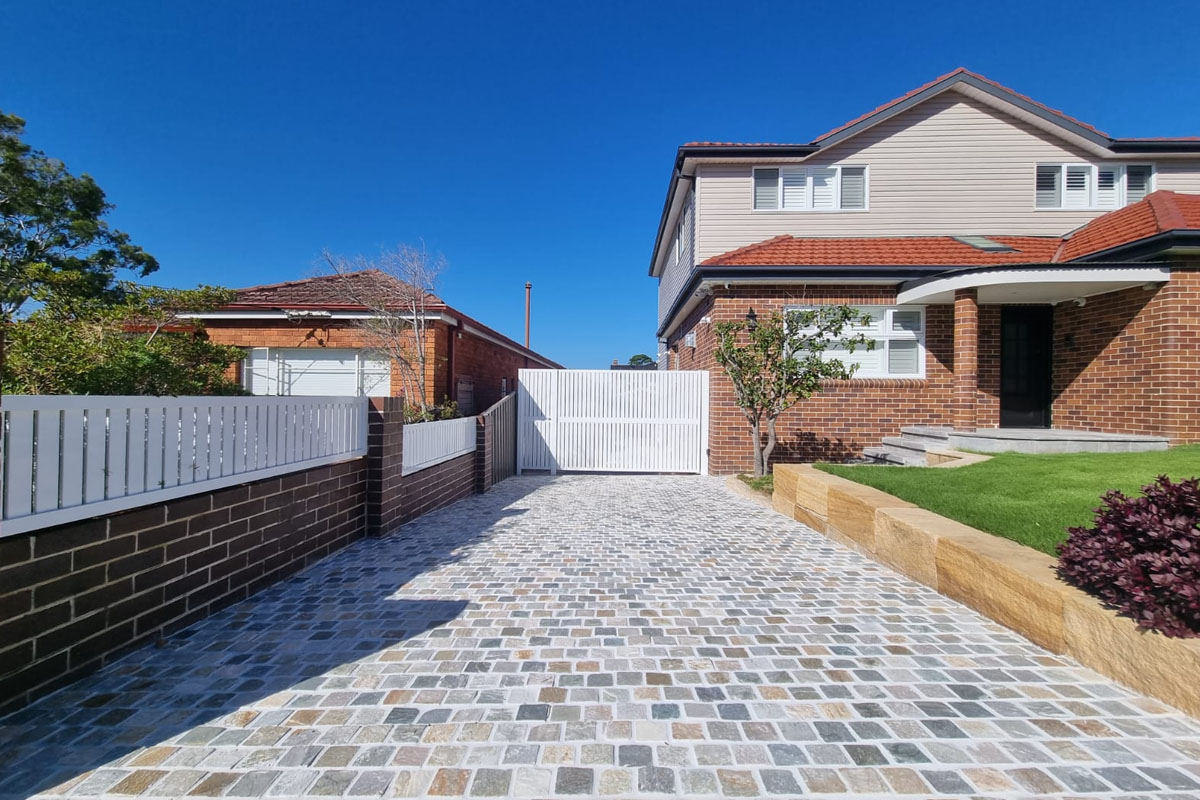
Bonza cobbles 1

  1. Cuboid Cobblestones

Cuboid cobblestones are comprised of loose pieces of bluestone, limestone, marble, and travertine cobblestones. We call them ‘invariable’ because of their invariable and constant sizing. They typically have rumbled edges and a non-slip texture. Invariable cobblestones are ideal for areas where you prefer to have uniform flooring such as high traffic pathways that will be accessed by children and the elderly.

  1. Split-Loose Cobblestones

Split-Loose Cobblestones are the last option available at Armstone. These individual stones are split all around, giving the cobbles a traditionally vintage and natural cobblestone look. We recommend installing these cobblestones for exteriors with a more vintage aesthetic. As they provide excellent grip for tyres, split-loose cobblestones are especially ideal for steep driveways.

Being loose individual stones, split-loose cobblestones allow more versatility for installation. For example, you can lay them in either a fan, straight set or brick pattern. Additionally, if you have curved spaces or wish to create a circular design, split-loose cobblestones are the ideal stone paver because they offer you the flexibility to be able to work around otherwise challenging spaces.

Our split cobblestones are generally 100x100mm in length, with a thickness that varies from 30-60mm. Since the stones are split on all 6 sides, it’s very hard to get a consistent thickness throughout. Compared to invariable cobblestones and mesh cobblestones, split-loose cobblestones are also more challenging to install. Thus, it’s best to install them on a mortar bed where you can tap down each individual cobble to make the surface as consistently flat as possible. While the surface will have deviations throughout, it will be reasonably level. If you have any questions regarding the installation process, we recommend reaching out to an experienced professional who understands how to install them so that they are adhered correctly. This way they will provide a solid and durable floor that will stand the test of time.
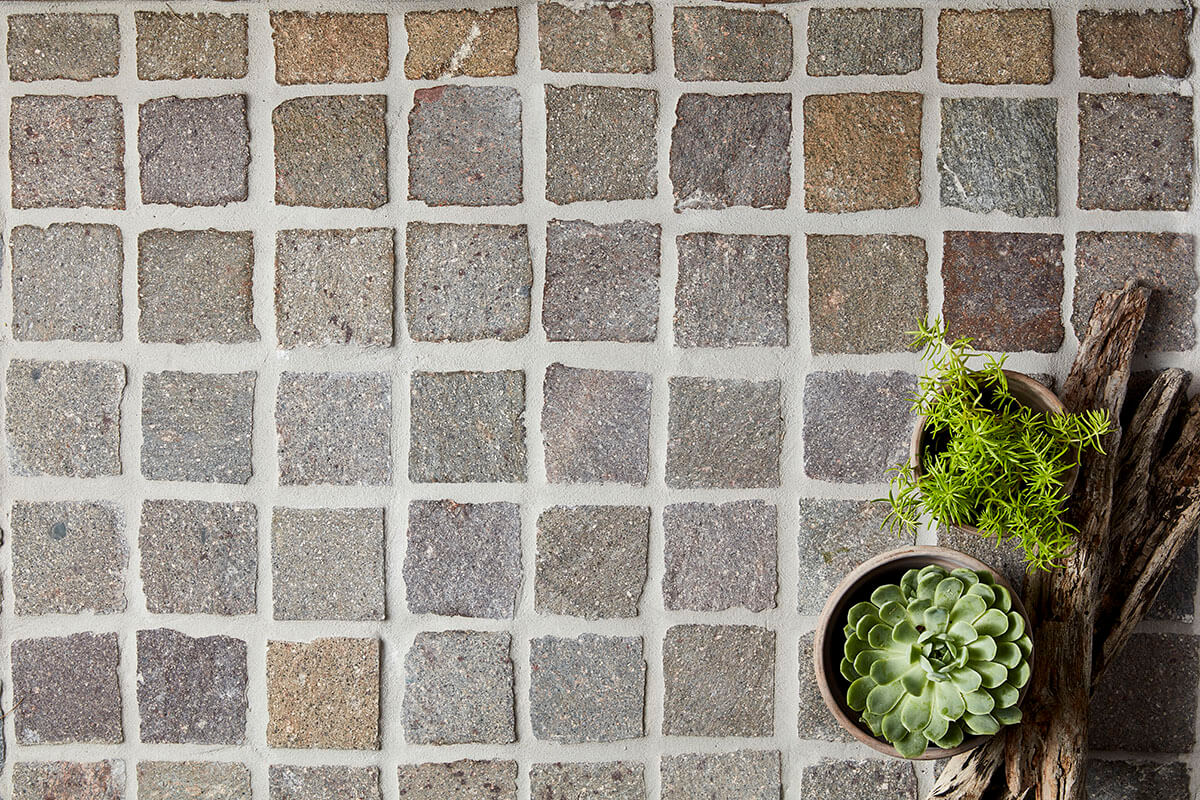
 

Porfido Porphyry Split Loose Cobblestones
**Porfido Porphyry Split Loose Cobblestones

Adhesion Method for Cobblestones Pavers on Mesh

As we have mentioned above, installing cobblestone pavers on mesh is both faster and more economical than installing other cobblestone pavers like invariable or split-loose cobbles.

Mesh cobblestones can be adhered directly onto the chosen surface using the appropriate adhesive such as the Ardex X18 with an Ardex E90 latex additive.

Prior to adhering to the mesh cobblestones, you need to create the mix and then fix them into place.

  1. Mixing

Creating a two-part adhesive requires mixing the adhesive with either an additive or an additive with water. As with most mixes, we recommend carefully reading and following the manufacturer’s instructions. They will advise the best ratios for powder, additive, and water for each product. Follow these closely to create the best mixture.

Pour the advised proportion of additive into a clean mixing container. If you’re adding water, use clean and cool water to the additive and mix until blended. Gradually add the required amount of powder to the additive / diluted additive solution and slowly mix the combination. We recommend using a low-speed mixer to create a smooth and creamy consistency.

Once you’ve achieved the desired mixture, let it stand for 1-2 minutes. Then re-stir the mixture prior to using it to adhere the mesh cobblestones.

  1. Fixing

Now that the mixture is ready, it’s time to glue the mesh cobblestones onto your chosen surface. Much like working with any other pavers, first and foremost make sure that your chosen substrate is clean, solid and free of any particles like dust, oil and grease. Make sure your mesh cobblestones are also clean and free from contaminants and dust.

Once everything is clean, follow these steps to install the mesh cobblestones.

  1. First and foremost, ensure that the substrate has been cured. Curing ensures that the chosen surface (whether it’s a waterproofing membrane, concrete base, or a screed bed) is of the ideal moisture and temperature for installation purposes. Again, follow the manufacturer’s instructions so that you’re laying the mesh cobblestones on the best base.
  2. Next, work/key in the adhesive into the substrate using a 15mm notch trowel. Then ‘back butter’ the mesh side of the cobblestones, covering the entire surface so that each cobble firmly sticks to the substrate. “Back buttering” is when you spread a thin layer of the adhesive onto a paver prior to adhering it to the desired surface.
  3. Once well buttered, firmly press the cobblestone sheet onto the freshly notched adhesive. The base of each individual cobblestone needs to be covered by the adhesive bed. Additionally, the adhesive needs to rise 5-10mm into the joint. Use a rubber mallet to move any cobblestones into their desired positions.
  4. To achieve consistent joint spacing for the grout, use joint spacers or wedges between the interlocking sheets. Remove these spacers/wedges once the adhesive sets but is not full cured.
  5. Work in controlled spaces with consideration for adhesive open time (pot life).
  6. Use a spirit level to ensure the installed mesh cobblestones are the desired flatness/consistency.
  7. Ensure that there are no voids beneath the cobblestones by lifting a random sheet from time to time to check.
  8. Finally, before the adhesive sets, ensure that any surplus mixture is removed from the surface of the cobblestones and joints.
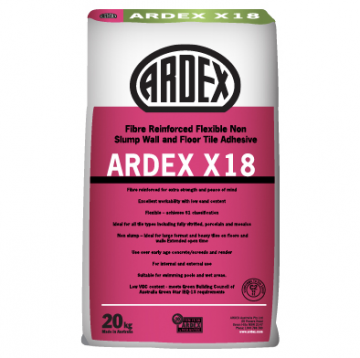
Ardex X18

There you have it!

A step-by-step guide on installing mesh cobblestones.

As usual, if you have any questions, we strongly recommend consulting or working with a professional installer.

In summary, whether you’re decorating the borders around your water feature, or looking to install a timeless and rustic pathway that reminds you of your European adventure, or you want a natural stone paver that can endure the heavy load of your busy driveway, cobblestones pavers are strong and versatile, and an excellent choice for any outdoor exterior.

At Armstone we stock a wide range of cobblestone flooring to suit both traditional and modern home aesthetics including Granite Cobblestones, Porphyry Cobblestones like Porfido, Quartz Cobblestones like Lorax, Marble Cobblestones like Lokki and Limestone Cobblestones like Aria.

Hopefully, this article helped you see why cobblestones are an ideal solution for your driveway and landscaping project. If you need any help, feel free to reach out to our natural stone experts online, over the phone at 1300 560 560 or at our Sydney showroom in Glebe.

We love this stuff and would love to help you bring your cobblestone project to life.

Below video will help you understand why is it important that your trusted stone suppler works closely with Installer.


Ultimate Guide for Crazy Paving and Flagstones

Pazzo crazy 3

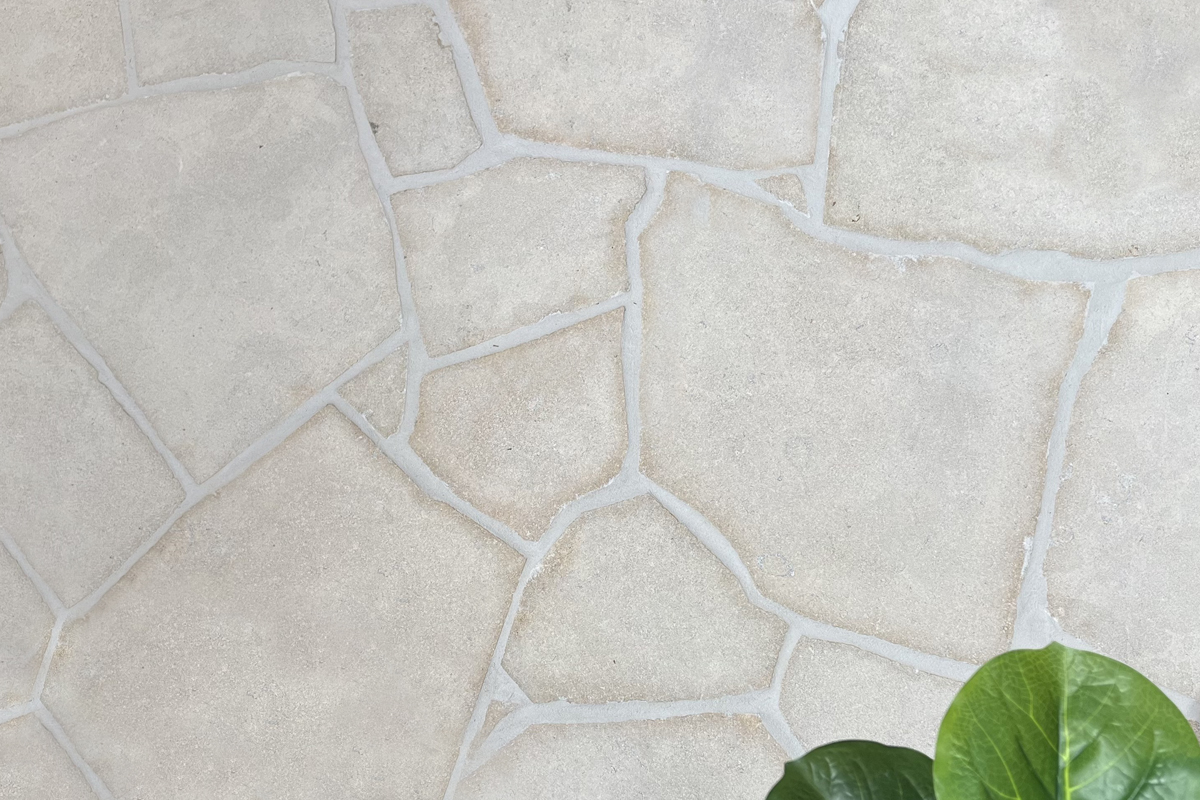
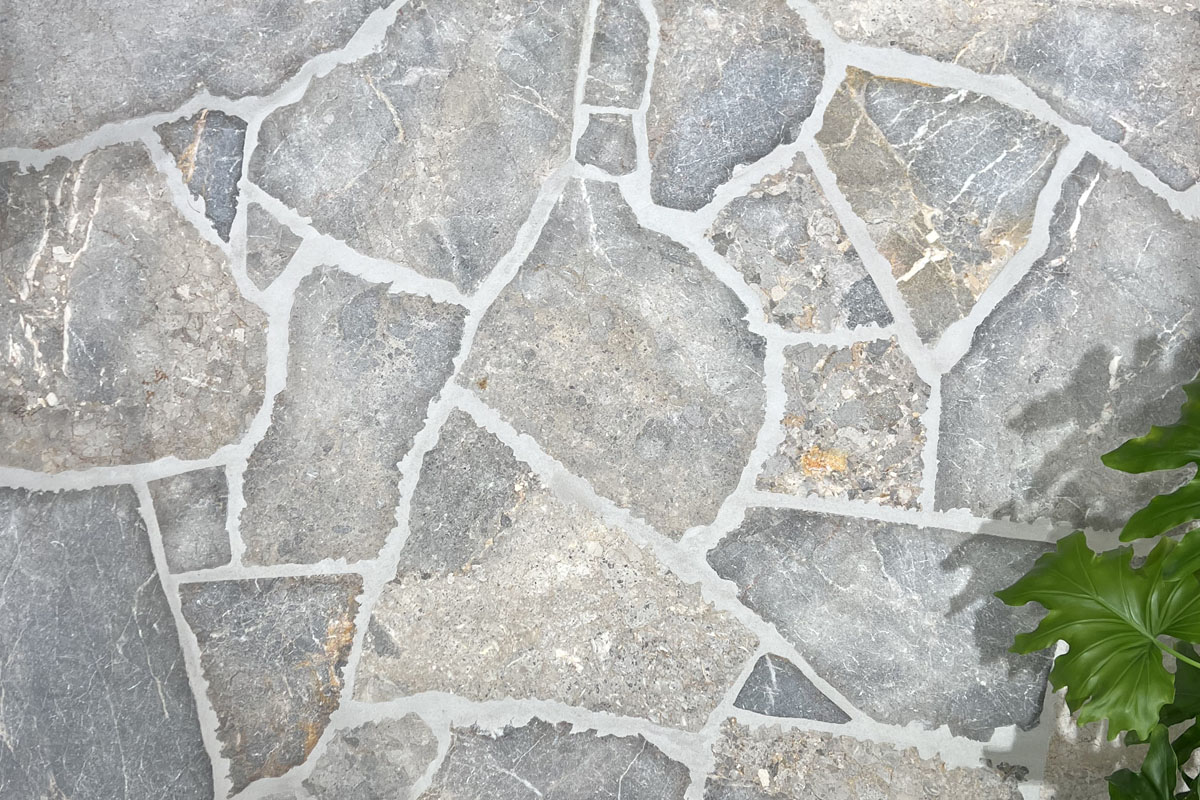
Stone Crazy Paving (also known as Flagstones) is a type of natural stone paving that originated in Ancient Rome.

This is where they used chipped stones to create roads and pavements.

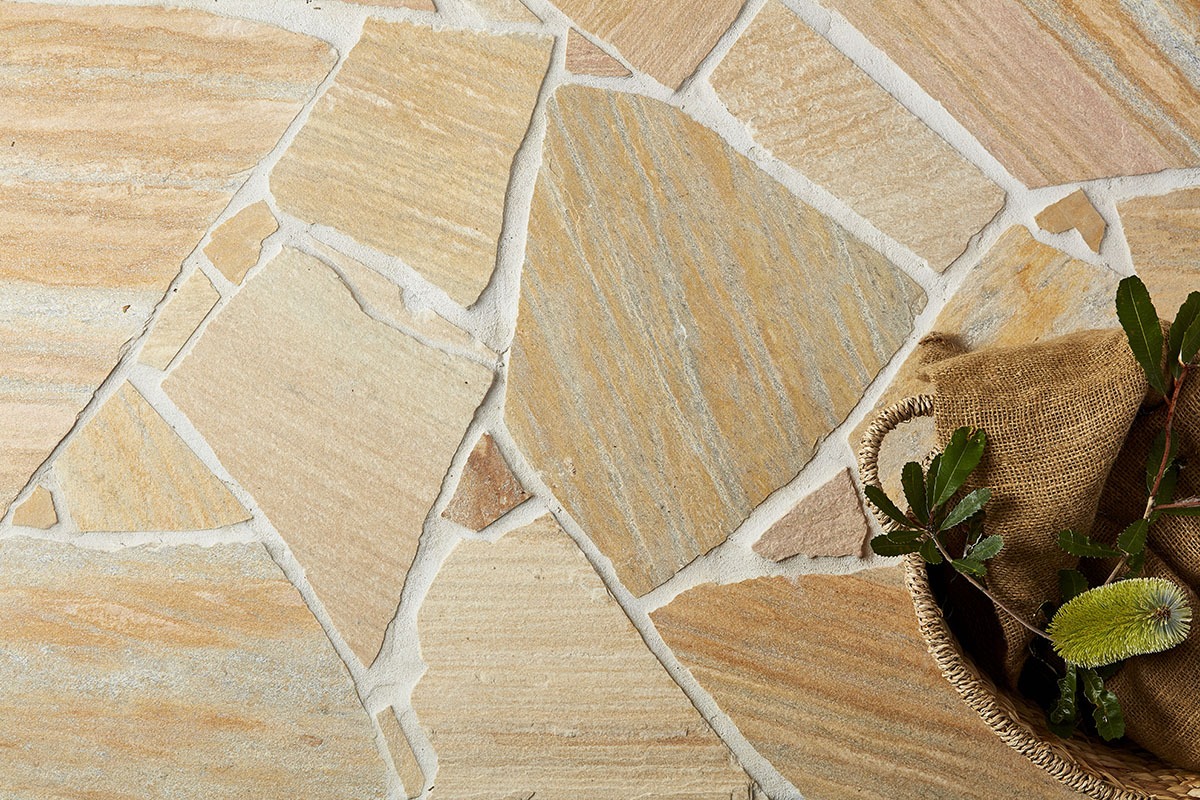
This type of stone paving resembles a mosaic.

Except instead of glass, it’s loose, irregularly shaped, and sized stones that are laid in a haphazard manner.

With grouting poured between the gaps.

Unlike most stone paving where the pavers are laid in a geometric grid style.

A crazy paving design uses naturally broken stones.

And it has no clear geometric grid or pattern.

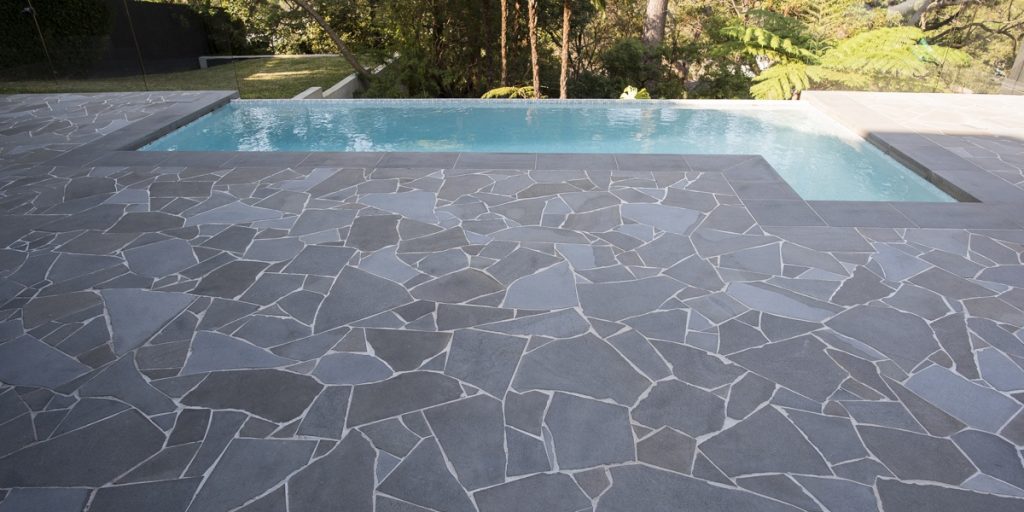
This design is predominantly used in driveways, garden paths, courtyards, pool-side pavers.

And many other locations where you want a more natural or Avant Garde look.

Apart from being popular in Ancient Rome, crazy paving made its debut in Australia in the 1970s.

This was when more homes started to embrace the modern aesthetic and design in their architecture.

Nowadays, due to their more naturally flowing aesthetic, crazy pavers are an excellent choice for many curved areas in your front or back yard.


Pazzo crazy 4

**Pazzo Slate Crazy Paving

Armstone’s Crazy Pavers are both dense and durable.

And available in a variety of natural colours.

They are also consistent in size and thickness.

So that when you lay them down, they create a smooth walking surface.

Our range of crazy paving stones include Bluestone crazy paving, Porphyry, Limestone, Slate and Travertine.

If you want to use your crazy pavers indoors (as well as outdoors).

And directly apply them to a concrete slab using glue.

We have 20mm calibrated crazy pavers with a tolerance of 2mm +/-.

These calibrated pieces have a consistently flatter thickness which allows more ease for installation.

Along with a flatter and smoother surface.

There you have it: a summarised guide on crazy pavers and flagstones.

Where they’re used and the best suited home aesthetic.

Now that we’ve covered that and you’re more familiar with these natural stone pavers.

Let’s dive a bit deeper and address a few questions we are often asked about the installation process.

To do this, we have created a video with Rhys from RBG Landscapes.

In our conversation, he shares the best mortar and grouting technique for installing these types of pavers, which we also summarise in the blog below.

Pianura Bluestone Crazy Pavers 1
** Pianura Bluestone Crazy Pavers 

Best Practice for Installing Crazy Paving and Flagstones

Prior to installing crazy paving or flagstones.

It’s important to determine the type of stone you’re working with and the texture of the ground you will be laying it on.

For example, it’s better to install Pazzo Crazy Pavers onto a mortar bed.

Why?

Because they have a naturally occurring split from top and bottom.

This gives you a 10mm minimum give and take in its thickness and variation.

When laid on a mortar foundation.

This tolerance in thickness gives you the chance to tap down the crazy pavers to create a smooth and even surface.

In the video below.

Rhys from RBG Landscapes takes two square metres worth of crazy pavers from the palettes.

And places them across four square metres of flooring.

He advises that it’s important to see the stone’s shapes and colours clearly.

So that you know what you’re working with before actually adhering the stone to the floor’s surface.

Since the slab they’re using is very rough.

Rhys uses mortar instead of glue, to stick the crazy pavers onto its surface.

If you do not have a slab to work with.

Rhys suggests adding a 120mm compacted road base as the foundation for the paving.

Grampian crazy
**Trello Limestone Crazy Pavers

The Magic Mix

If you’re planning on installing your own crazy paving and flagstone paving.

Here are Rhys’s recommendations for creating all the mixes for crazy paving floors.

The Foundation Mix

Due to the irregular thickness of most flagstones/crazy paving is generally installed on a traditional wet (mortar) bed.

To create the perfect blend, we use a traditional bricklayers mix which consists of:

  • 12 shovels of white / yellow bricklayer’s sand
  • 1 bag of white cement
  • 10L of water mixed with 100ml of Efflock to reduce any efflorescence
  • 50ml of Bycol to keep the mix fluffy and workable.

So that your mix is consist, we recommend using a cement mixer and following these steps:

  • Turn on the cement mixer
  • Add the Efflock water into mixer
  • Add 6 shovels of bricklayer’s sand and allow the Efflock and sand to mix.
    Once you achieve some consistency, add the next 6 shovels of bricklayers sand
  • Review the mixture and if required, add more Efflock to the mixer so that the sand has a good moisture level
  • Once you’ve achieved a nice creamy consistency.
    Add the bag of white cement, and let everything mix quite thoroughly
  • Continue adding Efflock to maintain the moisture levels
  • Let the mixer spin until the consistency of all the ingredients are fluffy with no visible signs of sand or cement
  • To finish, add a capful of Bycol to keep this mix workable
Norse crazy
**Norse Marble crazy Pavers

The Pre-Sealer

Prior to grouting crazy paving.

We always apply a pre-sealer to the surface.

Why?

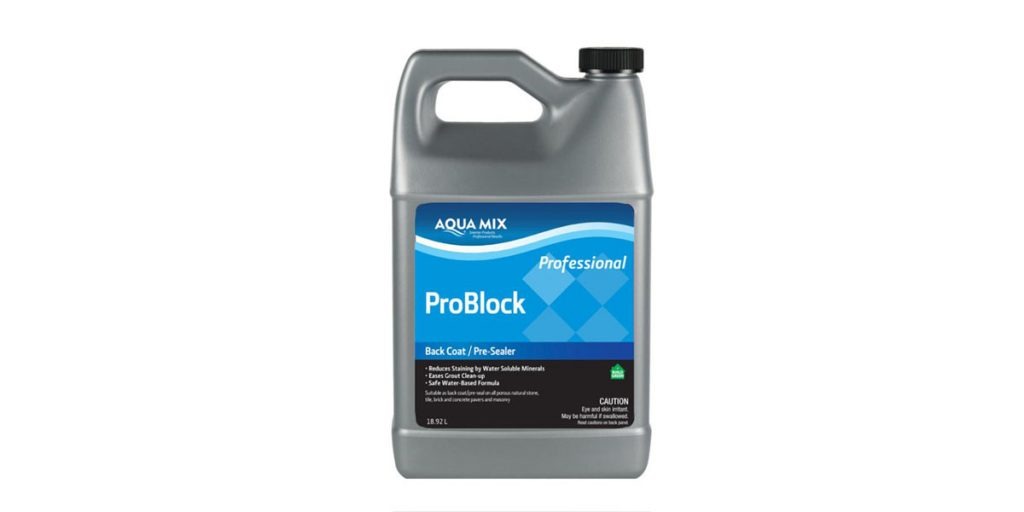
Basically, applying a good pre-sealer (we recommend Aquamix Pro Block).

Prior grouting the pavers.

Makes the cleaning process easier.

It also minimises any residual grout that is left on the surface after sponging.

Problock-Gallery

Leveling

Unlike other paving alternatives which use a straight and geometrical pattern and format.

Crazy paving means that the installation will be exactly how it sounds: crazy and unformatted.

Additionally, there is also the possibility that the surface will be different depending on the type of product used.

As such, whether you’re installing crazy paving for a patio, pool area, or courtyard.

It’s very important to set reference points while installing crazy paving.

This is so that you can clearly track the starting level and the finished level.

And ensure that everything is (more or less) consistent.

So how do we do this?

First, we install string lines in a grid pattern to establish a set of reference points.

Since crazy pavers can vary in surface structure and thickness.

The stringlines help us gauge how much mortar to use.

And reduce our room for errors when laying the pavers.

Once you have the gridlines established.

Spread the mortar onto the surface and ensure that the pavers sit about 1/2mm under the stringline.

If they protrude, tap the pavers to level the surface and achieve the desired level and gradient.

The Grout

After you’ve installed the crazy pavers and you’re happy with the levelling.

It’s time to add the grout.

At RBG Landscapes, we grout crazy pavers using a wide joint sand-based grout supplied by Ardex.

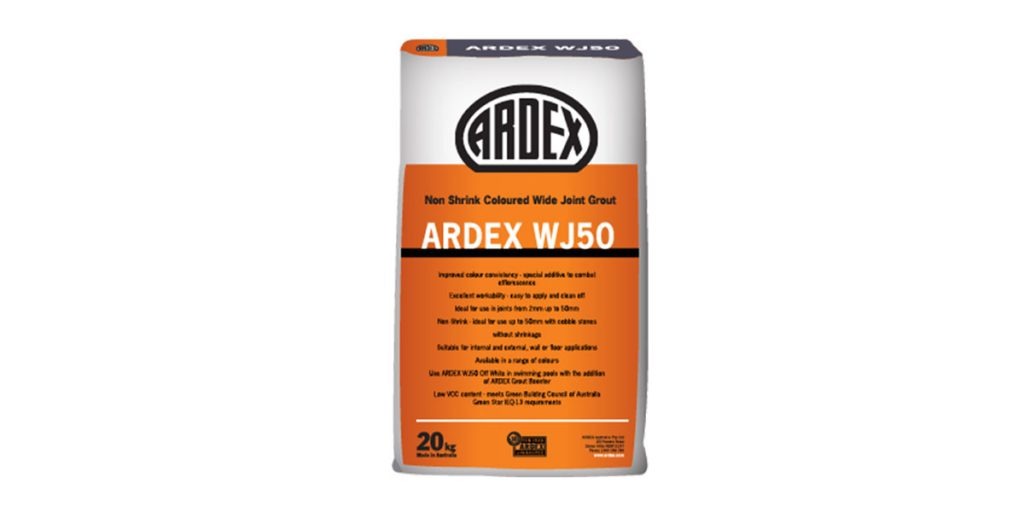
The produce we recommend is the Ardex WJ50, for a variety of reasons.

ARDEX-WJ50

Firstly, it’s available in a variety of colours which means you can pick one that will match your pavers.

Secondly, it’s sand based with a pre-mixed back and a maximum joint width of 50mm.

This combination guarantees that the grout won’t shrink or crack.

Two important factors to consider when choosing grout for crazy paving.

Now, onto making the grout and its application.

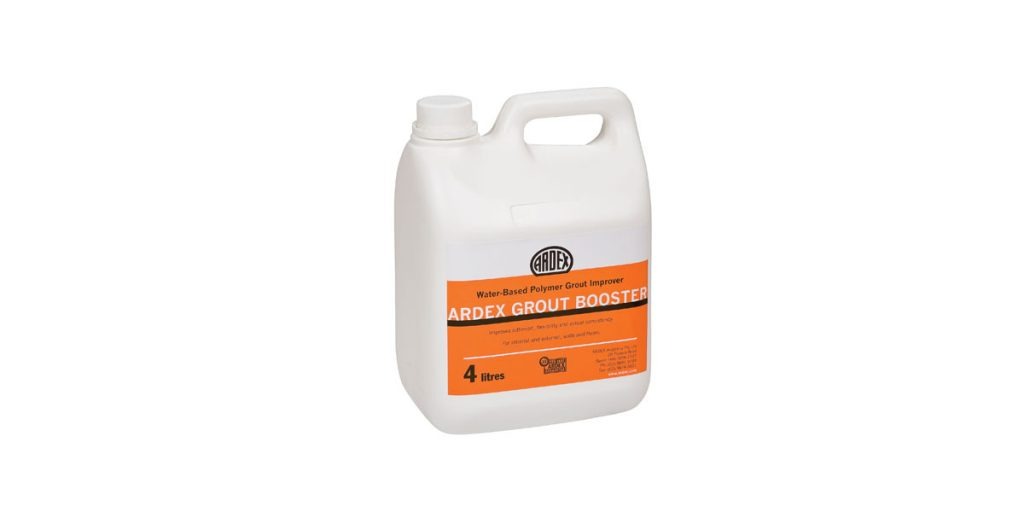
Mix a 20kg bag of grout with 2L of Ardex grout booster.

To achieve the desired consistency, we recommend mixing the grout using an electric drill with a paddle.

ARDEX-Grout-Booster

Once you have the mix.

Apply the grout into the joints using a squige tool.

Ensure that all the joints are sufficiently full and levelled with the surface of the pavers.

Scrape away any excess.

And wipe the grout from the stone’s surface using a tiling sponge so that there is no residue grout left.

The trick here is to always use clean water so that the stones and joints remain clean.

Repeat this process until all the joints are filled with grout and you’re satisfied with the result.

Top Sealer

After finishing the grouting.

The final step in the crazy paving process is adding the top sealer.

Prior to applying the top sealer.

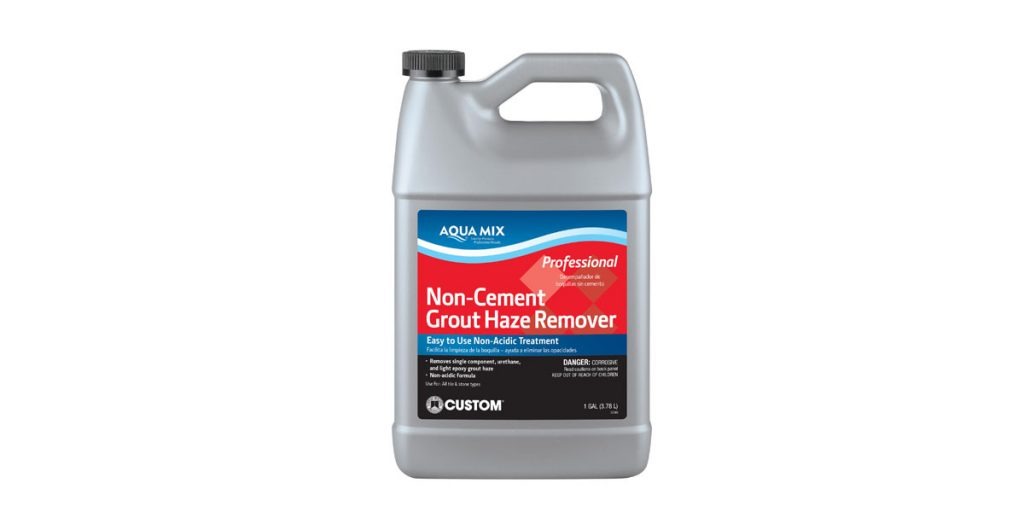
We suggest removing any residual grout or grout haze film from the surface.

You can do this with a stiff broom and the cement grout haze product by Aquamix or with a pressure clean.

Non-Cement-Grout-Haze-Remover

Once the surface is clean and completely dry.

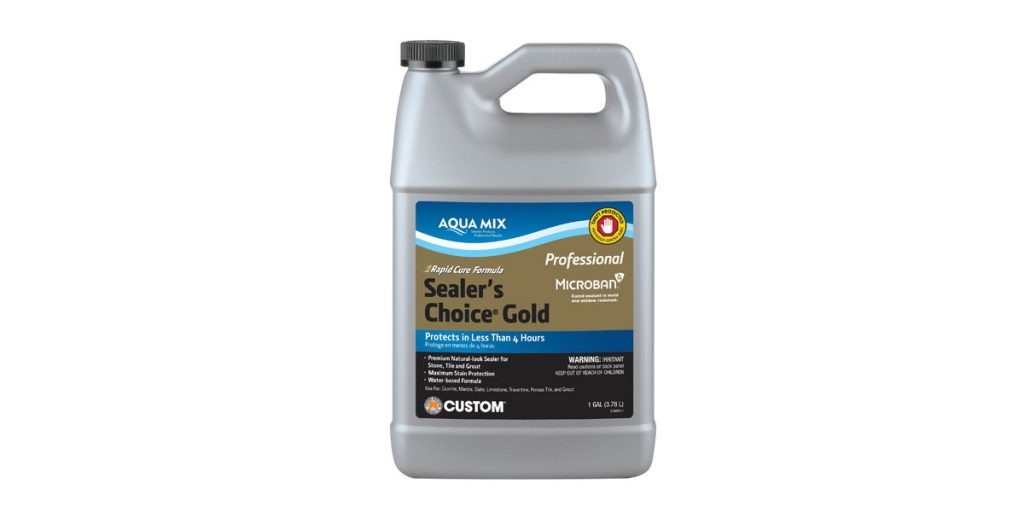
Apply the Aquamix Sealers Choice Gold as a top sealer.

Use a lamb wool applicator and be generous with the amount.

So that both the stone and grout are protected from the elements.

And stand the test of time.

You want the sealer to penetrate through the stone and grout.

Sealers-Choice-Gold

And there you have it!

Everything you need to know about crazy paving and flagstone pavers.

Along with where and how to install them.

Check out the video below.

And if you have any questions, reach out to our team of experts at Armstone online or by calling 1300 560 560.

We can help point you in the right direction with choosing the specific crazy stone paver for your project.

If you’re looking for help with installing your crazy pavers.

Reach out to Rhys from RBG Landscapes for guidance and advice at ​​0415 874 416.

If you like our content, help more people find it by giving it a thumbs up and sharing it with someone who might find it helpful.

Feel free to subscribe to our updates on YouTube and find us on Instagram for more stone related content.

Why and Where to use Stone Capping or Stone Pier Caps

Bellport Bluestone Pier Caps

Stone Capping 

You’ve finished transforming your boring outdoor retaining walls with some stunning stone veneers and stone cladding, but you’ve stood back and looked at your masterpiece and it just doesn’t look complete.

We understand the feeling which is where stone capping comes to your rescue!

What is it?

Basically “stone capping” is where a large flat stone is used to be placed atop a freestanding wall, giving it a complete look.

When installing stone capping, the basic rule of thumb (for consistency purposes) is to use the same stone for the capping as you used for the cladding. And if you really want to give your retaining wall that designer appeal, we suggest choosing capping that is thick in height and one that ideally overhangs on each side of the wall: this gives your wall a majestic appeal.

Depending on personal preference, you can also install stone capping that contrasts the wall cladding. If you prefer this style, we suggest doing your research prior to starting your wall cladding project and picking out the contrasting stone colours and textures before you start installing the wall. 

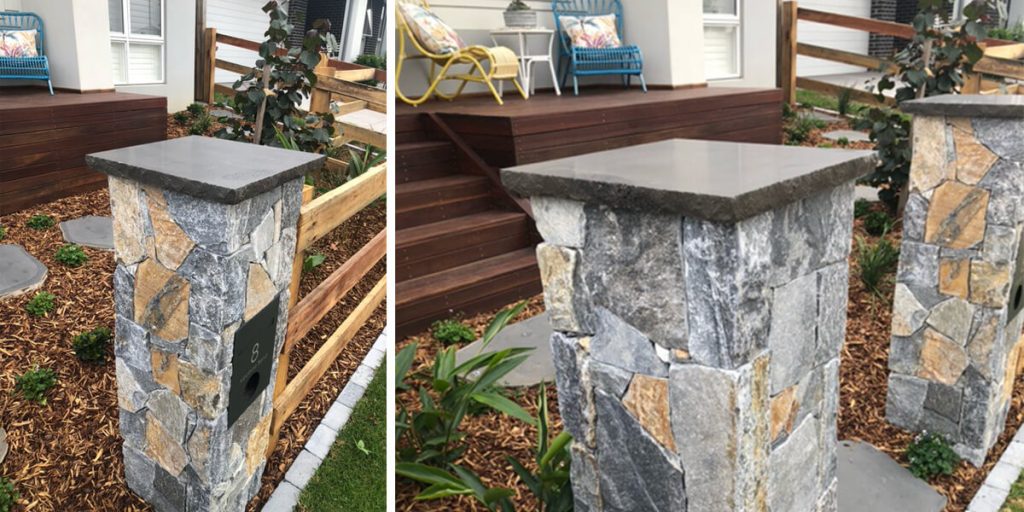
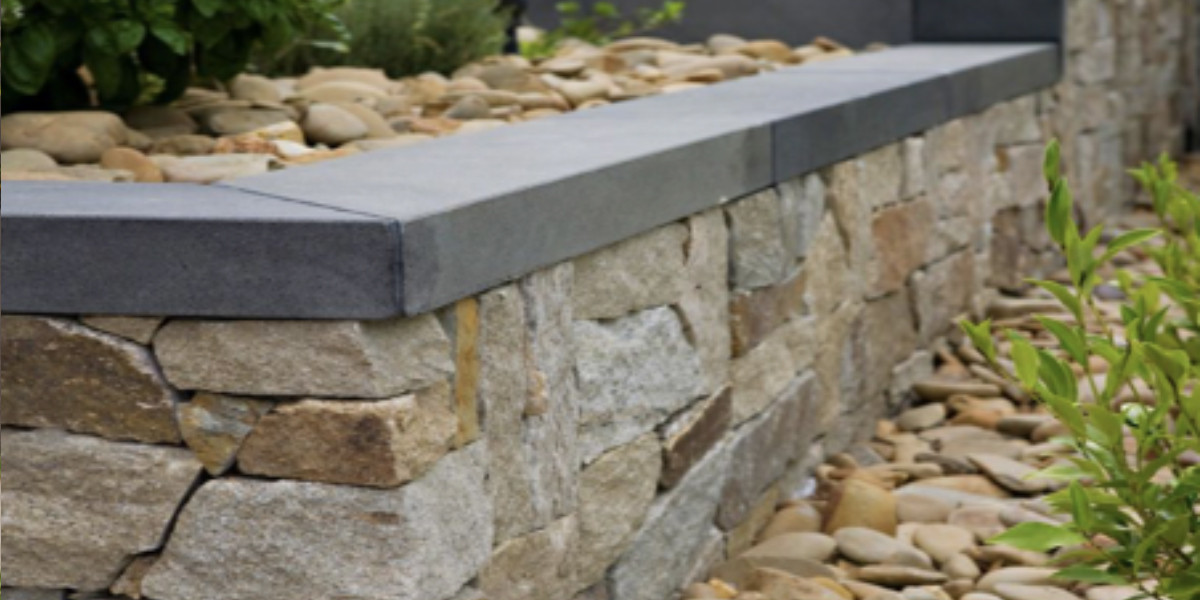
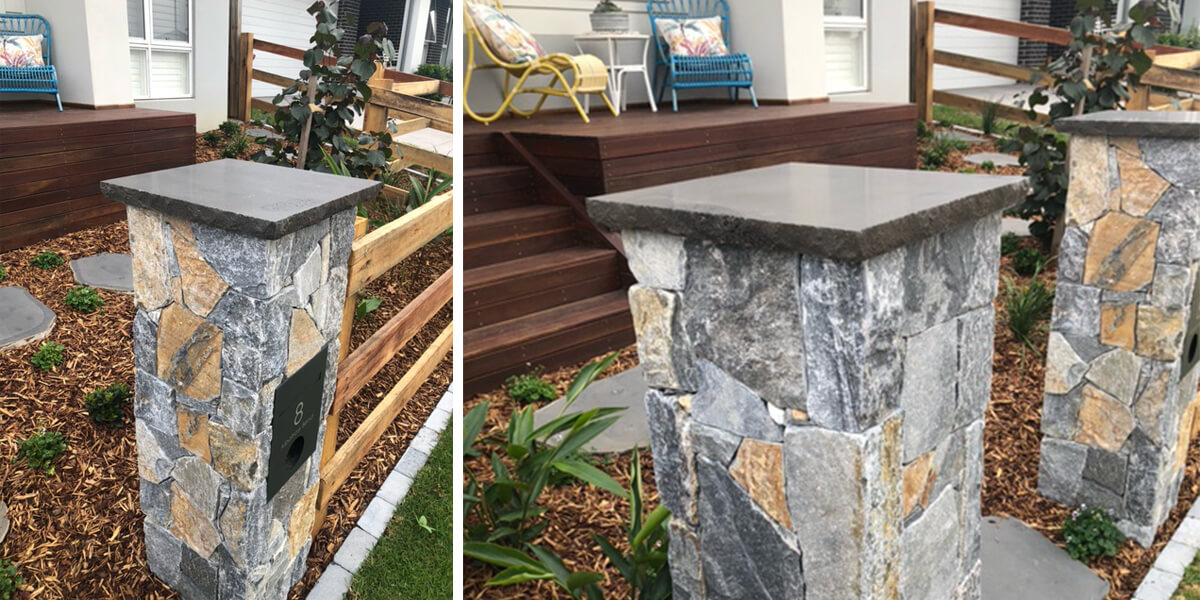
Below is an example of a contrasting wall capping project. As you can see, the retaining wall has been veneered with loose granite stone cladding that oozes with a rustic and natural texture. In contrast, the wall has been capped with bluestone capping – a stone that is deep blue-grey in colour and has a clean, smooth, and thick texture. This contrasts beautifully with the granite beneath it..

Bluestone Pencil edge capping

Essentially, capping should work like a roof for your wall and, just like a roof protects the house from damage, so too the stone capping protects the stone cladding from being weathered down from environmental factors like rain and heat.

If you have installed a short feature wall that is say approximately 600mm in height, a smooth surfaced capping can be installed to serve as a make-shift outdoor seat or couch: just throw some funky and colourful cushions over the top and voila! Your wall is now also an outdoor seating area. With this scenario you (quite literally) killed two birds with one stone.

If you prefer your capping to overhang over the wall, a 30mm overhang is the benchmark. We also recommend this as it further protects the wall cladding from environmental factors damaging the wall.

So let’s have a look at the four different profile edges that stone capping is available in: 

1. Rock Faced

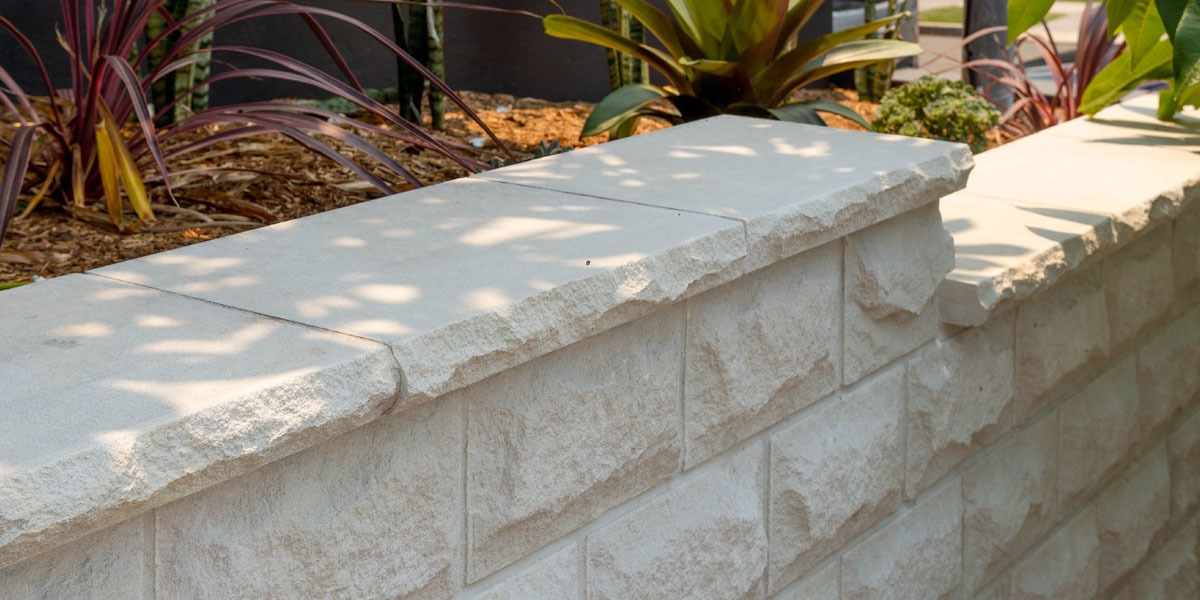
This type of finish is rustic in nature and is created with a split or chiselled face which creates a rough and natural looking edge that retains its natural aesthetic even if it chips. Usually this type of capping is used on Australian Sandstone.

White Sydney Sandstone Capping

2. Split-Faced Stone

This type of stone capping has a face where the stone has been broken to an approximate size. It looks rustic and natural and gives an edgy feel to the wall.

Split edge sandstone capping

3. Chiselled Edge

This rustic, aged appearance on stone capping is produced by mechanically chipping at the stone’s edge to give it that edgy look. This is an ideal stone capping option for feature walls that blend well with nature. 

Mica Slate Capping

4. Square, Pencil Edge

These types of stone capping finishes have a smooth and clean aesthetic which looks excellent on more modern and contemporary styled feature walls. With smooth edges, these wall capping stones look best installed flush against the wall cladding. This capping has edges that are sawn, with slightly rounded corners to reduce the sharpness. 

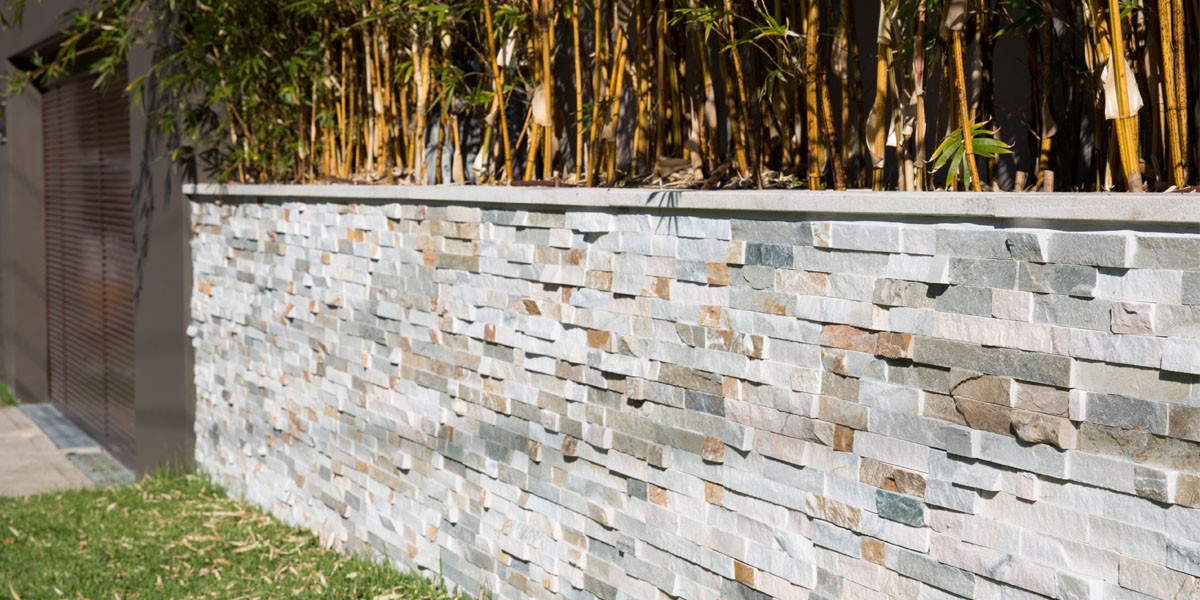
Bisque Stacked Stone

5. Bullnose Edge Capping

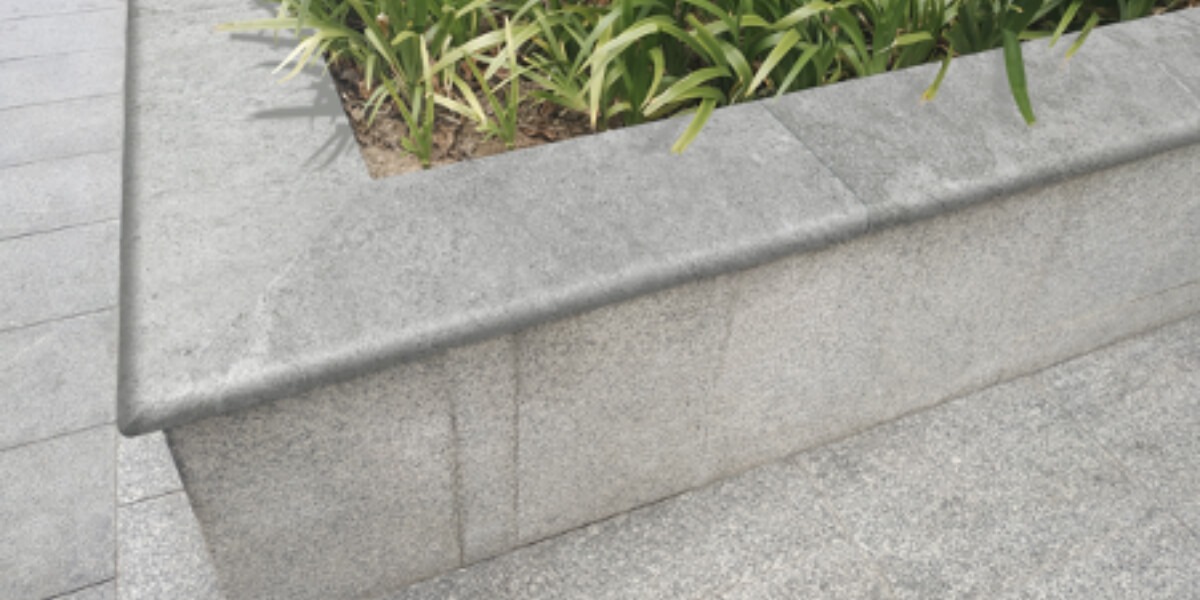
Lastly the ‘bullnose edge’ (as seen in the image below) has a half circle look and adds another level of elegance to your wall. if you want your capping to overhang the wall, the ‘Bullnose edge’ looks brilliant!

Granite Stone Capping Bullnose web

Pier Caps

While stone capping adds a finishing touch to a feature wall, stone pier caps are slabs of stone that add the finishing touch to brick piers or gate pillars. While their main function is to give support, they also add a regal elegance to your feature wall by completing, protecting and accentuating the pillar or column. 

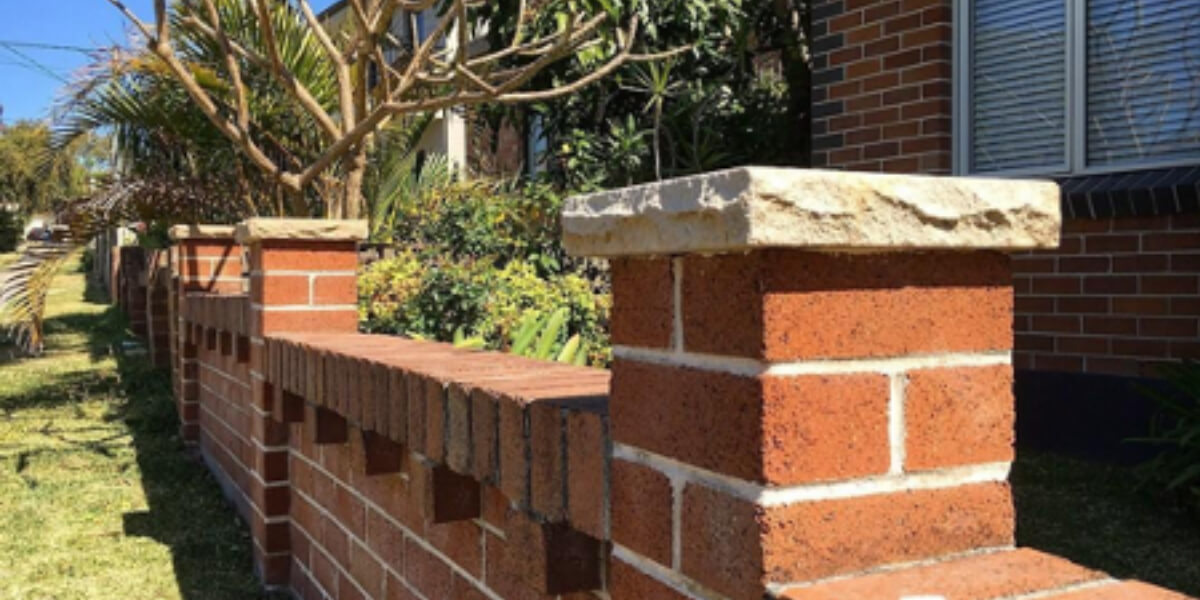
Sydney Sandstone Pier caps

Pier caps for pillars are available in a variety of sizes and styles including pyramid caps, flat pier caps and even single/double brick pier caps for brick walls (as you can see in the image above).

 Apart from their appealing aesthetics in bringing a sense of brilliance to your gate pillars, letterbox, columns or boundary walls, pier caps (much like stone capping), serve the purpose of protecting the stone pillar/wall from environmental factors such as rain and heat, from damaging the pier itself. To fully maximise their protective purpose, we suggest installing overhanging pier caps.

Bellport Bluestone Pier Caps

Stone Pier caps are available in beautiful bluestone/basalt in dark grey and banded sandstone. We stock Bluestone gate pier caps all at Armstone and would love to help you out with your project! We stock them in many sizes and thicknesses.

If you have any questions, please reach out to us online or at 1300 560 560. Alternatively, visit our showroom in Glebe, Sydney. We would love to help you bring your project to life. 

7 Ideas to Take your Patio to Next Level

Payton Payton Limestone pavers ARMSTONE

Patios are the perfect way creating undercover spaces in your backyard. Their multi-purpose functionality makes them ideal for entertaining, cooking, family dinners, working from home or just chilling out while surrounded by the serenity of your garden and fresh air.

In our latest blog we would love to share with you a collection of patio decor ideas that will take your outdoor living space to the next level! 

Our only warning is this: your patio will look so good, that you might forget you have an adjoining house!

1. Start from the ground up

Choosing the right paving is an essential decision when creating an outdoor patio that compliments your home decor and stands on its own merits. If you want your patio to be an extension of your home, consider using matching paving materials so that the design flows seamlessly from the inside out. This small detail will ensure that your patio genuinely feels like a part of your home, rather than a hasty add-on.

Porcelain pavers, available at Armstone, are actually a perfect paver for this because we have them available as matching indoor and outdoor tiles.

2. Creating continuous flow with your outdoor patio decor

On the other hand, if you want your patio to blend seamlessly with your garden, or if you want it to be roofless so you can stargaze on those warm summer nights, it’s best to use paving materials designed specifically for outdoor settings.

For this purpose, cobblestones are an ideal material because they can be used as paving for your patio and throughout your garden, creating a beautiful, harmonious and unified effect throughout. Cobblestones are both attractive and practical in outdoor settings. They add an elegant and cosmopolitan charm wherever they are laid, whether this is patio floors, driveways, garden paths or outdoor steps. As such, they are a clever way of adding a new level of stylishness to your patio. From a practicality standpoint, their slip-resistant surface makes them remarkably robust.

At Armstone we stock an impressive range of cobblestones designed to suit different tastes and backyard styles, including the Bonza Quartz Cobblestones, pictured below.

Bonza Quartz CobblestonesThe Bonza Quartz Cobblestones make a stylish addition to any patio. Browse the full range at Armstone

3. Pool-friendly patios

If you have a pool in your backyard, or other wet spaces like spas, there’s a good chance that people will enter the patio with wet feet or dripping towels. So that the pool water doesn’t damage your patio floors, it’s best to use paving that can handle chemically treated water.

Once again, porcelain pavers are a smart selection for such situations. While porcelain pavers are a big trend for building outdoor patios because they look like natural stone, their advantage is that unlike natural stone pavers which can easily stain and deteriorate when exposed to salt or chlorine, porcelain pavers are stain-resistant and exposure to salt or chlorine doesn’t disintegrate them.

For these reasons, porcelain pavers are a very popular choice for pool paving. They’re also super stylish and are available in a wide range of colours and finishes, meaning you can find the perfect look for both your backyard patio and wet areas.

Jura Grey porcelain PaversStunning Jura Grey Porcelain Pavers. Browse them online at Armstone

4. Vertical gardens and bespoke plant beds

If you don’t want your patio to stand out like a sore thumb in the middle of your natural and green backyard as the only man-made structure, incorporating greenery into it will help blend it with the rest of the landscape. And there are many ways to do this! For example, vertical gardens are a popular way of adding plant life to outdoor spaces, especially when you don’t have a lot of room to play with.

Another way to incorporate greenery into your patio is by using stone retaining walls and stone capping to accommodate shrubs and flowering plants. These look absolutely stunning in patio settings, especially when planted with repeat patterns of succulents, as seen below. Another advantage of using stone capping is that it protects the wall while simultaneously giving it a pleasant visual aesthetic.

Nostra Sandstone CappingNostra sandstone stone capping is an excellent choice for a patio. Check out the range at Armstone

5. Play with contrast

Playing with contrast is a fun and wonderful way to experiment with style, especially in an outdoor setting.

If this sounds like an exciting idea for you, one foolproof option is to invest in patio furniture that contrasts with the colours of walls and floors. Getting seating, cushions and tables that have bold tones like bright red, green, blue or yellow, means they will pop nicely against the softer hues of the floor tiles and walls. In a way, playing with contrast actually draws one’s attention to all the design choices and helps each individual item stand out in its own right!


6. Get the natural look

As a patio is an ‘indoor-like’ setting installed outdoors, getting the best patio décor means thinking beyond the parameters of traditional home decor. You see, the most stylish patios have the perfect combination of indoor and outdoor elements.

The elements that work best in outdoor living spaces include anything natural. For example, garden pebbles are making a splash in the outdoor decor scene at the moment. They’re modern, eco-friendly, affordable and come in a wide variety of colours, sizes and textures which makes them a perfect natural addition to your patio. You can use them to create a feature wall or place them around your patio fireplace. However you choose to use them, they’ll add something extra to your patio space.

Ivory Natural Garden Pebbles

Pink Natural Garden Pebbles. View our entire range at Armstone

7. Lead the way to your patio

Once you’ve designed and built the perfect patio, the final touch is to create the ideal garden path that leads everyone to your outdoor paradise, or one that connects your patio with other outdoor areas.

If you have used cobblestones for your patio, then using cobblestones for your path is an attractive and effective solution.

Stepping stones are another excellent alternative. These have the advantage of being cost-effective, non-slip, easy to install and easy to change if they need to be repaired due to wear and tear. Stepping stones are an easy way to connect your home, pool and the rest of your backyard to your patio.

Payton Payton Limestone pavers ARMSTONEPayton Limestone Stepping Stones are a perfect way of connecting your home, pool and garden to your patio. Browse our entire stepping stone range at Armstone

Contact us

We hope these 7 ideas have inspired your patio project! 

If you’d like more inspiration for your patio decor, contact Armstone today and one of our experts will help answer any question. We have many more exciting decorating ideas for creating the patio of your dreams.

If you enjoyed this blog, please share it with your home and garden enthusiasts!

As always, it’s been a pleasure sharing our ideas with you.

STONE CLADDING: WHAT ARE THE BENEFITS?

Doretto Cladding

Whether they decorate the interior or exterior decor of a home, stone walls have a way of making a plain wall look abundantly cosy and attractive.

However, a real and authentic stone wall structure has a few downsides: they’re expensive, time-consuming to build and extremely difficult to repair if and when things go wrong.

As a result of these disadvantages, stone-masons have created an alternative solution that gives you that beautiful aesthetic of a stone wall, without the price tag and labour requirements.

Introducing ….

Stone wall cladding!

In an earlier article, we describe stone wall cladding in more detail. If you want to read it, check it out here. To recap, stone wall cladding is a way of dressing a wall with a thin layer of stone to give the look of a real stone wall.

Surprisingly, stone wall cladding has many advantages that make it a rock-steady choice for many structures. In this article we will explore five of these benefits in more detail.

Let’s get started…

1. All the Natural Beauty of Stone

As natural stone wall cladding is made of natural stones, it possesses that timeless beauty of natural stonewalls. Due to its completely natural textures, shadings and colour variations, natural stone cladding appears to have the same depth as an authentic stone wall. In fact, it can be almost impossible to distinguish between the premium stone cladding and a stone wall that has been built by laying individual stones on top of each other.

As such, whether your home has a traditional or contemporary design, stone cladding can be used to add style, texture and an element of authenticity to any Australian property.

Armstone’s beautiful and quality stone selection will give you the choice to pick the best cladding to build your dream natural stone wall to life. Our wide variety of colours, textures and styles are designed to cater for any project requirements.

Doretto Cladding*Doretto Stone Cladding

2. Spoilt for Choice

One of the main benefits of wall cladding is the wide array of options it offers for builders and renovators alike.

Natural stone wall cladding is available in a variety of stone types, colours, styles and profiles. You can choose from limestone, sandstone, split granite, quartzite and more.

Stone cladding is also available in interior and exterior wall cladding panels, as well as loose pieces for those tricky areas such as corners.

At Armstone, our extensive natural stone cladding collection gives you the opportunity to bring your dream look to life. Whether you are creating a modern, chic or rugged decor, you can rest assured knowing that our range will add that special touch you desire. Couple these with our fine selection of extras, including stone capping and corner pieces, and voila! It’s like you have a new stone wall – minus the time required to build it and the expense of purchasing the materials.

3. Highly Versatile

Stone wall cladding is an exceptionally versatile material. Like we mentioned earlier, whether you choose to use it indoors or outdoors, it’s equally striking and functional.

If you are looking to install natural stone wall cladding outdoors, you can use them to ornate barbeque areas, water features, retaining walls, letterboxes, chimneys, and other exterior substrates like a feature wall for the patio.

If you want to give your home’s interior a natural stone touch, stone cladding is an excellent choice for fireplaces, feature walls and bathrooms.

As you can see, wall cladding ideas are limited only by your imagination.

Gazebo Wall Cladding*Gazebo Stone Cladding

4. Easy Installation

While building a safe and strong traditional stone wall is a complex and time-consuming process, installing stone cladding, on the other hand, is much simpler!

This is thanks to the panels being sawn flat from the back. Their smooth backing is specifically designed to allow for a no-fuss application. Additionally, natural stone cladding panels have strong adhesion.

Unlike building a stone wall from individual stones, assembling wall cladding is a much cleaner and tidier process. Matching individual stones of varying shapes and sizes as well as cementing and grouting them one at the time, makes building with individual stones quite a messy and cumbersome endeavour. It also requires a lot of cleaning afterwards.

Furthermore, if you are stretched for time, using stone wall cladding instead of building a stone wall from individual stones is a speedier process. In probably a quarter of the time it would take to build a stone wall, you can create a beautiful natural stone feature for your property using natural stone wall cladding!

Nostra Sandstone Wall Cladding

*Nostra Stone Cladding

5. Affordability

While there is no denying that an authentic stone wall, built with individual stones, is a stunning feature to have in any home, it comes at great expense. Wall cladding, on the other hand, is a cost-effective option that delivers equally impressive results. Armstone’s premium wall cladding products allow you to replicate the same luxurious look, at a far more accessible price point.

Contact Us

If you’re in Sydney, you can check out our natural stone wall cladding in a realistic setting by visiting our stunning showroom in Glebe. You’ll be able to see our top-of-the-line products and imagine them for your own home project.

For more information about stone cladding, please contact us today.

Giving your home a beautiful, natural look could be just a stone’s throw away! And we would be delighted to help you.

PS. Below video will help you understand why is it important that your trusted stone suppler works closely with Installer.
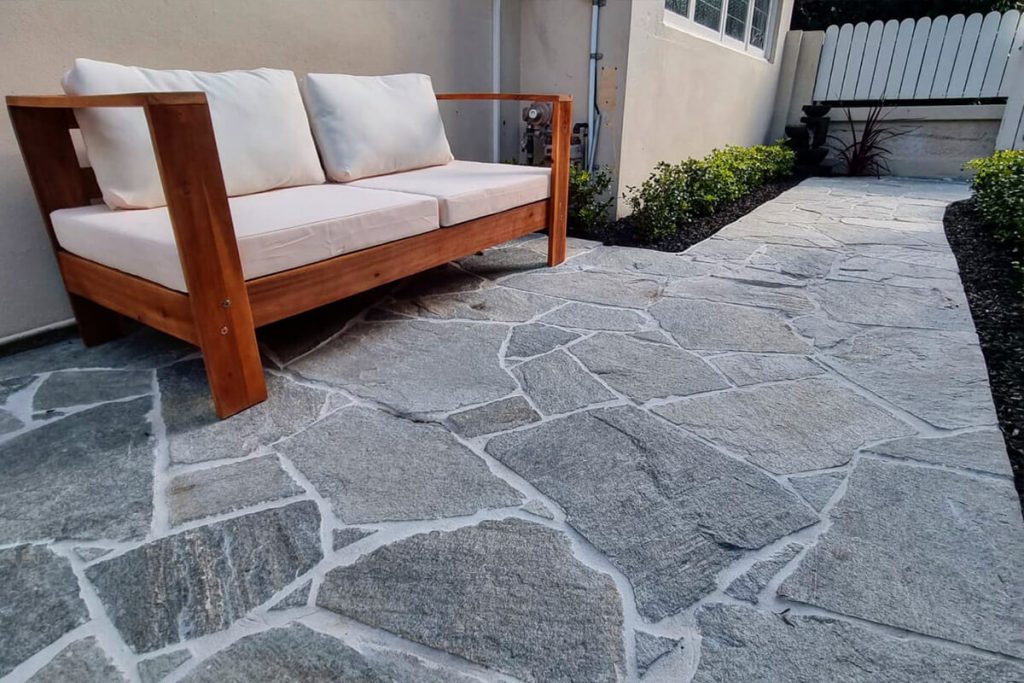
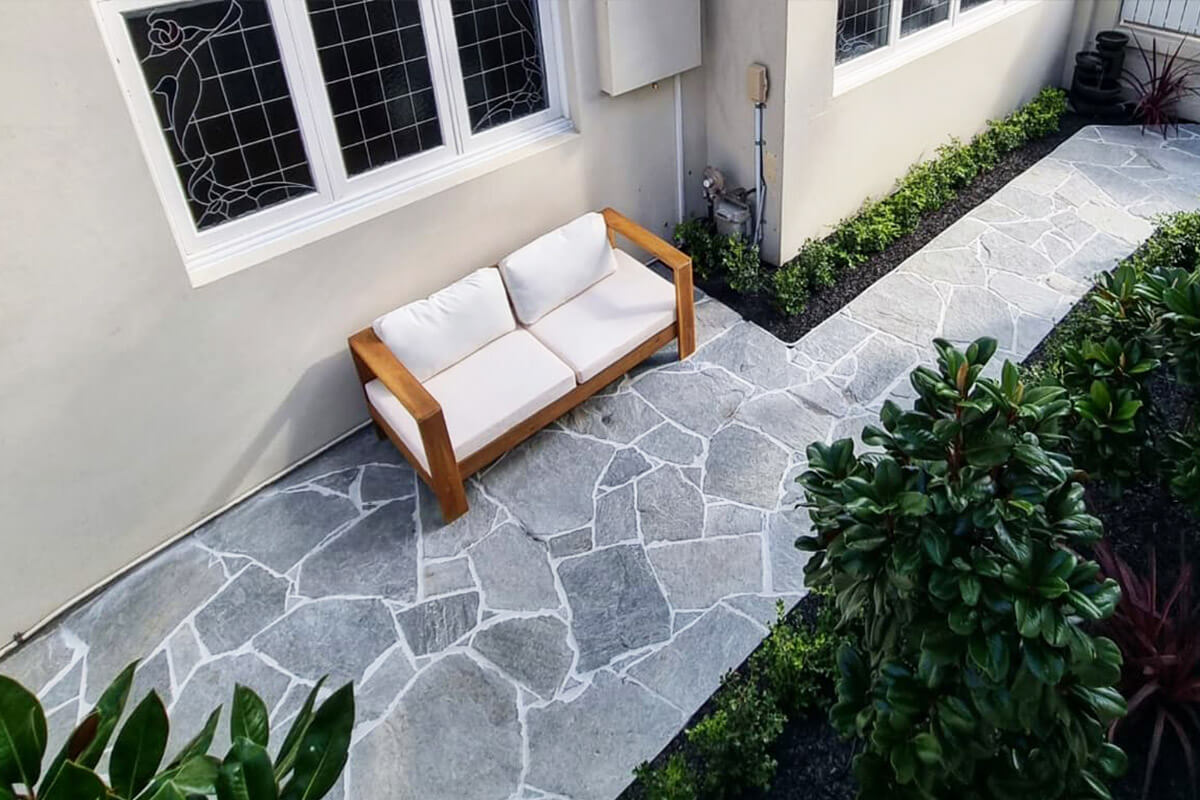
 

Tile Flooring Trends For 2020

Melba Limestone pavers

If you want to keep your home up to date, all you need to do is keep your flooring up-to-date! 

It’s that simple.

Every year there is a new trend in the interior design industry, so if you want to spruce up your home with the latest and greatest ideas, this guide will show you the tile flooring trends of 2020.

You see, tile flooring is revolutionising home interiors, both inside and out.

Now, we hear you asking: what type of tile flooring is most popular at the moment? 

Generally speaking, there is a strong preference for natural stone and porcelain. Homeowners love these products for their uniqueness, elegance and unrivalled durability.

So let’s dive in and explore the tile flooring trends that will be hot in 2020 and beyond.

1. The look of luxury

Floors typically reflect the overall home aesthetic. So if you’re looking to make your home a luxurious space, the best way to do this is by installing a luxurious floor. A good starting place for this is choosing a traditional natural stone because its sophisticated and timeless appeal is right on trend.

You have probably noticed that bathrooms and kitchens in high-end hotels and buildings are typically built using marble and travertine. These natural stone pavers are known for their deluxe qualities and if we look at their application over time, we can see them in many buildings that are thousands of years old. 

Marble and travertine are also excellent flooring choices for entryways, patios, entertainment areas and any spaces that may be exposed to rain or moisture. So if you want your home to be a statement of luxurious living, these tiles are unrivalled for their royal appeal.

2. Textural details

One crucial trend in 2020, is utilising texture throughout the home. Whether it’s on your floors, walls, fixtures or fittings, applying different textures is a way to customise your space and also create a sense of harmony throughout it.

The benefit of installing natural stone pavers, or tiles, is that they typically have a smooth texture that also stays quite cool underfoot. This is exceptionally important for homes built in warm tropical climates, like Australia. If you prefer your home to have a freshness to it, the texture of bluestone products have a way of keeping the space crisp and they also feel very comfortable underfoot for hot Australian summers.

Marble is another natural stone paver that keeps its cool and looks glamorous and glossy no matter where you choose to install it.

If you prefer a more earthy, wooden look, timber-look tiles are another option with an incredible textural aesthetic. Much like timber, they exude warmth and richness but unlike real wooden tiles, they are much more hard-wearing. Why? Because they’re made of porcelain! So while the knots and grains in these matte-finished tiles look exactly like real timber, if you are looking for a more durable tile that is easier to maintain, these are definitely worth considering.

1584340721 photo 1551525212 a1dc18871d4a 1

3. Colour trends for 2020

Believe it or not, in the design world/community, colour is a trend that regularly changes. Many interior designs can tell you the year a home was built just by the colours used within its interior. So what are the colour trends of 2020? Let’s have a look!

Colour trend #1

Along with soft beige and light grey, champagne is a 2020 colour that is trending in interior design. These neutral hues are popular because they create a clean, stylish and minimalist canvas for your living quarters. If you look at other lifestyle trends around the world, it correctly reflects the minimalist trend that many people are embracing.

A tile like the Serino Travertine Tile, pictured below, with its pinkish undertones, is the perfect neutral flooring for contemporary homes.

Colour trend #2

Another colour that will be making a big impact in 2020 and beyond is blue. If your home has grey tiles (dark grey, light grey or silver) throughout, blue is a lovely complimentary colour that adds style and contemporary touch to your current design.

1584340721 photo 1551525212 a1dc18871d4a 1The beautiful combination of blues and greys. Photo credit: Unsplash

4. Shapes and sizes for home tiles flooring

A 2020 floor tiling trend is the bigger, the better! This means that interior designers will be choosing tiles that have a broad width and length, installing fewer tiles but also creating the illusion of openness and space by stretching out living room areas. For homes with open-planned living areas, bigger tiles typically create a sense of seamless flow from one area to the other.

So whether you invest in large rectangular or square tiles, this trend has staying power. Change your tiles once and they will be on trend for years to come! If you would like to browse our selection at Armstone, we stock all our tiles in big sizes. The largest natural stone paver we have available is limestone tiles. If you like an earthy feel underfoot, the large limestone slabs are your ultimate paver!

The Melba Limestone Pavers, pictured below, are also luxuriously large. Choosing your natural stone paver depends on your home’s aesthetic, colour design and lifestyle. Some natural stone pavers are more porous than others and might not be as ideal for homes with young families where spills are a common occurrence. If you’re unsure which stone paver to choose, contact us at Armstone. We would love to help.

Melba Limestone 11web 1 1The luxurious and large Melba Limestone Pavers available at Armstone. Photo credit: Armstone

5. Quality over quantity

Another hot trend that is going to grow over the years is how many more people are opting for a more sustainable lifestyle. The throwaway culture of the previous decades is well and truly heading for the rubbish tip (thank goodness!).

What does this mean for interior design and home improvement projects? Simply that choosing quality products that will stand the test of time is the more fashionable choice. This means choosing durable and high quality materials such as natural stone pavers and tiles. With the correct maintenance and care they can last several lifetimes and generations.

Though it might seem like you’re forking out more capital now, your wise choices for your home flooring today will definitely pay off for you in the long run. Not only will you get longevity from the tiles but you’ll also enhance the value of your property. 

Join the 2020 trend and invest in the future.

6. Environmentally friendly

Another hot 2020 trend is…

Respecting the environment by choosing products that are environmentally friendly.

For example, if you love the look of natural wood but you are environmentally conscious, products like our Timber-Look Tiles are 100% environmentally friendly. They have the attractiveness of natural wood but are made from porcelain stoneware.

The Cipresso Timber Tiles, pictured below, create a warm, cosy vibe similar to wooden tiles. Check out our full range of Timber-Look Tiles at Armstone here and create a home that is both trendy and environmentally friendly!

Contact us

Now that you’re well aware of the floor tiling trends for 2020 and beyond, it’s time to upgrade your home!

If you have any questions about which tiling solution would best suit you, contact Armstone today or visit our Glebe showroom in Sydney, Australia. 

Our tiles will keep your home on trend and wow your family and friends.

Warning: Don’t use Travertine Pavers Around the Pool before reading this Article

Cinnamon Travertine Pavers

Our headline is loaded and intriguing and you’re probably wondering:

“But why aren’t tumbled travertine pavers suitable for installation around the pool?”

Good question!

We would love to answer it for you.

There are three major reasons why tumbled travertine pavers aren’t suitable for installation around the pool.

Before we dive head first into these.

We would love to introduce ourselves so that you know that we aren’t just a character blogger who is regurgitating content.

Cinnamon Travertine Pavers

In the past 10 years, Armstone has become one of Sydney’s high-end natural stone suppliers.

Situated in Glebe, we are passionate about supplying you with the best quality pool pavers that transform your outdoors and bring you and your family, joy and happiness.

We love to guide our customers to make the best decision that is perfectly tailored for their project.

We have worked on thousands of multimillion-dollar homes and commercial projects.

Working closely with pool builders, architects and landscapers alike.

We have learnt a few tricks of the trade about how to create attractive natural stone designs.

All the while keeping the area around your pool safe and practical for your entertainment and enjoyment.

Over the years we have received 5 star rated feedback from our lovely clientele.

Making us one of the best stone suppliers in our niche-industry.

Now, let’s get back to the article.

Below we will highlight the three key disadvantages of installing tumbled travertine pavers around your pool area.

If you would like more information about travertine pavers, check out our article on the 9 most frequently asked questions here.

Cinnamon Travertine Pavers

3 REASONS WHY YOU SHOULDN’T USE TUMBLED TRAVERTINE AROUND THE POOL:

  1. TUMBLED TRAVERTINE PAVERS ARE SLIPPERY WHEN WET

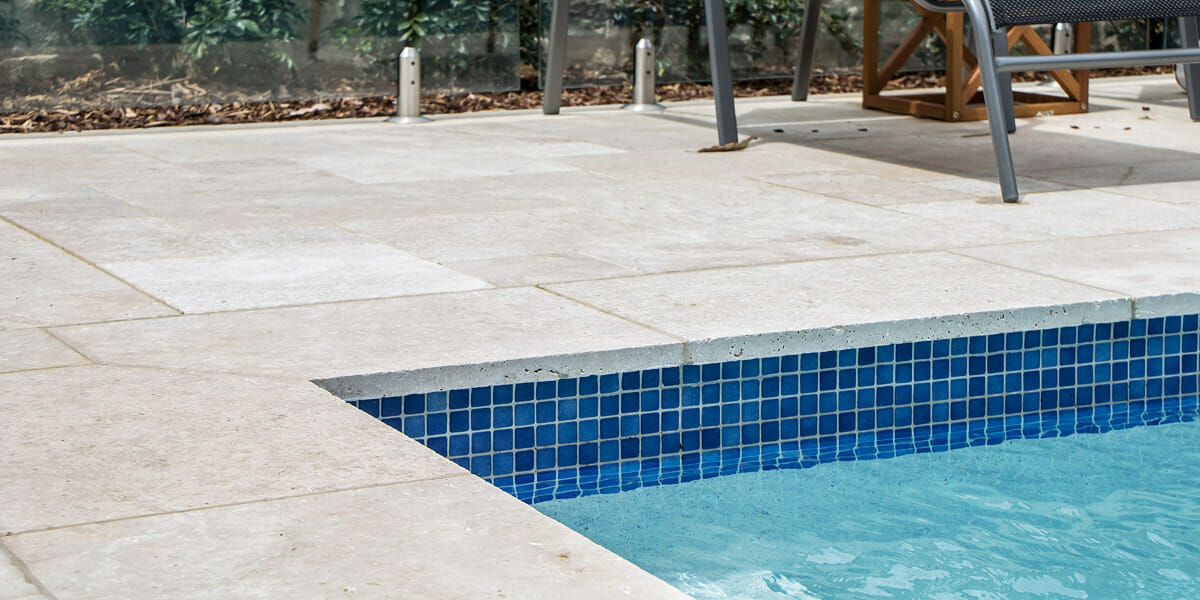
A pool is obviously a wet area.

So in order to keep the surrounding paving as safe as possible.

It’s best to install materials that are made of non-slip surfaces.

It is recommended that these extend at least one metre from the pool.

Are graded away from the pool and installed in such a way where any water that gets onto the surface of the stone.

Drains to a waste area so that it decreases the slippage of the stone’s surface.

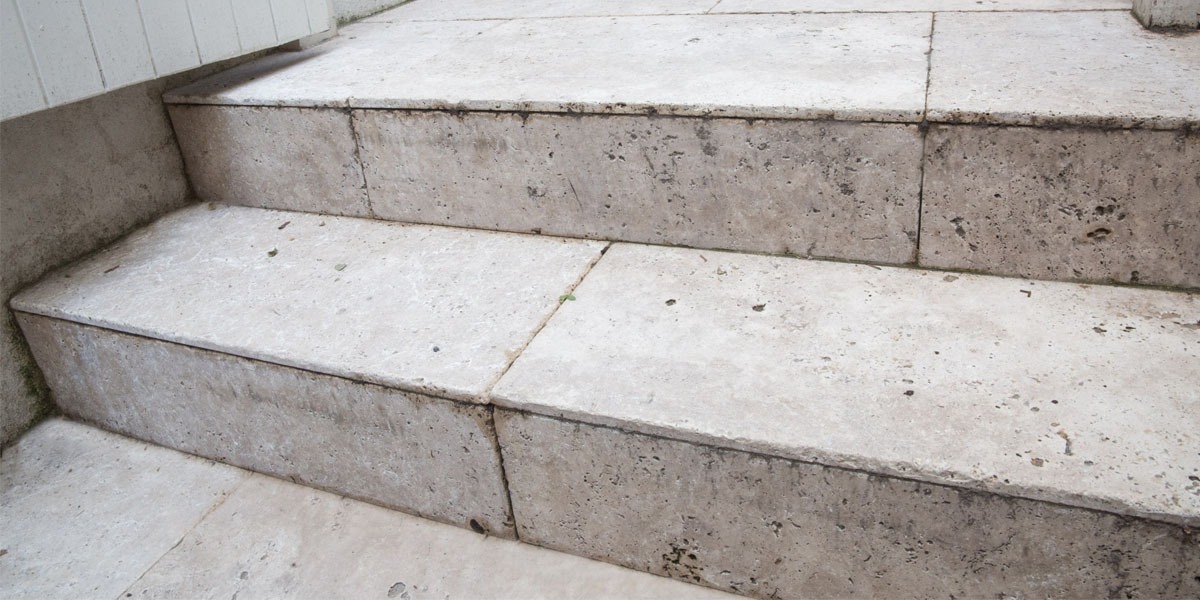
Ordinarily, tumbled travertine pavers can get slippery when wet.

And as such, it is not recommended for installation around the pool.

How do we know this?

We pride ourselves on testing our natural stones for safety.

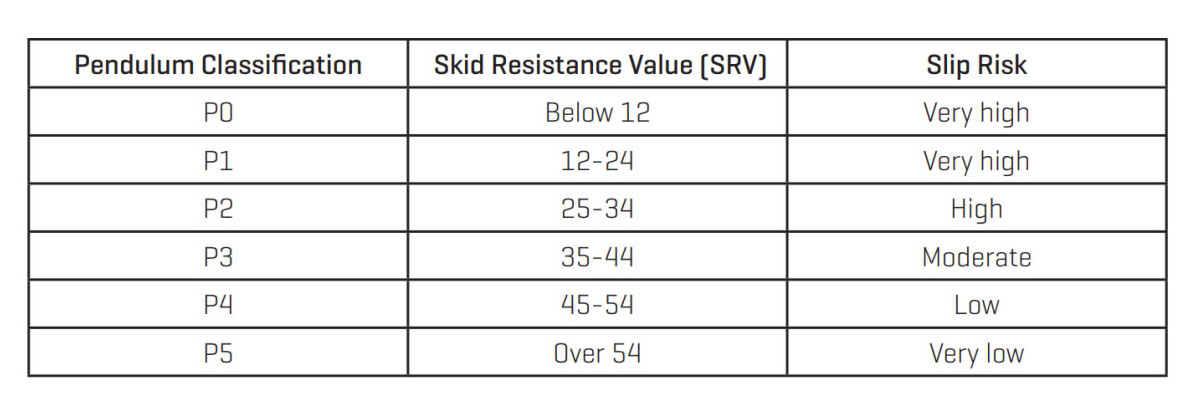
To check how slippery stones are, we put them through what’s called a “Wet Pendulum Test”.

We conducted this test on “A” grade travertine pavers and noted that they had a P3 slip rating.

This is the same rating as to your indoor stone or porcelain tiles.

Which means that the stone is slippery when wet.

The Wet Pendulum slip test is where a metal boot.

With a spring-loaded rubber slider on its outsole.

Swings down onto a stone and slides across its surface.

Once the boot swings back up.

The height of the swing helps us determine the slip rating of the surface.

The more slippery the stone is, the higher the pendulum swings.

The “P” Stands for Pendulum Test.

And its rates range between P0 – P5 (see table below for more information).

When choosing a paver for your pool surrounding.

It’s important to understand that when there is too much water on a stone’s surface.

It can naturally get very slippery.

As such, it is much wiser to choose a pool paver with a P4 or P5 slip rating.

These ratings show that the stone has a better grip than a stone with a P3 rating.

For example, while having fun in the sun, excited children tend to run around the pool.

If the stone’s surface has a P3 rating.

It can be tough to keep your balance and a small slip can result in devastating injuries.

Yes, adults included.

P4 or P5 ratings will give you the confidence and peace of mind that your pool paver is safe for everyone to enjoy.

slip risk graph

  1. TRAVERTINE MAY CONTAIN PITTING THAT TRAPS DEBRIS

One of the characteristics of travertine tumbled pavers.

Is the various sized holes throughout its surface.

This isn’t a defect, but simply a unique trait of the stone.

However, these pits and holes can become quite troublesome outdoors.

Especially as debris and dirt can build up in them.

If installed near a wet area like a pool, these holes are also prone to water filling into them.

As they are hard to clean, eventually the travertine paver will have mould growing in it.

Meticulous maintenance and care are prerequisites for travertine pavers.

For example, it’s recommended to fill these holes with an appropriate grout.

However, this adds additional labour and material cost.

Which coupled with the additional maintenance time, is not always an ideal situation for many homeowners.

If you are keen to learn how to grout travertine pavers, follow this link and read the answer to question 9.

travertine pavers

  1. TUMBLED TRAVERTINE PAVERS USED AS A COPING CAN CUT OPEN YOUR SKIN

Aside from being super slippery and full of tiny holes that require additional maintenance and care.

Travertine pavers are actually one of the more economical natural stone pavers on the market.

Which is why many people use tumbled pavers as pool coping.

However, to cut costs, they do not purchase the tumbled travertine in an appropriate bull-nosed or pencil-rounded edge.

And this is necessary for pool coping.

You are probably thinking: why not?

Well, many have a preconception and belief that tumbled travertine pavers have a rumbled edge that is “suitable” for pool coping.

As such, they think this cost-cutting method can help them “get away” with using the pavers.

Rather than getting the correct bull-nose, pencil-rounded or drop edge necessary for pool coping.

Like we mentioned in the second point, travertine has naturally occurring holes throughout it.

This is true of its surface and its edges as well.

It is also impossible to source travertine pavers with smooth edges.

Why is this important for pool surroundings and pool coping purposes?

Well, if you run your hand (or foot) over the edges of travertine pavers.

The holes can be so sharp, that they can cut your skin open.

Now imagine you are trying to pull yourself out of the pool.

You grab onto the edge of the travertine paver and cut yourself because the stone is slippery when wet.

And the little holes are sharp as well.

Now you’re injured and the pool is full of bloodied and contaminated water.

We are always amazed at how many consumers close their eyes to this detail.

And even more astounded by how some shady-stone suppliers will never tell you about this, just to close a sale.

Travertine Pavers Leggero


To know more here is a video with frequently asked questions about travertine pavers:

Conclusion

Tumbled travertine is a beautiful natural stone.

However, it’s best to avoid installing it in an outdoor area that is susceptible to water.

This is because it can be slippery when wet and cause unnecessary injuries.

When installing pool paving, safety is the first priority.

There are many beautiful pavers that are safe and aesthetically pleasing.

If you want to learn more, check out our article where we share 5 tips on how to choose pool pavers and pool coping.

In case you need any help or guidance finding the right natural stone for your pool paving or coping.

Reach out to us at Armstone and one of our experts will guide you in the right direction.

PS. Below video will help you understand why is it important that your trusted stone suppler works closely with Installer.
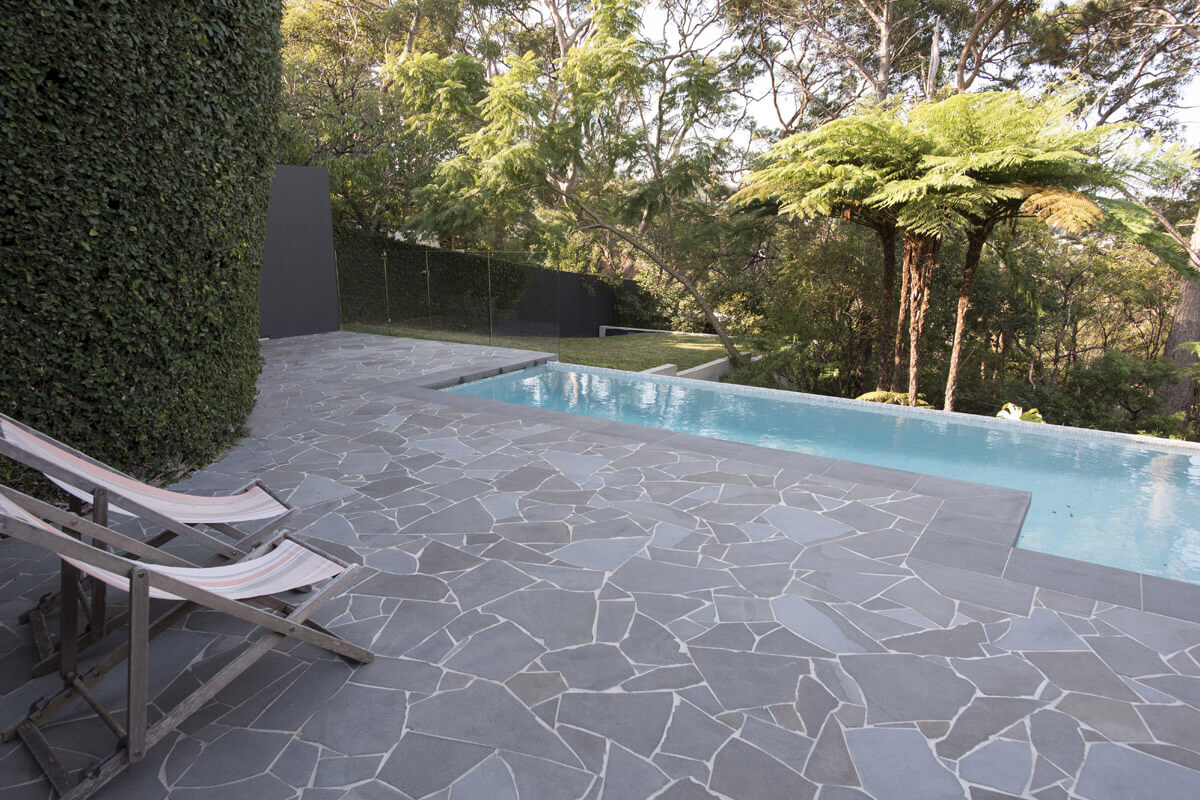
 

How to Landscape With Pebbles ?

garden pebbles

WHAT ARE GARDEN PEBBLES?

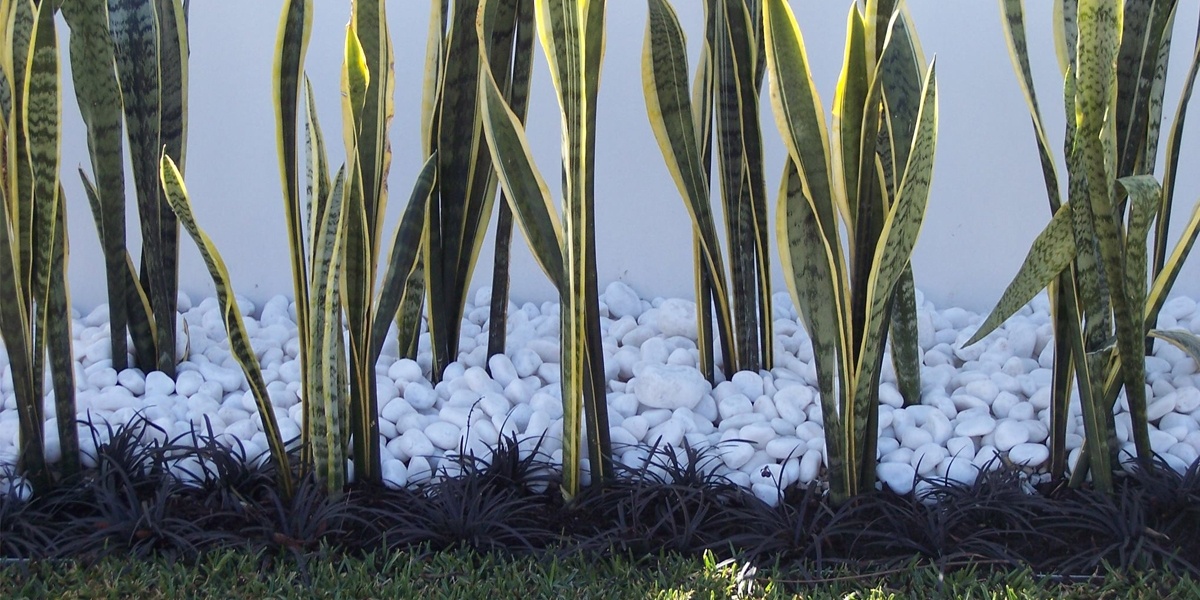
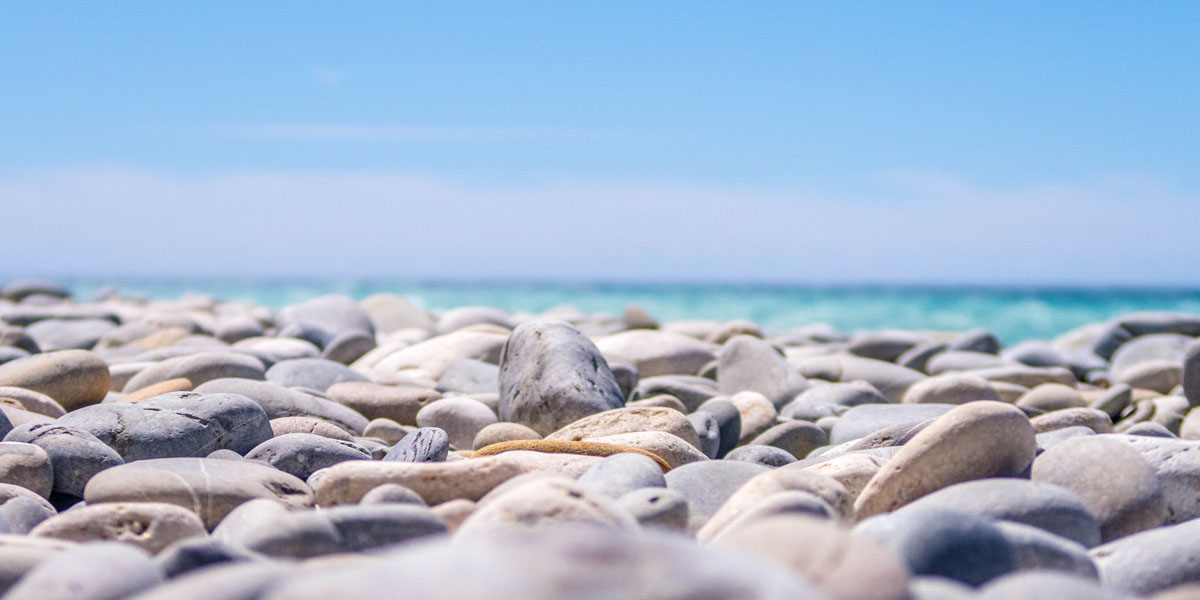
Garden pebbles are small, round edged stones that add a beautiful landscaping touch to create unique and stunning gardens.

As a versatile material, stone pebbles are is available in many different colours, sizes and textures. Whether you use them to give an empty space some character or for decorative purposes, your list of options is endless. For example, more and more homeowners are using river pebbles to decorate garden beds, pathways and for creating indoor features.

Natural Stone Pebbles are an easy and inexpensive solution for transforming your space into something magical and stylish.

In this article we will review the different options available to you and give some suggestions of how you can add value to your home with stone pebbles.

Snow White Quartz Pebbles

WHERE DO PEBBLES COME FROM?

The shiny, smooth stones you see in beautiful gardens are actually a by-product of years of natural erosion in exotic places like China, Indonesia, Philippines and Vietnam.

Contrary to popular belief, these pebbles aren’t easily formed and are not easy to find either. In fact, it takes millenia for pebbles to be created.

This process starts when rainwater washes loose stones from a mountain. Over the course of thousands of years (yes, it’s a slow process), these rocks find their way into mountain streams and eventually into rivers and oceans.

As the stones travel along their newfound path, over time their rough texture and sharp edges are weathered down by the water’s current. This is how they become the beautiful, soft edged and rounded stones you can use in your home today!

River pebbles

WHERE CAN STONE PEBBLES BE USED?

One of the biggest draw cards for using stone pebbles is that they are very versatile. Here is a list of all the places you can use them:

  1. Rooftops
  2. Between stepping stones
  3. Drainage
  4. Poolside
  5. Garden edging
  6. Ground cover
  7. Garden beds
  8. Pot Plants
  9. Around a Fire-pit
  10. Around bathtubs

Let’s look at them individually.

Rooftops 

If you want to add visual appeal to your roof, simply add garden pebbles! On a more practical level, adding a thick layer (about a few inches thick) of stone pebbles to your roof can also help insulate your property (and reduce your electricity bill). As pebbles absorb and release heat, they can help reduce the heat that is absorbed and released from your roof. Wouldn’t that be handy? Also, sun exposure can cause cracking on your roof. Stone pebbles can protect from this too.

Between Stepping Stones 

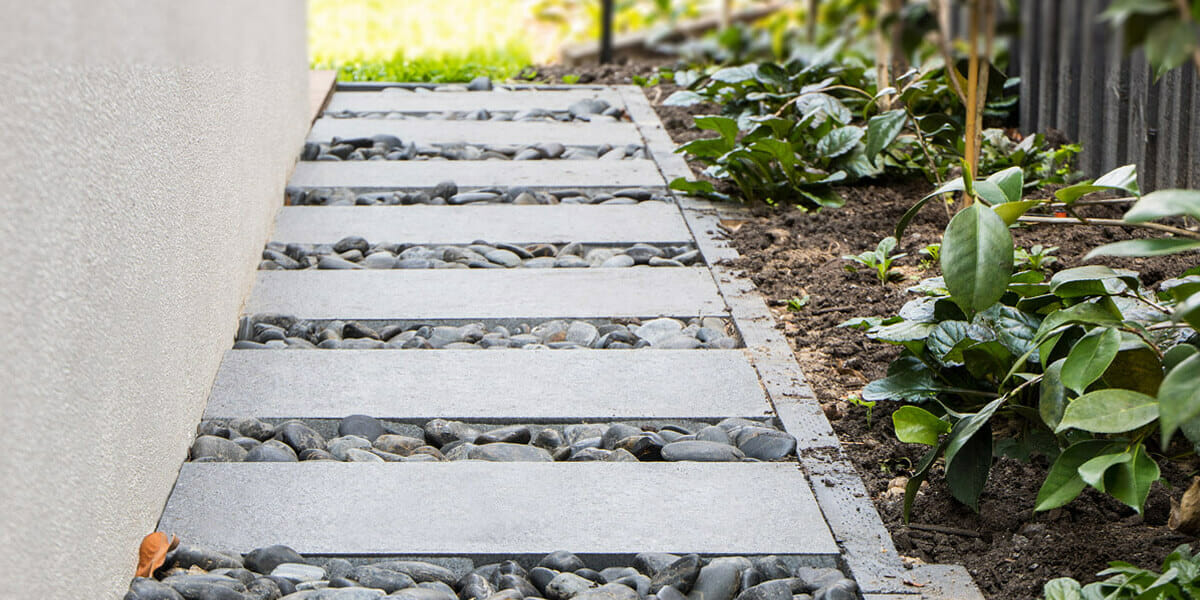
You can use exotic pebbles to strategically define the area between your stepping stones. We recommend choosing pebbles that either compliment or completely contrasts your stepping stones.

Raven Granite Stepping Stones

Drainage

You can also use pebbles to fill and decorate drain areas! Firstly, they make the area more attractive. Secondly, as they are permeable (they allow water to pass through them) they can turn a plain and necessary part of your home into a feature space.

Poolside

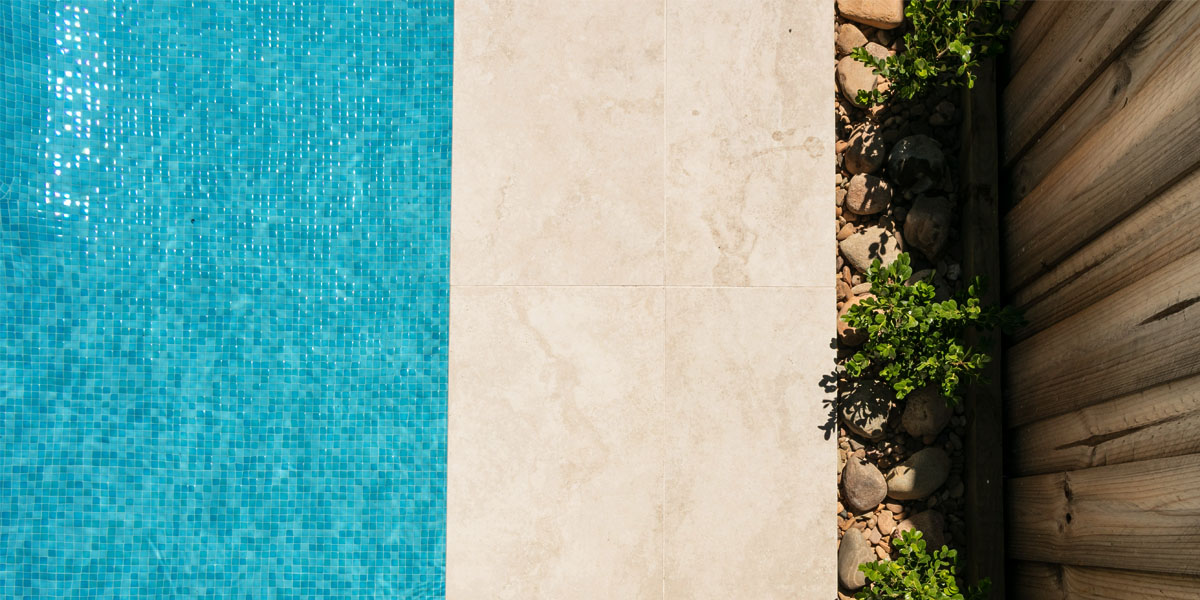
If you have vegetation and landscaping along the fence of your pool, use pebble stones instead of mulch as decoration! As pebbles have rounded edges, they can really break up the pool area from being too linear and really add some fluidity to the outdoor space.

stone pebbles

Garden Edging

Landscaping Pebbles can also be used to as edging around your garden. We recommend using larger pebbles that are approximately 90-120mm or 100-150mm in size as these naturally create a border to define your garden space.

Ground Cover

Using decorative pebbles as ground cover is an easy solution to transform neglected areas of your garden into feature landscapes. For example, use pebbles to reform an eroding pathway, an unwanted lawn space or an edge around the pool where you don’t want to plant anything. Firstly we recommend matting the area and then adding approximately two courses of pebbles that are 40-50mm in coverage.

mixed polished pebbles

Garden Beds

Using pebbles for garden beds can really reduce the loss of moisture in the soil and thus, help the plants stay rejuvenated and healthy. On the plus side, this means you don’t need to water the plants as often, which saves you time and water. In a drought prone area like Australia, this actually becomes a really handy landscaping hack. Also, pebbles really beautify the area around the plants. So it’s really a win-win-win situation.

Pot Plants

Sprinkling garden pebbles atop the soil of pot plants not only helps the soil retain its moisture, but the overall aesthetic really completes the pot.

Volcanic Earth Pebbles

HOW TO INSTALL GARDEN PEBBLES?

As you can see, there are many benefits to adding garden pebbles to your outdoor (or indoor) surroundings.

However, there is one thing that can become quite problematic.

Weeds!

The trick here is to add a thick layer of pebbles to stop the weeds from growing through them. Another solution is adding a  Roundup treatment to the soil prior to laying the garden pebbles.

Finally, you can create a weed barrier by adding underlay between the rocks and the soil. This helps prevent weed seeds from touching the soil. We suggest using landscape fabric, double pebble matt or black plastic as the material for the underlay. Plastic creates a stronger weed barrier than landscape fabric, but water won’t pass through it to feed the bushes’ roots. If you decide to use plastic, make sure to puncture it with holes so that water can still seep through.

HOW TO CALCULATE THE COVERAGE OF THE PEBBLES?

A number of factors affect pebble coverage. These include: the coverage area, depth of cover and the shape and size of the garden pebbles.

As garden pebbles come in a variety of shapes and sizing, it can be tricky to calculate the exact amount required to cover a specific area. We have solved this by laying pebbles on a square meter area and found a reasonably accurate formula that you can use.

In saying this, calculating garden pebble coverage isn’t an exact science and so please keep in mind that our formula is still only an approximation.


HOW TO MANAGE YOUR PEBBLES QUANTITIES CORRECTLY

Here are three simple steps to help you manage the quantity of your pebbles as accurately as possible:

  1. Use an underlay material
    Typically a less expensive pebble such as blue metal (or one that is a similar colour) can be laid to cover a significant amount of depth. Once this area is covered, add your feature pebbles on top. This solution works best on areas that are not exposed to heavy foot traffic as this can disturb the pebbles and expose the base pebbles.
  2. Mix sizes
    Small pebbles offer much better coverage than larger pebbles. To save money while achieving a visually pleasing aesthetic, you can strategically mix large and small pebbles together because the smaller pebbles will fill gaps between larger pebbles.
  3. Insert your pebbles into the grout
    If you are using pebbles in high foot traffic areas, grouting your pebbles will create better coverage and also hold them in place without being disrupted by constant foot movement.

CONCLUSION

Now that you have a more solid understanding about garden pebbles, where they come, how they can be used and a guide to calculating coverage, you can use them to spruce up your space.

If you need some help, or if you have any questions about anything we’ve discussed in the article, please reach out to us here or visit us at our showroom in Glebe, Sydney.

Thanks again for reading our article!

If you found it useful, please share it with your friends!

How & Where To Use Crazy Pavers?

Bluestone crazy pavers

We can just imagine what you’re thinking.

Crazy paving?!

What even is that?

So first, let’s take a look at what crazy paving is.

What types of homes it suits best.

How to best lay crazy paving.

And of course, best practices for sealing and grouting.


WHAT IS CRAZY PAVING?

Basically, Crazy Paving is exactly what it sounds like!

It’s stones that have been assembled on the floor in a crazy look with irregularly shaped stones of small, medium and large-sized pieces.

Crazy pavers are also known as flagstones or flagging.

Usually, flagging stones refer to stones that have a natural split finish on the top as well as the bottom.

As such, these can have inconsistent variations of thickness.

The most popular flagstone pavers are Sydney Sandstone.

These can be sourced in many random shapes or more random squared/rectangular shapes.

Crazy paving stones are also available in many other materials, like Bluestone Crazy Paving, Limestone Crazy paving, Marble Crazy paving, Slate Crazy Paving,  Quartz Crazy Paving and Porphyry Crazy Paving.

With its multi-purpose functions, crazy paving can be used for driveways, patios, courtyards, around fire-pits and in many other spaces.


Grampian crazy

**Trello Limestone Crazy Paving

WHAT STYLE OF HOME DOES CRAZY PAVING SUIT?

Crazy paving and its unique “randomness” works naturally in retro-styled homes and inspire a pleasant retro feel.

Being a versatile material, it also works well in modern settings, creating beautiful terraces and entertaining areas.

As it is easy to use and install, you can also create seamless and organic spaces.

These will complete your home with contemporary or mid-century designs as well.

Many homeowners and designers also strategically use crazy pavers with accessories like dichondra plants.

This is an incredible combination in the modern landscaping industry.

It helps create a truly beautiful balance between land and plants.

Cullbara crazy pavers

**Culburra Quartz Crazy Paving


HOW TO LAY CRAZY PAVERS?

If you are planning to lay crazy paving stones in a foot traffic area that has a concrete slab.

And the crazy paving stones are 20mm in thickness.

You need to use flexible glue to adhere them onto a concrete slab.

If you don’t have a slab, you need a compacted road base and sand-cement mix.

Then you can lay them on the wet bed.

But if you use this method, your stones need to be 30mm or more in thickness.

The type of glue you use depends entirely on the traffic of the area where you’ll be installing the pavers.

For example, a vehicle traffic area like a carport and driveway requires a very different glue to a foot traffic area like a footpath.

Prior to gluing the stones, we recommend laying at least 3 square metres on the floor.

This will help you have a good idea of the shapes and visual design you will be working with.

Then you need to mix the shapes and colours of the natural stones to make them as “crazy” as possible.

There are only two major rules you should follow. 

Rule number one: 

Do your best to create consistent gaps between the pavers.

For example, if you decided on a 20mm gap between the pavers, do not exceed a 30mm gap.

Also, ensure that your gaps are not less than 10mm in width.

Rule number two: 

Do not line the paving pieces consistently with each other.

The goal is to maintain an organic and unstructured look and feel.

As such, the pavers should not be aligned to create any straight lines.

Aim to lay them in a free-form manner.

Pazzo crazy 4


**Pazzo Crazy Paving

HOW TO SEAL CRAZY PAVING?

Prior to grouting crazy paving pavers with split finishes, you must pre-seal them.

We recommend pre-sealing your crazy paving with Aqua Mix – Pro Block.

We recommend this product because it will help you easily clean off any grout haze or leftover grout from the surface.

This way you’ll be able to keep the job tidy and clean, without hindering your installation process.

Once you finish grouting the crazy pavers, you need to apply a top sealer.

This helps protect the stone, increase its longevity and allow for easier maintenance.

At Armstone we recommend using Aqua Mix – Sealers Choice Gold.

This is a water-based penetrating sealer that also contains a micro-band formula and a low VOC rating.

We also recommend re-sealing outdoor exposed areas every 8 years with our recommended sealer.

Norse crazy
**Norse Marble Crazy Paving

WHAT IS THE RECOMMENDED GROUT FOR CRAZY PAVING?

At Armstone we recommend using Ardex WJ50 grout for crazy paving.

This grout has a lot of colours to choose from.

More importantly Ardex WJ50 doesn’t have polymer in it.

So your grout won’t shrink and you won’t have cracks in the joints.

To avoid possible shrinking issues, Ardex WJ50 is ideal to use in joints that range from 3mm to 50mm in width.

It is recommended to combine the Ardex WJ50 grout with the Ardex Grout Booster.

The Ardex Grout Booster is a water-based, synthetic polymer grout additive.

It was specifically created to be used with cement-based grouts.

It improves the grout’s adhesion strength, flexibility and resistance.

The product is available in a range of colours.

Added benefits include improved colour consistency and excellent workability.

If you have any questions or want to find out more, contact the team at Armstone on 1300 560 560.

Our experts would love to help you.