Ultimate Guide for Crazy Paving and Flagstones
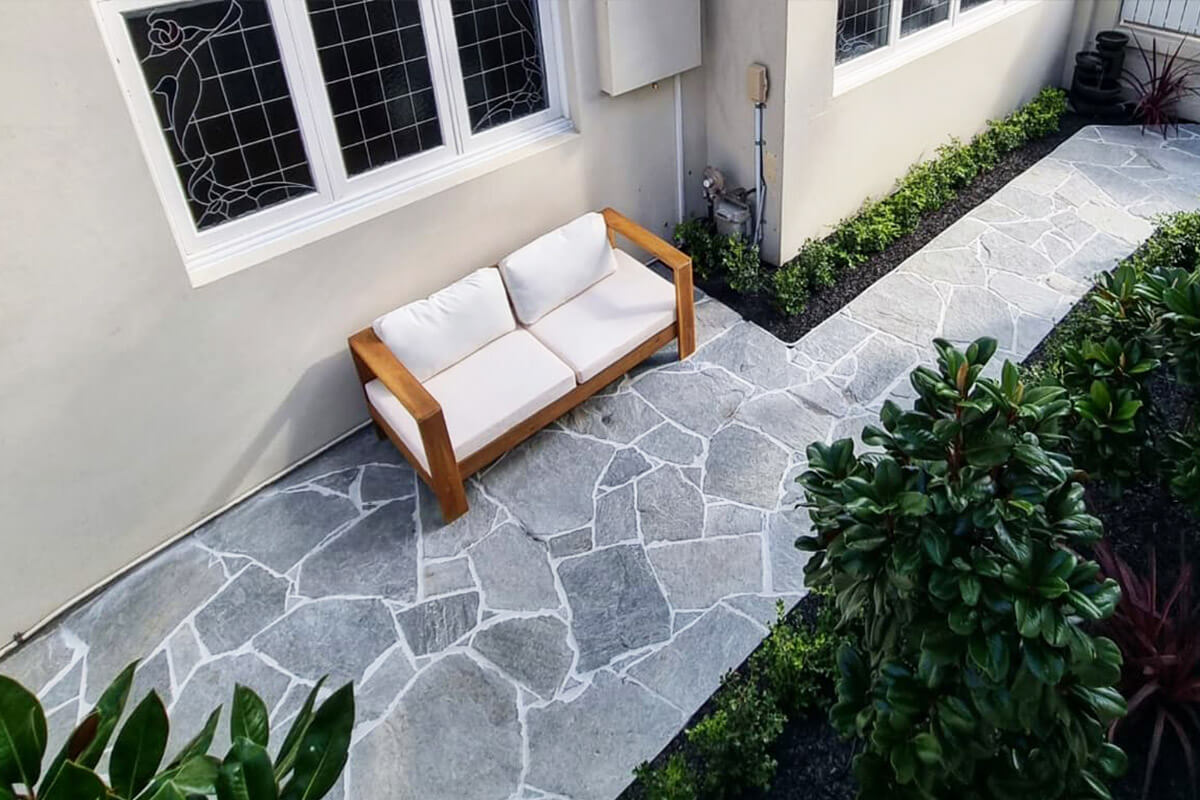
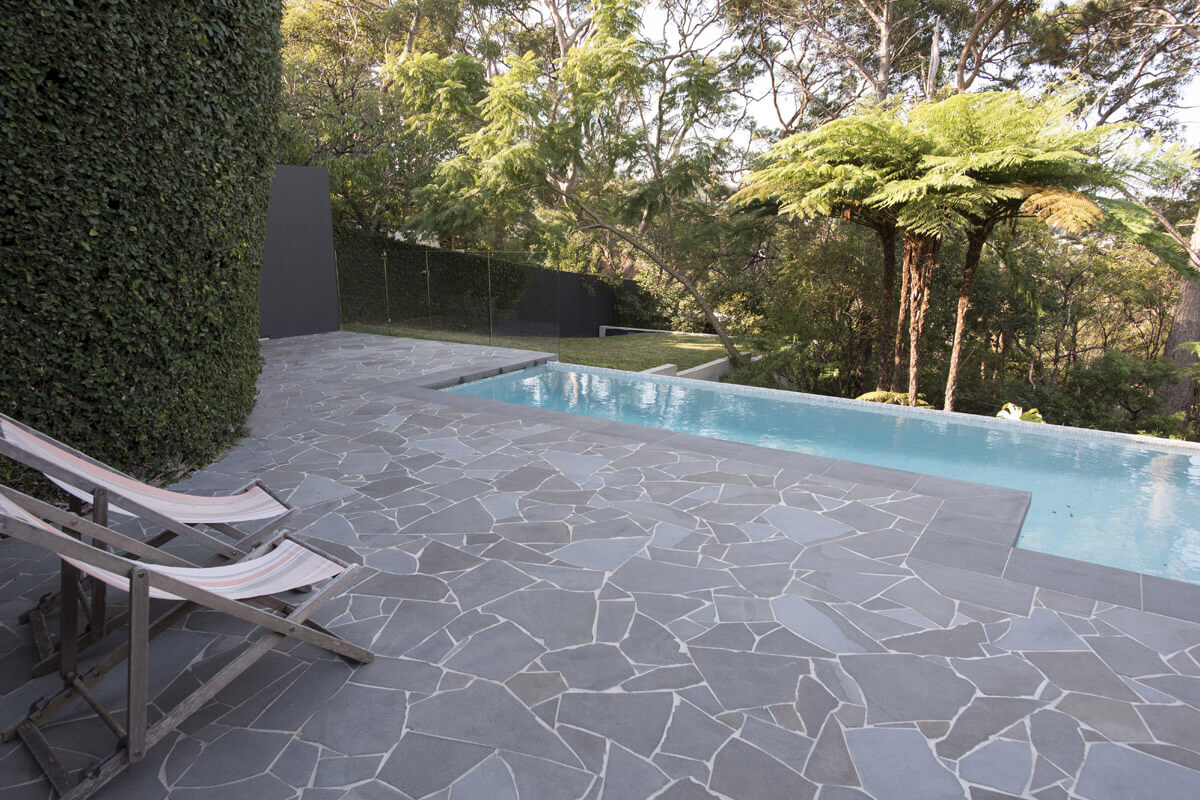
Stone Crazy Paving (also known as Flagstones) is a type of natural stone paving that originated in Ancient Rome.
This is where they used chipped stones to create roads and pavements.
This type of stone paving resembles a mosaic.
Except instead of glass, it’s loose, irregularly shaped, and sized stones that are laid in a haphazard manner.
With grouting poured between the gaps.
Unlike most stone paving where the pavers are laid in a geometric grid style.
A crazy paving design uses naturally broken stones.
And it has no clear geometric grid or pattern.
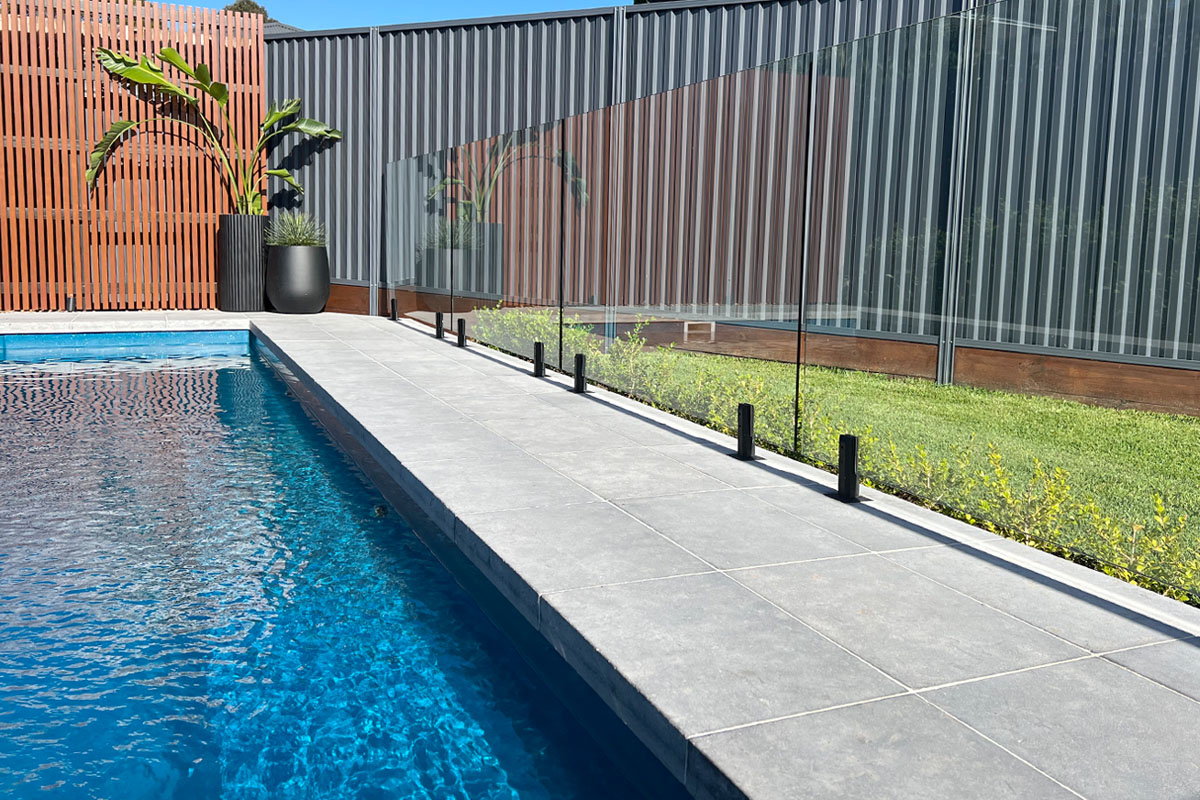
This design is predominantly used in driveways, garden paths, courtyards, pool-side pavers.
And many other locations where you want a more natural or Avant Garde look.
Apart from being popular in Ancient Rome, crazy paving made its debut in Australia in the 1970s.
This was when more homes started to embrace the modern aesthetic and design in their architecture.
Nowadays, due to their more naturally flowing aesthetic, crazy pavers are an excellent choice for many curved areas in your front or back yard.
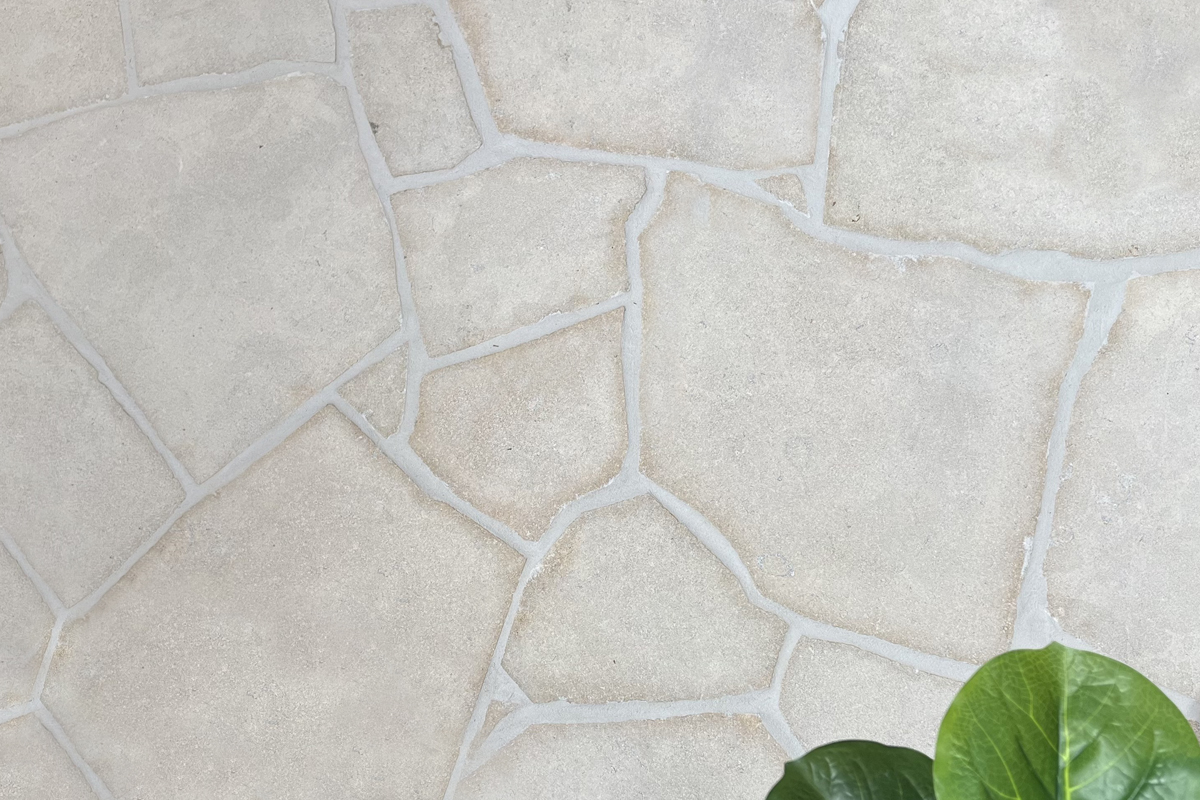
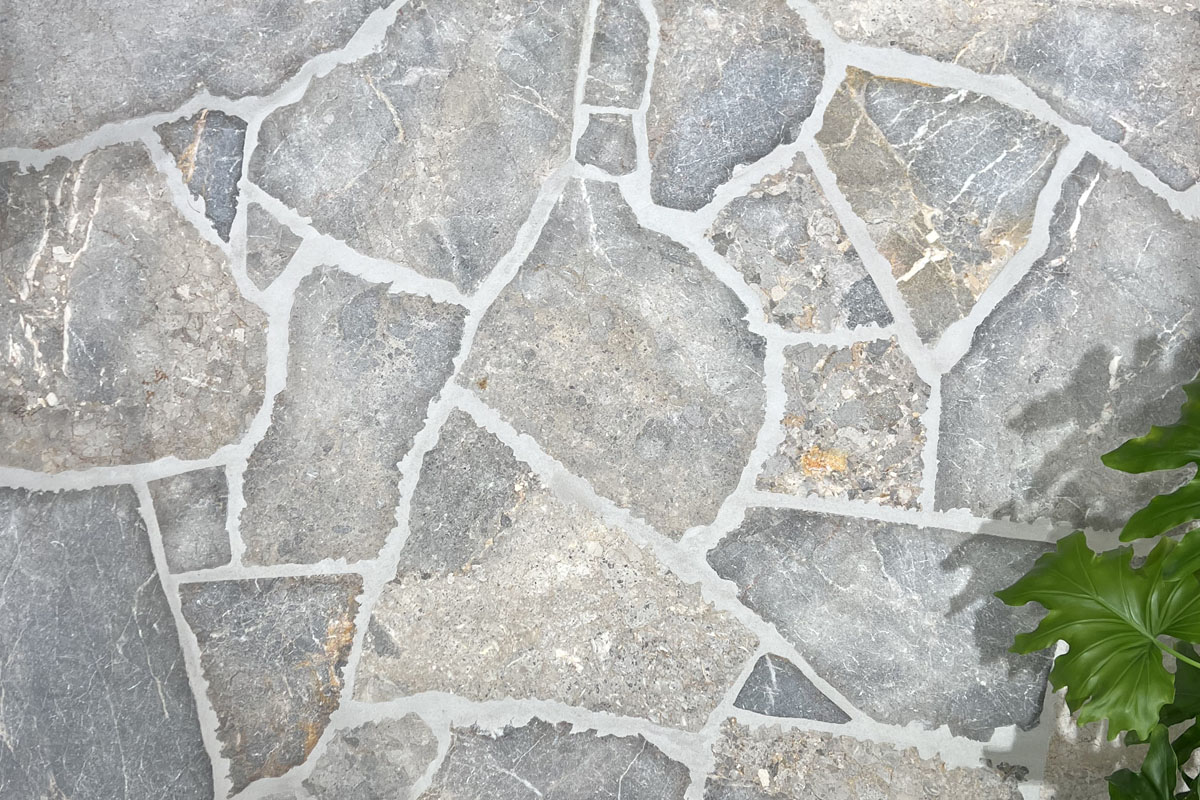
Armstone’s Crazy Pavers are both dense and durable.
And available in a variety of natural colours.
They are also consistent in size and thickness.
So that when you lay them down, they create a smooth walking surface.
Our range of crazy paving stones include Bluestone crazy paving, Porphyry, Limestone, Slate and Travertine.
If you want to use your crazy pavers indoors (as well as outdoors).
And directly apply them to a concrete slab using glue.
We have 20mm calibrated crazy pavers with a tolerance of 2mm +/-.
These calibrated pieces have a consistently flatter thickness which allows more ease for installation.
Along with a flatter and smoother surface.
There you have it: a summarised guide on crazy pavers and flagstones.
Where they’re used and the best suited home aesthetic.
Now that we’ve covered that and you’re more familiar with these natural stone pavers.
Let’s dive a bit deeper and address a few questions we are often asked about the installation process.
To do this, we have created a video with Rhys from RBG Landscapes.
In our conversation, he shares the best mortar and grouting technique for installing these types of pavers, which we also summarise in the blog below.
Best Practice for Installing Crazy Paving and Flagstones
Prior to installing crazy paving or flagstones.
It’s important to determine the type of stone you’re working with and the texture of the ground you will be laying it on.
For example, it’s better to install Pazzo Crazy Pavers onto a mortar bed.
Why?
Because they have a naturally occurring split from top and bottom.
This gives you a 10mm minimum give and take in its thickness and variation.
When laid on a mortar foundation.
This tolerance in thickness gives you the chance to tap down the crazy pavers to create a smooth and even surface.
In the video below.
Rhys from RBG Landscapes takes two square metres worth of crazy pavers from the palettes.
And places them across four square metres of flooring.
He advises that it’s important to see the stone’s shapes and colours clearly.
So that you know what you’re working with before actually adhering the stone to the floor’s surface.
Since the slab they’re using is very rough.
Rhys uses mortar instead of glue, to stick the crazy pavers onto its surface.
If you do not have a slab to work with.
Rhys suggests adding a 120mm compacted road base as the foundation for the paving.
The Magic Mix
If you’re planning on installing your own crazy paving and flagstone paving.
Here are Rhys’s recommendations for creating all the mixes for crazy paving floors.
The Foundation Mix
Due to the irregular thickness of most flagstones/crazy paving is generally installed on a traditional wet (mortar) bed.
To create the perfect blend, we use a traditional bricklayers mix which consists of:
- 12 shovels of white / yellow bricklayer’s sand
- 1 bag of white cement
- 10L of water mixed with 100ml of Efflock to reduce any efflorescence
- 50ml of Bycol to keep the mix fluffy and workable.
So that your mix is consist, we recommend using a cement mixer and following these steps:
- Turn on the cement mixer
- Add the Efflock water into mixer
- Add 6 shovels of bricklayer’s sand and allow the Efflock and sand to mix.
Once you achieve some consistency, add the next 6 shovels of bricklayers sand - Review the mixture and if required, add more Efflock to the mixer so that the sand has a good moisture level
- Once you’ve achieved a nice creamy consistency.
Add the bag of white cement, and let everything mix quite thoroughly - Continue adding Efflock to maintain the moisture levels
- Let the mixer spin until the consistency of all the ingredients are fluffy with no visible signs of sand or cement
- To finish, add a capful of Bycol to keep this mix workable
The Pre-Sealer
Prior to grouting crazy paving.
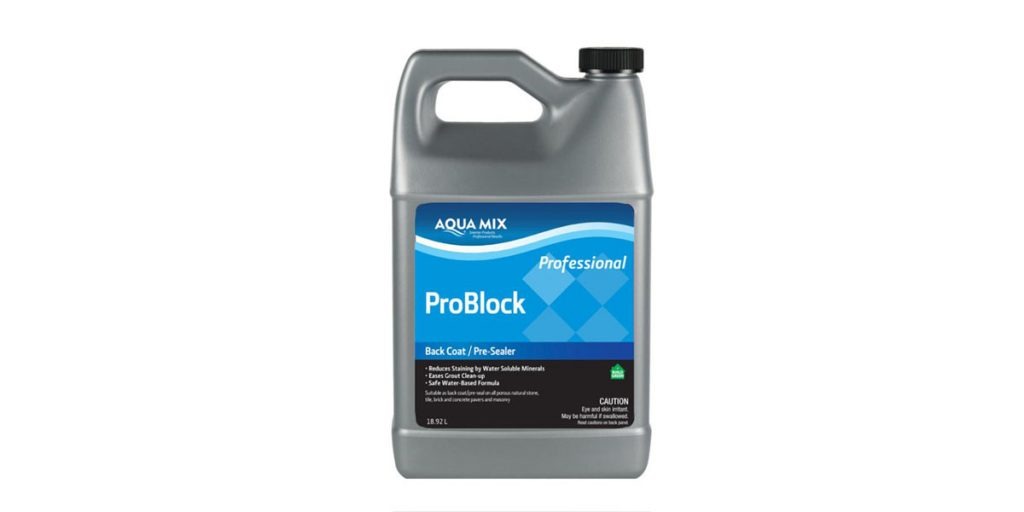
We always apply a pre-sealer to the surface.
Why?
Basically, applying a good pre-sealer (we recommend Aquamix Pro Block).
Prior grouting the pavers.
Makes the cleaning process easier.
It also minimises any residual grout that is left on the surface after sponging.
Leveling
Unlike other paving alternatives which use a straight and geometrical pattern and format.
Crazy paving means that the installation will be exactly how it sounds: crazy and unformatted.
Additionally, there is also the possibility that the surface will be different depending on the type of product used.
As such, whether you’re installing crazy paving for a patio, pool area, or courtyard.
It’s very important to set reference points while installing crazy paving.
This is so that you can clearly track the starting level and the finished level.
And ensure that everything is (more or less) consistent.
So how do we do this?
First, we install string lines in a grid pattern to establish a set of reference points.
Since crazy pavers can vary in surface structure and thickness.
The stringlines help us gauge how much mortar to use.
And reduce our room for errors when laying the pavers.
Once you have the gridlines established.
Spread the mortar onto the surface and ensure that the pavers sit about 1/2mm under the stringline.
If they protrude, tap the pavers to level the surface and achieve the desired level and gradient.
The Grout
After you’ve installed the crazy pavers and you’re happy with the levelling.
It’s time to add the grout.
At RBG Landscapes, we grout crazy pavers using a wide joint sand-based grout supplied by Ardex.
The produce we recommend is the Ardex WJ50, for a variety of reasons.
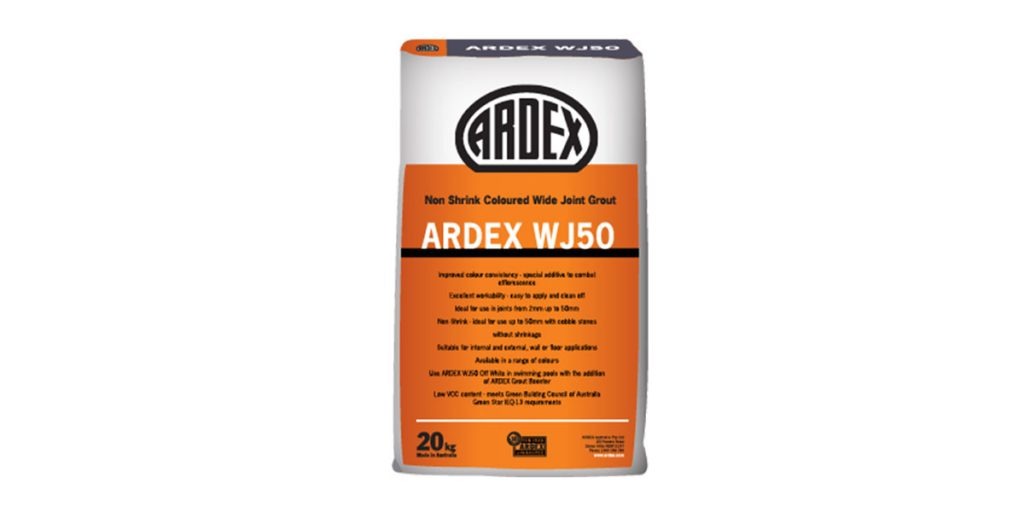
Firstly, it’s available in a variety of colours which means you can pick one that will match your pavers.
Secondly, it’s sand based with a pre-mixed back and a maximum joint width of 50mm.
This combination guarantees that the grout won’t shrink or crack.
Two important factors to consider when choosing grout for crazy paving.
Now, onto making the grout and its application.
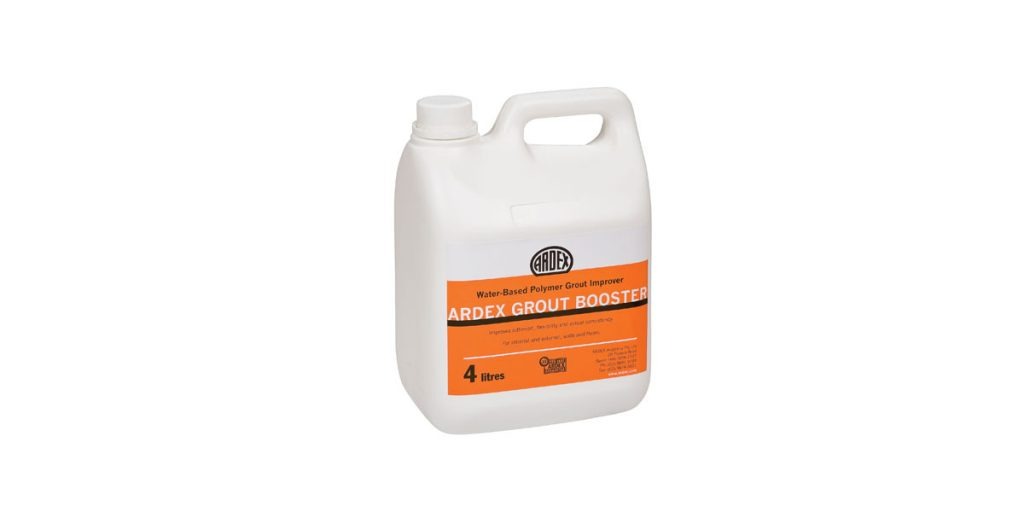
Mix a 20kg bag of grout with 2L of Ardex grout booster.
To achieve the desired consistency, we recommend mixing the grout using an electric drill with a paddle.
Once you have the mix.
Apply the grout into the joints using a squige tool.
Ensure that all the joints are sufficiently full and levelled with the surface of the pavers.
Scrape away any excess.
And wipe the grout from the stone’s surface using a tiling sponge so that there is no residue grout left.
The trick here is to always use clean water so that the stones and joints remain clean.
Repeat this process until all the joints are filled with grout and you’re satisfied with the result.
Top Sealer
After finishing the grouting.
The final step in the crazy paving process is adding the top sealer.
Prior to applying the top sealer.
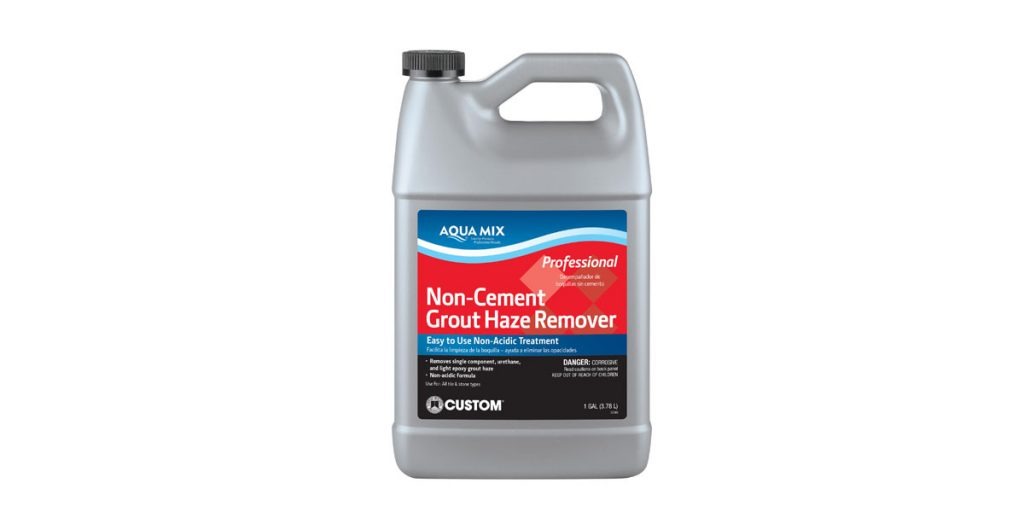
We suggest removing any residual grout or grout haze film from the surface.
You can do this with a stiff broom and the cement grout haze product by Aquamix or with a pressure clean.
Once the surface is clean and completely dry.
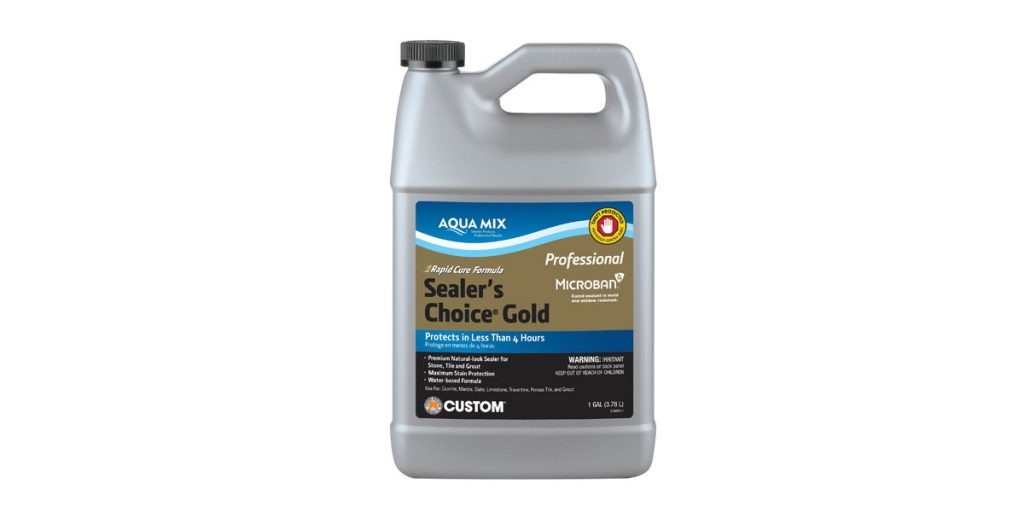
Apply the Aquamix Sealers Choice Gold as a top sealer.
Use a lamb wool applicator and be generous with the amount.
So that both the stone and grout are protected from the elements.
And stand the test of time.
You want the sealer to penetrate through the stone and grout.
And there you have it!
Everything you need to know about crazy paving and flagstone pavers.
Along with where and how to install them.
Check out the video below.
And if you have any questions, reach out to our team of experts at Armstone online or by calling 1300 560 560.
We can help point you in the right direction with choosing the specific crazy stone paver for your project.
If you’re looking for help with installing your crazy pavers.
Reach out to Rhys from RBG Landscapes for guidance and advice at 0415 874 416.
If you like our content, help more people find it by giving it a thumbs up and sharing it with someone who might find it helpful.
Feel free to subscribe to our updates on YouTube and find us on Instagram for more stone related content.
